
How to Make a Floating Picture Frame
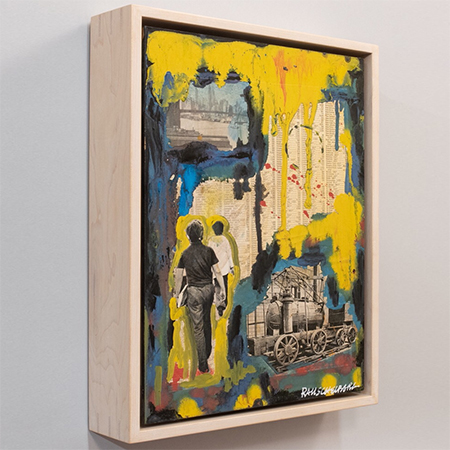
Framing artwork has never been easier if you learn how to make a floating wooden frame similar to the ones shown here.
18/12/2022
holtonframes.com
Framing your art or framing bought artworks, those that are not already framed, was previously a labourious task. For many, it was hard to calculate the exact measurements to cut the frame to the exact size or to know how to frame the piece of art so that it looked good. Now, with a floating frame, this process couldn't be easier, and you can make a frame that perfectly frames the art without taking the spotlight.
Although this video is featured on the home page this week, I wanted to ensure that it remained on the Home-Dzine website as an easy reference for when anyone wanted to find instructions for making a floating frame. I have included several methods below - all of which are easy DIY options, and you can select the best one that works for your situation.
holtonframes.com/frames-framing/frame-catalog/floater-frames/
What material for a floating picture frame?
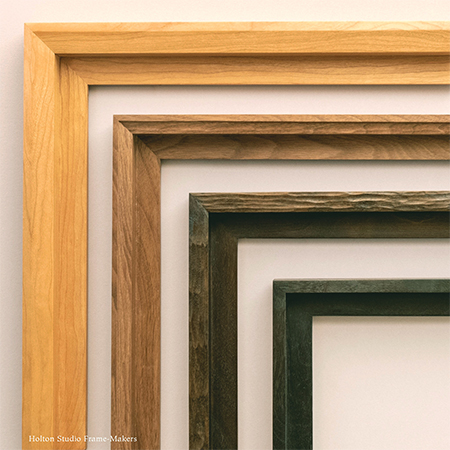
While I reference a wooden frame above, there is no reason why you cannot use other materials to make the floating frame. Personally, I prefer to use 16mm SupaWood (MDF) if I want a painted frame around my artwork and this works extremely well if you want a sharp contrast between the artwork and frame.
Using SupaWood lets you paint the frame in any colour, and even be able to use metallic spray paint to add a dash of glitz to your framed art. Other than that, you can use any timber to make the floating picture frame, including plywood. Not only that, but you can also have everything cut to size at your nearest Builders for easier assembly.
pictorem.com
Click here for step-by-step instructions for making textured artwork as shown below.
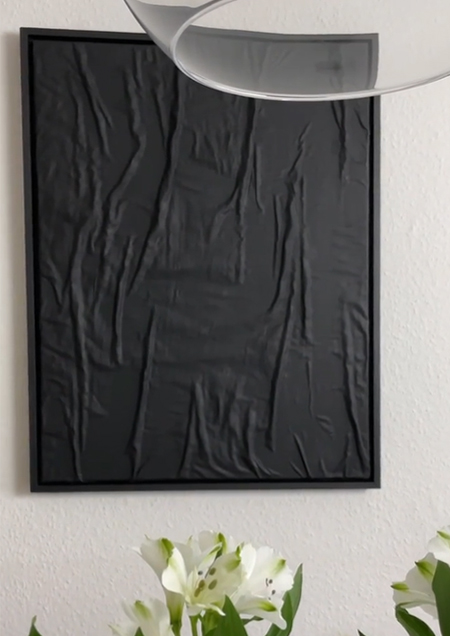
@1otsofdots
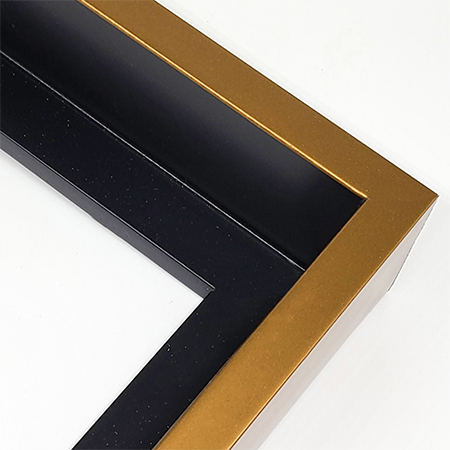
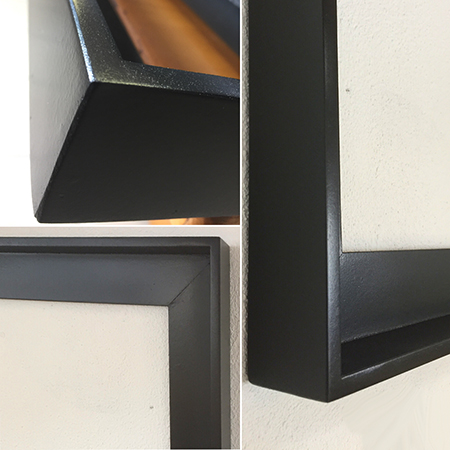
Using SupaWood MDF for floating picture frames lets you paint them in a contrasting colour such as black for a dramatic contrast.
xplorio.com/gansbaai/m-and-s-designs/
What tools will you need to make a floating frame?
As with any DIY project, you are going to need the right power tools for the job. A drill or drill-driver is a must and you will also need a saw to cut the mitred corners. If you don't want to invest in a mitre saw, you could use basic butt joints for the corners but these do not look as professional or as classy as mitred corners. Other than that you might want to invest in an orbital sander but can get by without one if you are prepared to put the effort into hand sanding.
For those who want to make the frame but do not have all the tools mentioned above, there is an easy way to make a floating frame with less tools and using a softwood or craft wood such as balsa wood. Watch the video below for more information on this.
You can use any of the above methods for making floating picture frames for all sizes of artwork and this video below focuses on smaller frames for personal art, images or photographs.