Replacing a broken floor tile
Floor tiles can get cracked due to wear and tear, or through damage if a heavy object is dropped on them. Replacing a single tile is more cost-effective that re-tiling an entire floor. It's always a good idea to keep a few extra tiles when tiling any area - for exactly this type of repair!
YOU WILL NEED:
Grout raker
Drill
Gloves
Goggles
Club hammer
Cold chisel
Scraper
Tile adhesive and grout
Adhesive Spreader
Sponge
HERE'S HOW:
1. Remove grout from around the edges of the broken tile.
A grout raker is perfect for this task.
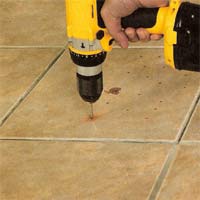
2. Drill a series of holes into the broken tile. This helps to break it up, making it easier to remove.
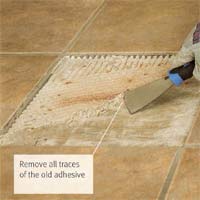
3. Remove the broken tile with a cold chisel and club hammer, then scrape the old adhesive off the floor surface. Be sure to wear gloves and protective goggles. Dispose of broken tile safetly - wrap in newspaper.
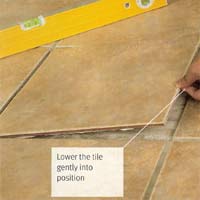
4. Apply adhesive to the back of the new tile and position it. Use a spirit level to check that it sits flush with the surrounding tiles.
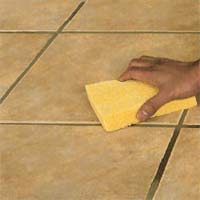
6. Allow the adhesive to dry, then grout the new tile. Clean off any excess with a damp sponge.
DIY Tip:
A spirit level contains three vials. The vial in the middle determines the horizontal level, while the end vials determine the vertical level. A spirit level is available in various lengths, ranging from 450mm to 1.8m in length.
When tiling an entire floor, purchase about 10 percent more tile to take into account wastage and later breakage.
diy doctor - isbn 978-1-4053-2219-5


