
How to hang an interior door
In a weekend, you can replace low-cost hollow-core doors with a genuine door. Not only will it look better, but it'll sound better, too, muffling all manner of intrusive noise. And before you toss out your hollow-core doors, you can easily transform them into practical floating shelves.
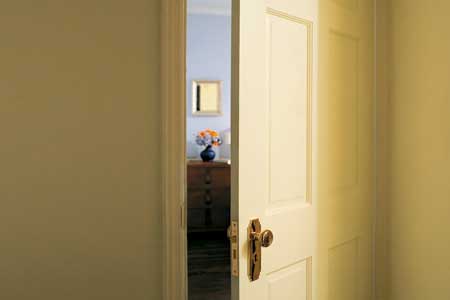
A door that's installed well closes tightly and quietly and doesn't swing open on its own. That means it's been trimmed to leave a very small gap next to the jamb. So measuring and trimming the door before installation must be done carefully and precisely.
See below for a detailed diagram of the various door components.
In the same vein, the various mortises on the door—the recesses in which the hinges sit or the lockset slides—must be carefully cut out. Too deep and the door won't close properly and might spring open. Too shallow and you'll get creaks and scrapes every time you move the thing. The key to a good mortise is a sharp chisel and a steady but light hand. This is not the time to bang and dig with all your strength.
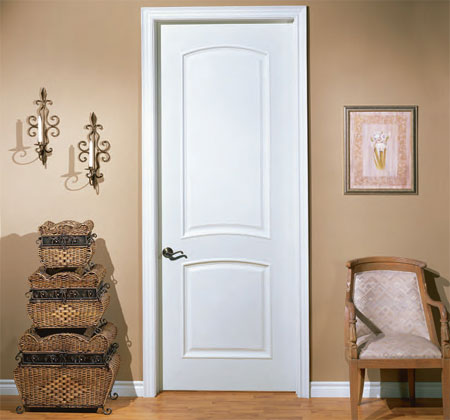
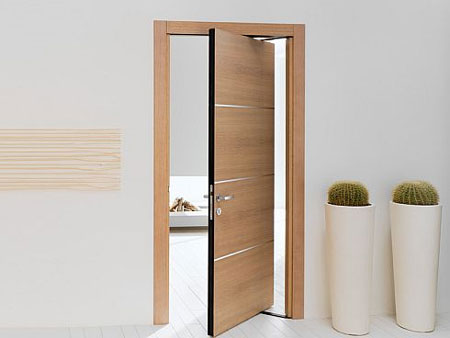
The good thing about doors these days is that you don't have to spring for the expense of solid wood to get its look and feel. Many doors are made from MDF or are so-called 'hollow-core' doors, which means they have a veneer of wood or MDF over a core of particleboard or wood pieces. They're not only better at soundproofing than hollow-core doors but more resistant to warping than solid wood. In fact, MDF is one of the most stable materials you can choose. However, if you intend to use a stain or clear finish on your door instead of painting it, you'll want to get one with solid wood or wood veneer. You will find a selection of doors at your local Builders Warehouse.

HERE'S HOW:
1. Trim the door to fit
To determine the door size, subtract 5mm from the width and height of the door opening. Measure the door to see if it needs trimming. If the amount to be trimmed is less than 2mm, plane it down. More than that
- use a circular saw.
If you must to cut the height, trim the thicker rail at the bottom of the door. To trim the width, take evenly from both sides. To cut the door with a circular saw, place masking tape along the cut line. Mark the line on the tape and score it with a utility knife to prevent chipping. With the saw braced against a cutting guide and its blade on the section to be removed, trim the door.
2. Mark the hardware location
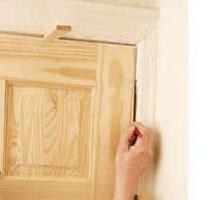
Place the door in the opening and insert angled blocks - shims - until centred in the opening. Check for tight spots. Plane or cut as needed and return the door to the opening. Mark with a pencil where it meets the existing hinge mortises.
Mark the door at the latch hole for the existing strike plate. This will show you how high to place the doorknob.
About 900mm up from the floor suits most people. You can adjust this measurement a fraction in either direction to centre the knob on the door's middle rail, if it has one.
3. Chisel out the hinge mortises

Remove the door and set it hinge-side facing up.
Trace the hinge in pencil onto the door. Then hold the hinge edge against the face of the door under the outline and draw a line under it. This will be a depth guide for your chisel. Score through the layout lines with a craft knife. Be careful not to cut deeper than the guide lines. Carefully make a series of cuts between the scored lines with a chisel and mallet. Sighting the chisel from the door face, tap lightly until each cut is at the depth of the guide lines.
Once you've chiseled out the waste wood from the mortise, turn the chisel over — bevel facing up — and scrape the mortise clean and smooth. Check its depth and smoothness with the hinge. It should rest squarely in the mortise and flush with the door edge. Finish the other mortises in the same way.
4. Drill for a mortise lockset
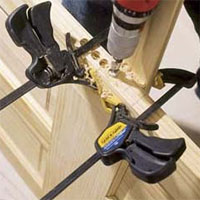
To make a pocket (hole) for a mortise lock, first drill a series of holes, then chisel out between them to square off the recess. These holes must be perfectly straight, so you'll need a guide to keep the drill in line. Since the drill is wider than the door, the best way to check this is to use plumb as a reference to align the drill with the door.
Stand the door on edge with the latch-side facing up; check it for plumb. Make a drill guide from wood scraps. Add boards to project the guide from the door and clear the drill. Clamp the guide in place.
5. Locate the spindle hole
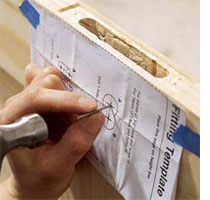
Mortise locks require holes for the spindle and keyhole. New locks come with templates to locate these.
Line up the template and tape it in place. Use a centering punch or a hammer and nail to make a starting hole for your drill bit at the spindle location and the keyhole location (if applicable).
Remove the template. Using a drill/driver fitted with a 2mm wood bit, drill through the face of the door at the spindle location and drill two holes to make the keyhole.
DIY TIP:
To keep the face of the door from splitting as you drill, hold or clamp a scrap block of wood against the door where the drill bit will exit.
6. Hang the door and attach the hardware
Once all the holes and mortises are finished, prime and paint or stain and finish the door. Make sure to cover all six sides with finish so it's completely sealed and won't swell in high humidity.
Woodoc 30 is ideal for staining and sealing of interior and exterior doors. Position one half of a hinge (with the inner knuckles) in its mortise on the door. Use a
centering punch to make starting divots for the screws. Screw the hinge leaf to the door.
Repeat on the other two hinges. Screw the other halves of the hinges to the doorjamb. Hang the door, slotting the hinges together and slipping in the pins. Install the lockset. Attach the backplates (or escutcheons) and door-knobs. Don't screw the knobs onto the spindle too tightly or you won't be able to turn them. Screw the new strike plate to the jamb.

this old house magazine