How to replace Formica countertops
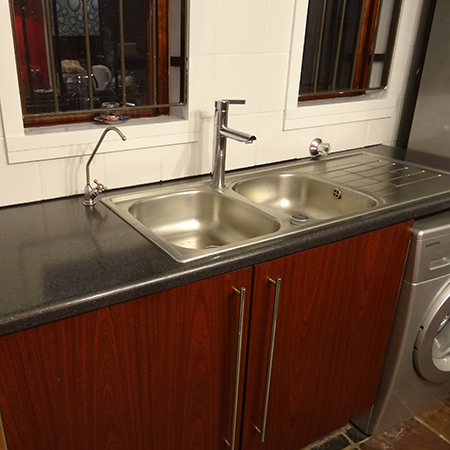
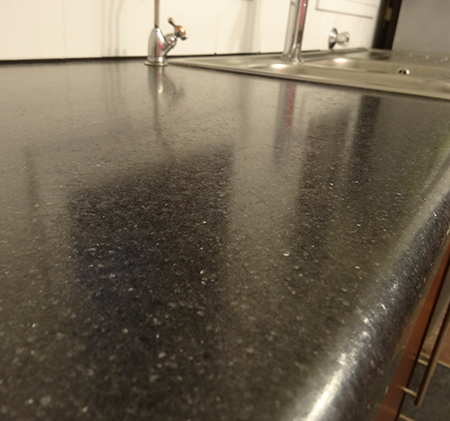
Formica LifeSeal kitchen countertops are one of the most affordable ways to update and replace scratched, swollen or worn countertops. My Formica countertops were installed 10 years ago and still look good, despite the fact that I have used them as a work surface for endless craft and DIY projects!
Replacing Formica kitchen countertops with Formica LifeSeal is a reasonably simple DIY project that can be done in a day, depending on the size of the kitchen and amount of tops that need to be replaced. It's also an affordable project, with Formica Mastertops priced at around R800 per 3.8 metre length.
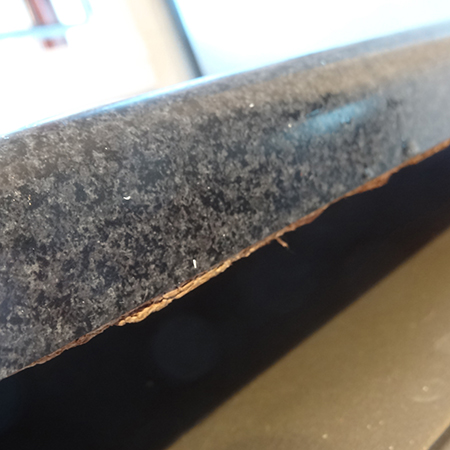
When not properly sealed, or in the event of a leak, you will find that countertops expand and swell when they absorb moisture. That's why it is important to seal around a sink, any other fittings, and at the back and side of any fitted countertops.
Before you start
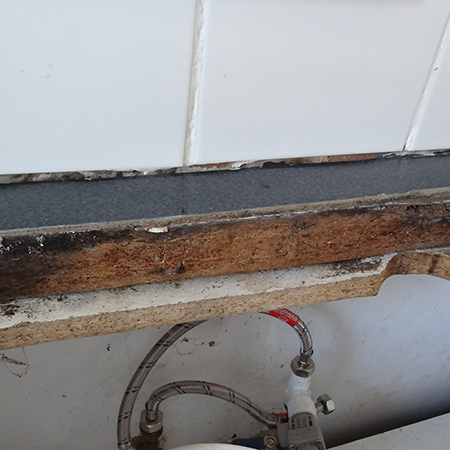
Switch off the water supply at the main stopcock if you are removing the countertop around the sink. You will also need to switch off the geyser while you are working. Open the sink taps to let out all the water in the pipes.
Have a bucket handy to collect any remaining water when you remove the hot and cold water supply to the taps.

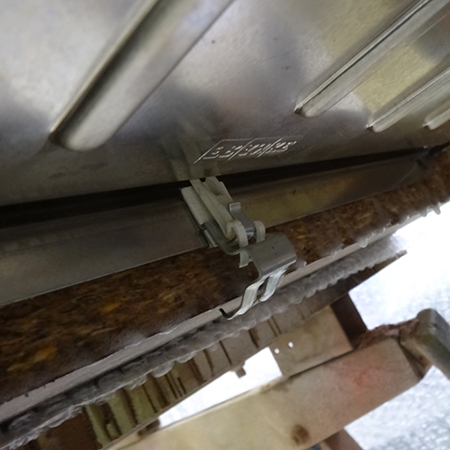
1. After unscrewing the water supply pipes to the taps, unscrew the sink mount fittings underneath the sink. These are clips that hold the sink firmly in place and, once unscrewed, will allow you to remove the sink. Put the sink aside in a safe place if you plan to re-fit.
GOOD TO KNOW
For silicone sealing around the sink use a sharp craft knife under the silicone to allow you to pull out the sink.
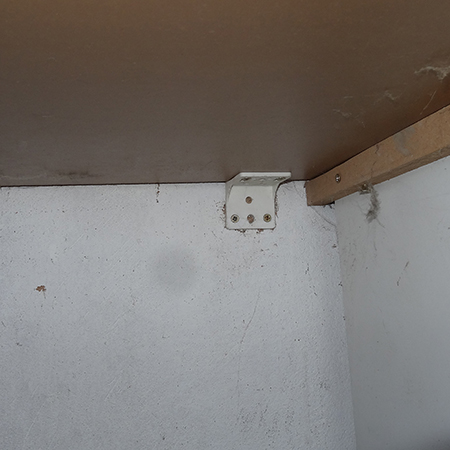
2. Now you need to unscrew any brackets that hold the countertops to cabinet frames, or to the wall. If you are only removing and replacing the countertop, simply unscrew the top and leave the bracket in place to re-attach the new countertop.
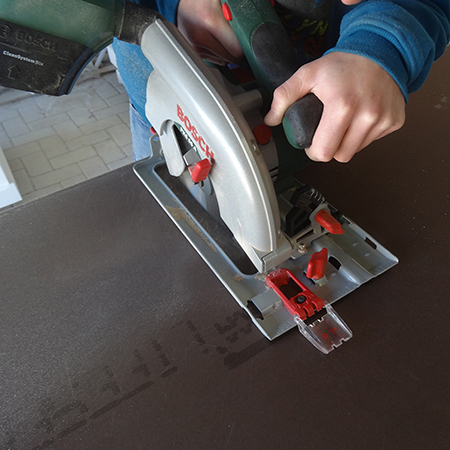
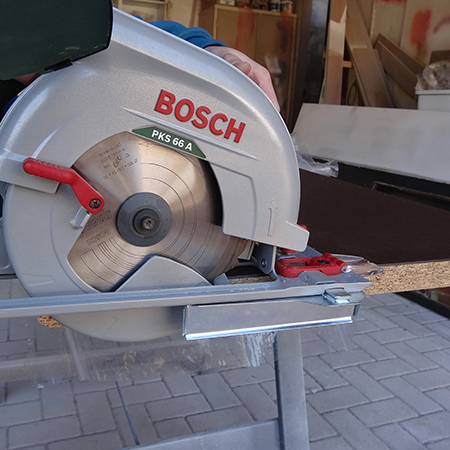
3. Measure the length of the old countertop and transfer this measurement onto the new countertop. Don't forget to cut off one end of the countertop before you proceed. When marking the cutting line, make sure to cut on the outside of the line, or your countertop will be 3mm too small.
GOOD TO KNOW
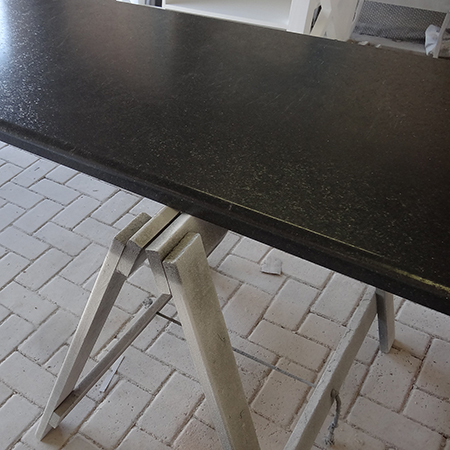
- Turn the countertop upside down, so that the laminated section is underneath. This will ensure a clean cut.
- Mount the countertop on three workbenches or sawhorses so that the countertop is supported along the length, and where you will be cutting.
- Cover the workbenches with soft cloths or plastic to prevent any damage to the surface of the countertop.
4. Transfer the total length and width dimensions of the sink unit onto the back of the countertop and reduce this width by 20mm all the way around. This will ensure that there is a lip of countertop to support the sink and attach the mounting clips onto.
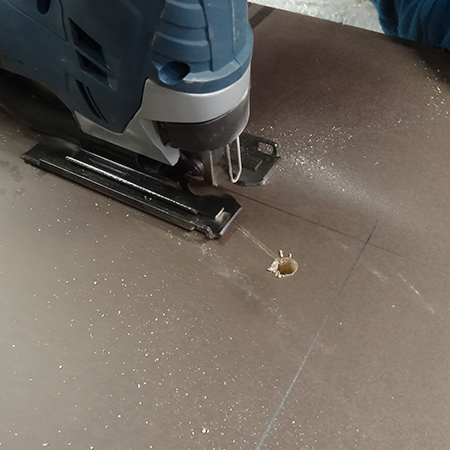
5. Drill a 10mm hole 20mm in from each corner using a drill / driver and wood bit. This allows you to insert the jigsaw blade into the hole to cut out. Move out from the drilled hole in a curve towards the drawn to cut a side edge. and then insert the blade in the cut

GOOD TO KNOW
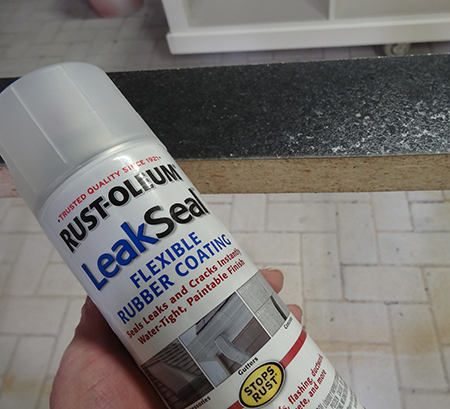
Rust-Oleum now have a transparent LeakSeal spray. This flexible rubber coating provides added protection for kitchen countertops in the event of a leak. Shake the can well and spray along the back and inside cut edges where the sink will be mounted. You will need to apply two to three liberal coats, allowing each coat to dry in-between.
This is great news if you are renting out a property and will ensure that countertops are well protected and won't need to be replaced as often.
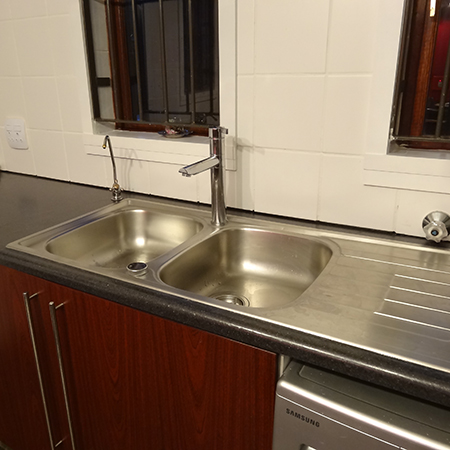
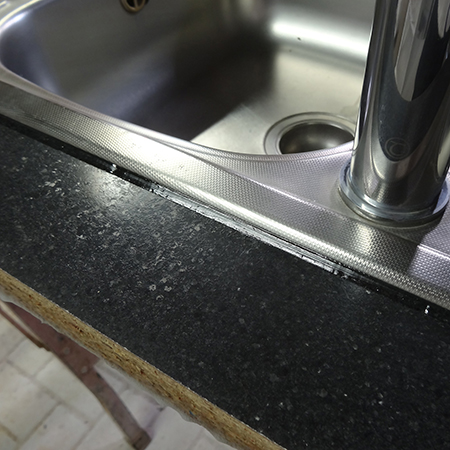
6. Turn the countertop right side up and place the sink unit in the cut out. Secure in place by placing and tightening the mounting clips.
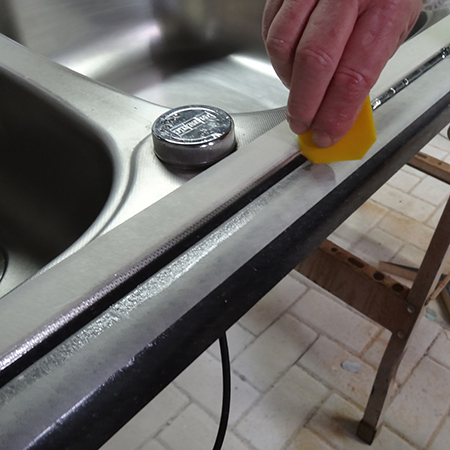
7. While you have easy access to the back of the sink you might want to apply Pattex Sanitary Silicone at this stage. Bear in mind, however, that you will need to wait for the silicone to cure before installing the sink, or be very careful when moving and placing the sink.
Cover the edge of the sink and surrounding countertop with masking tape before using a caulking gun to apply silicone sealer around the sink - or try the new Pattex Air Pulse Silicone. I find the Pattex Profiler Kit handy for removing excess silicone and providing a smooth edge. Remove the masking tape immediately after application, before the silicone starts to cure.
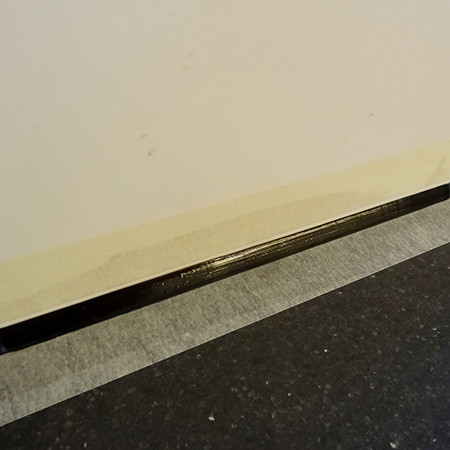
8. Make the edging strip 20mm longer than the length of the side, so that you can easily trim this later on once the contact adhesive has cured. You can use an edge trimmer or a Stanley knife to cut away the excess.
Cover the top of the countertop with wide masking tape to protect from overspray.
To stick on the edging strip on one side you can use contact adhesive, either in a tin or in spray form. The spray is easy to use and lasts longer than the tin, but make sure to apply plenty on the edge of the countertop, as it does get absorbed. Spray both the edge and the back of the strip and wait 5 minutes before placing the two together.

9. Carefully manoeuver the countertop into position and check that it is flush against the wall before securing in place with the original, or new, brackets to the underside.
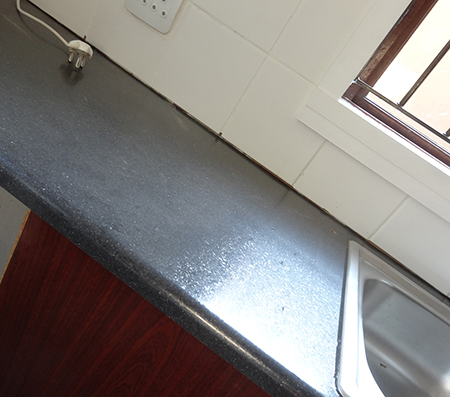
10. Repeat the sealing process around the back and side edges of the countertop. Again, apply a strip of masking tape above and below where the silicone will be applied and use a profiler to smooth. Gently peel back the masking tape before the silicone starts to set.