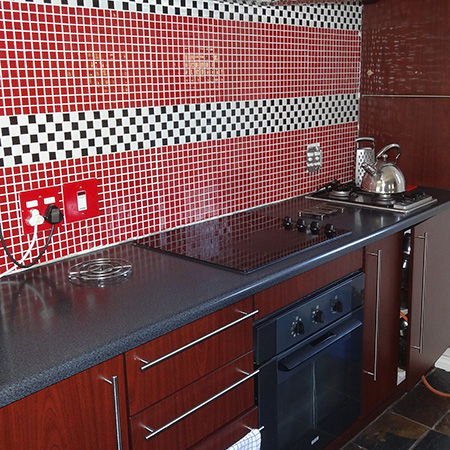
Give any kitchen an instant update with new countertops
Not every homeowner can afford the luxury of stone countertops, and Formica countertops offer you an affordable way to update a kitchen.
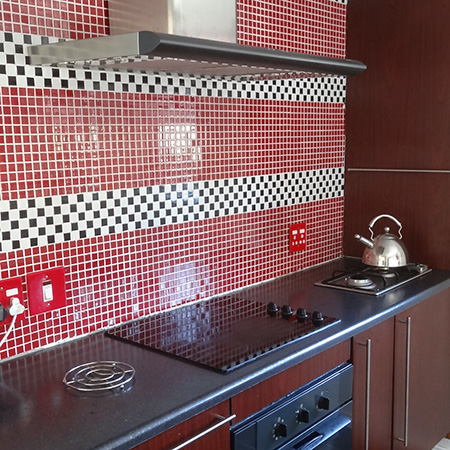
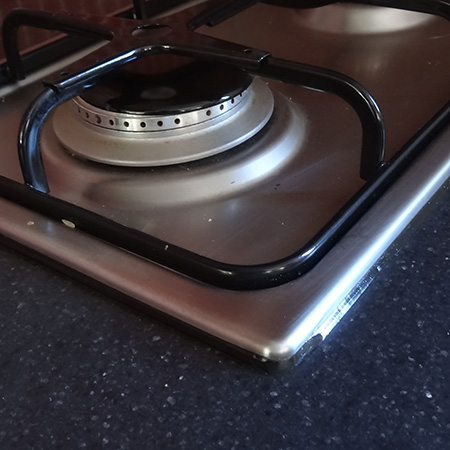
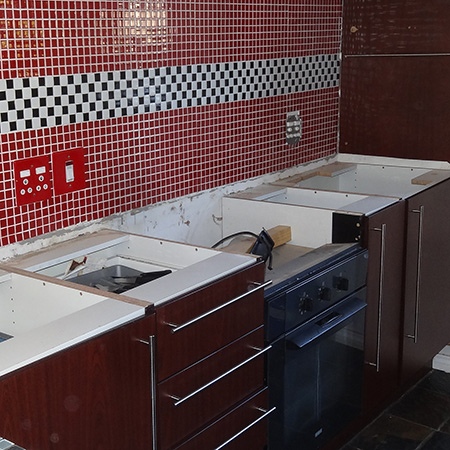
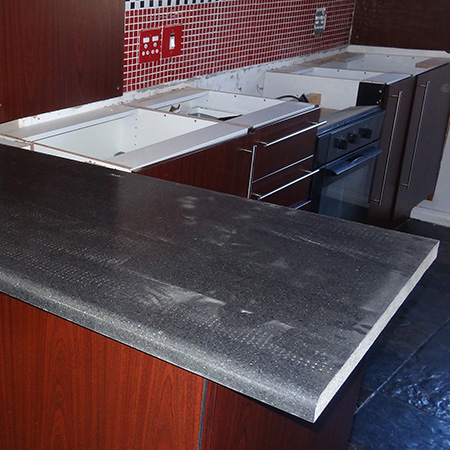
After tiling the backsplash it's now time to replace the countertops. The existing countertops are not too bad, just scratched, but the gas hob was incorrectly installed and needs to be removed and placed sideways to move it as far away from the plug point as possible (there should be a 20cm distance). The new countertops are very similar to the old ones, and that's fine with me... I like the look!
Replacing countertops is probably one of the most affordable kitchen updates you can do. Formica countertops range in price from around R500 up to R800 depending on the style - and that's for a 3.6 metre length, which is long enough for most small kitchens, but still affordable even if you need to buy 2 or more lengths. You will find a selection of Formica counterops at your local Builders.
Replacing kitchen countertops is also an easy DIY project that you can complete in a day.
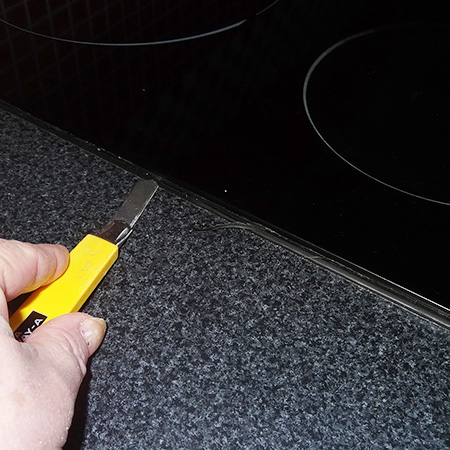
The first step is to remove the silicone sealer around fittings. In this case I need to cut around both the electric and gas hob in order to peel away the old silicone.
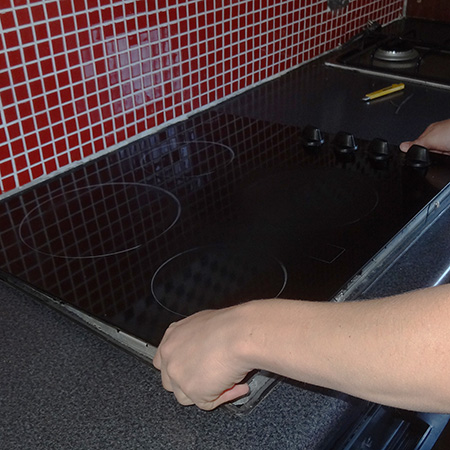
With the silicone removed you can lift up and remove the fittings. Switch off electrical supply at the main distribution board, or remove gas fittings, before taking out appliances.

GOOD TO KNOW
If you need to disconnect wiring
use your phone to take a pic of how the wires
are connected, so that you can put them back the
right way when you re-assemble the kitchen
countertops.
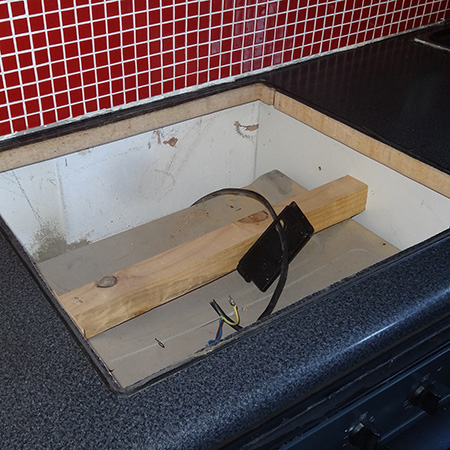
With fittings and appliances out of the way you can see how the countertop were fastened onto the cabinets and remove any brackets and screws.
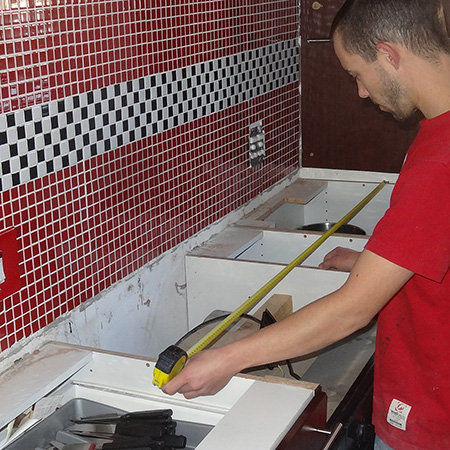
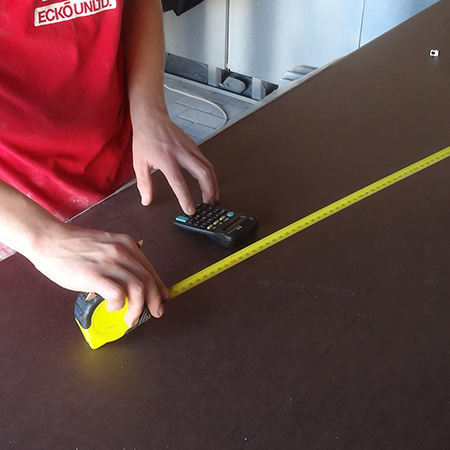
Measure up or transfer the measurements from the old top for cutting out in the new countertop.
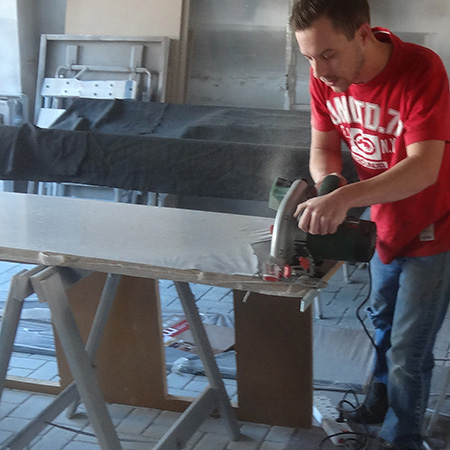
Before marking the measurements on your new top you will need to use a saw to cut off the ends. Most tops have an excess at the end to prevent the main section of the top from damage.
Mark for cutting out on the back of the new countertop. It's always better to have the countertop face down on your benches or trestles, as you achieve a much cleaner cut this way.
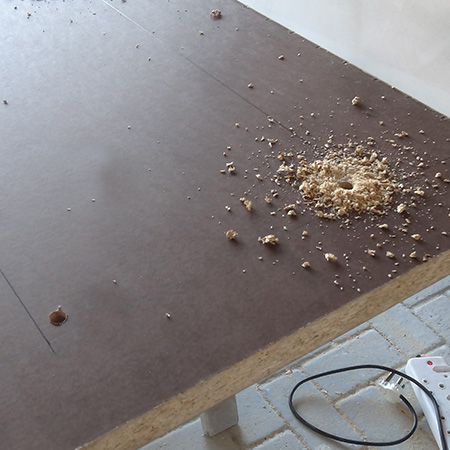
Use a drill / driver and 10mm wood bit to drill holes inside where you will be cutting out for fittings. These holes should be at least 10mm from any marks to prevent any chipping when you drill.
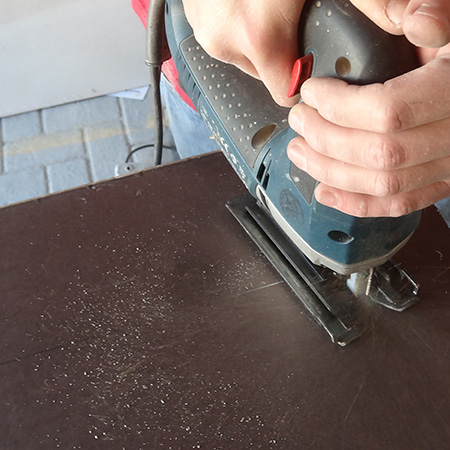
Make sure the area is free from obstructions underneath before inserting the jigsaw blade to cut out openings. Use only a new clean-cut or jigsaw blade specifically for cutting laminate.

You will find a wide selection of MPS jigsaw blades at your local Builders, including blades for fine cutting and laminates.
Once cut you can place the new countertops in position and secure using the original or new fastenings.
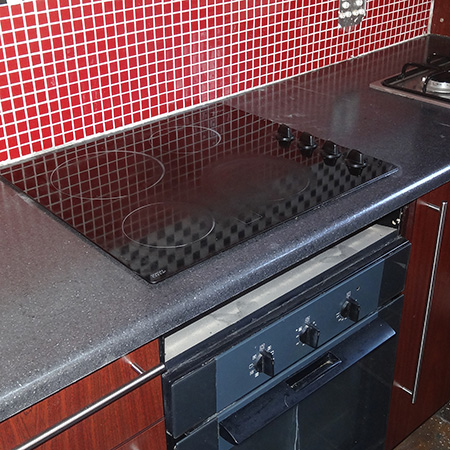
Re-fit appliances - using any pics you took to ensure these are wired correctly.
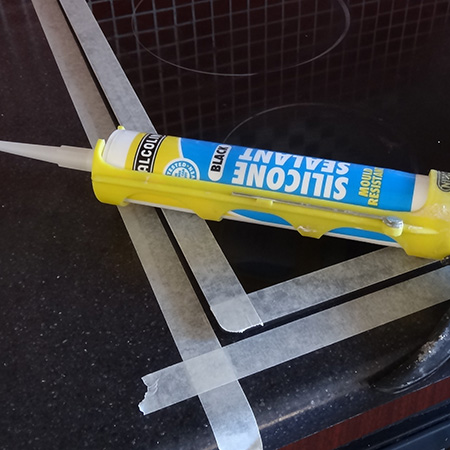
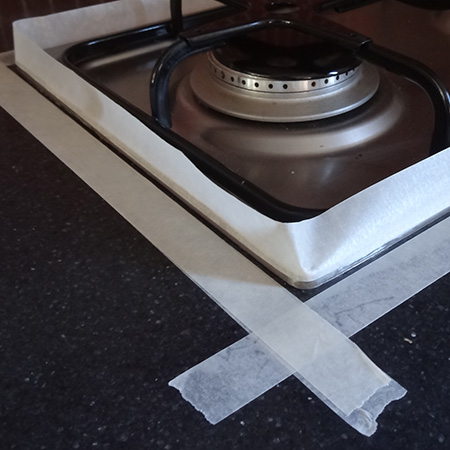
Finally, re-apply silicone sealer around fittings. Apply masking tape around the edge and sides or top of the fittings.
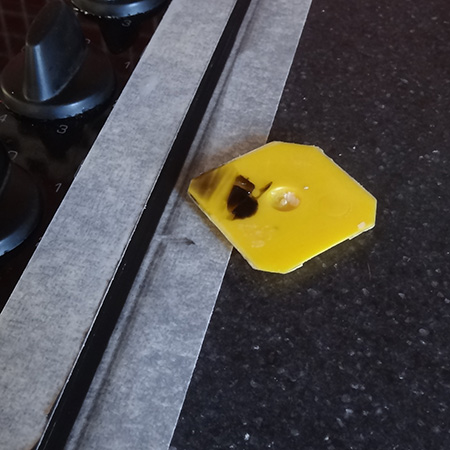
A Pattex Profiler allows you to have a neat edge around the fittings for a professional finish.
It is important to seal around countertop fittings not only as a precaution against spills, but also for hygiene reasons. The silicone makes it easier to clean around any fitted appliances.