How to make a laundry cabinet
Being the experts at designing cottage and shabby chic furniture, we asked www.Shabby-Chic.co.za to give us advice on designing the perfect furniture for a laundry room.
Unfortunately we don't know where these images came from, so credit it due to the source.
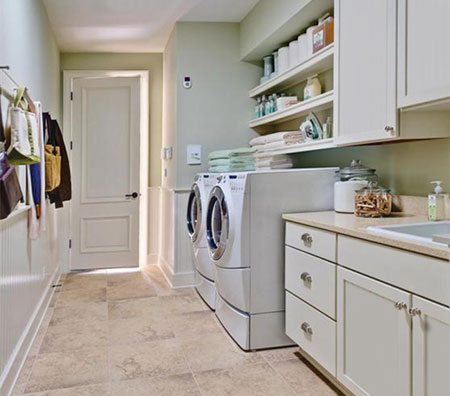
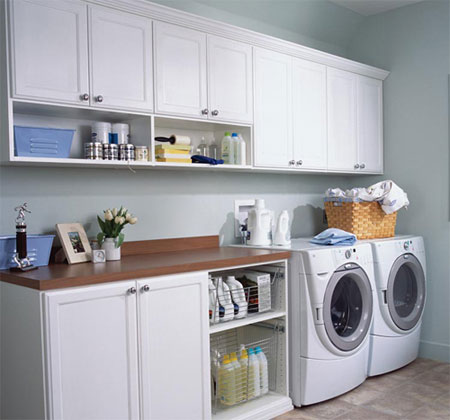
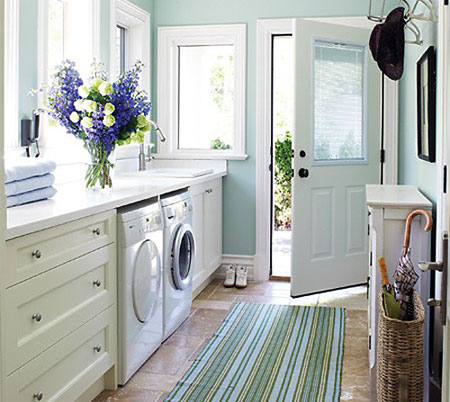
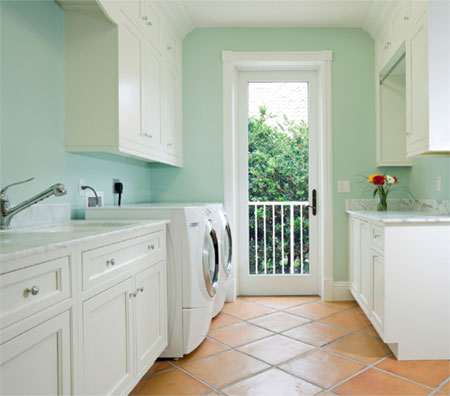
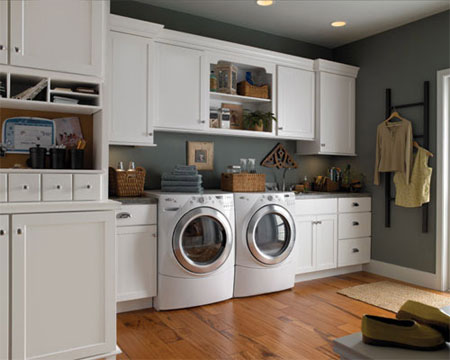
Looking at the images you will immediately notice that they all have one thing in common: All the cabinets are framed Shaker-style. That's good news for us - it's what we love to do.
Our client particularly wanted the cabinet (far left) in the last image above, with a few minor modifications. The laundry wasn't as big as those in the images and she needed a larger cabinet to house as much as possible.
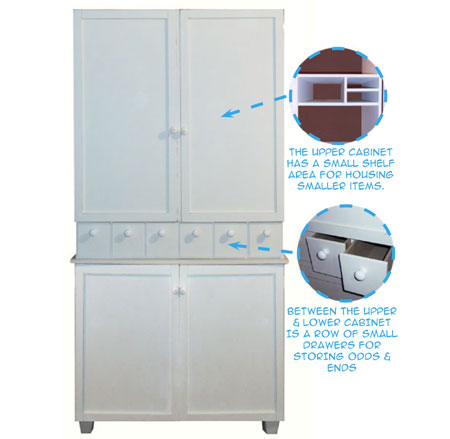
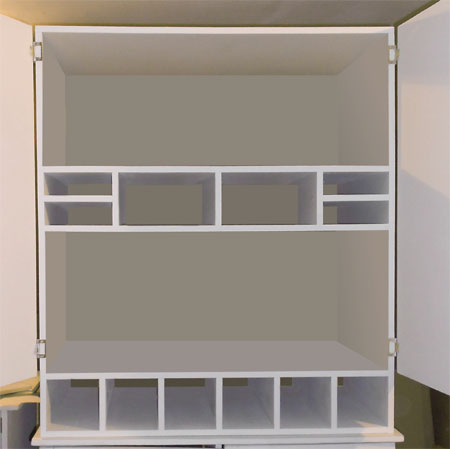
Our solution was to manufacture a 3-tier cabinet that had an upper section with shelving, a middle section of small drawers, and a lower section of shelves. The entire cabinet is mounted on solid timber feet to keep the cabinet frame away from the floor and any possible moisture to prevent later swelling.
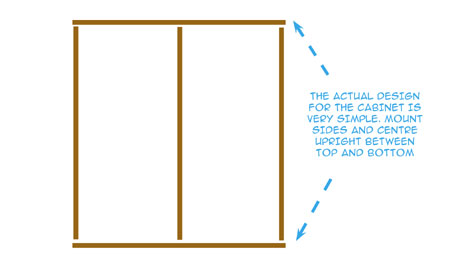
To make the laundry cabinet you need to make a top and bottom section of exactly the same design, with the exception that the top cabinet does not have the centre upright. On the bottom cabinet, fit four solid legs to lift the cabinet off the floor.
The upper cabinet has a row of small shelves fitted inside. Make the entire shelf assembly before mounting through the sides of the frame to hold in place. The same applies to the bottom row of openings for the small drawers.
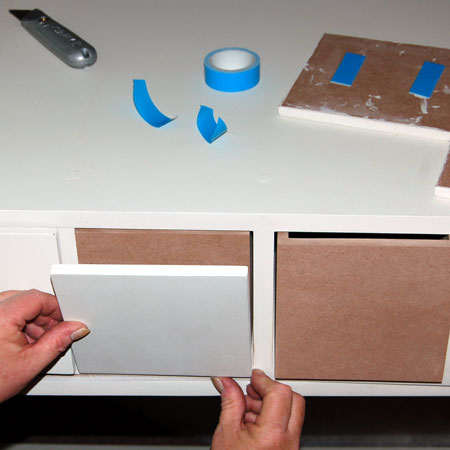
The individual drawers are made using 9mm SupaWood / MDF that is glued together. The drawer front are 5mm larger than the drawers - all the way around. To fit the door front, place the drawers into the spaces and use double-sided tape to position the drawer front squarely on the drawer. This holds the drawer in place while you screw from inside the drawer to attach the drawer front.