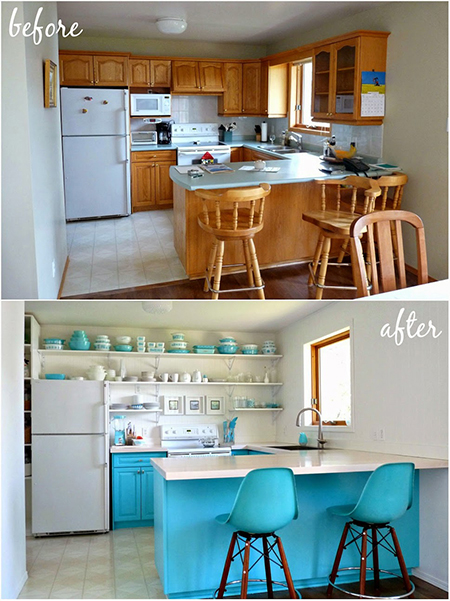
Boring traditional kitchen goes chic Scandinavian
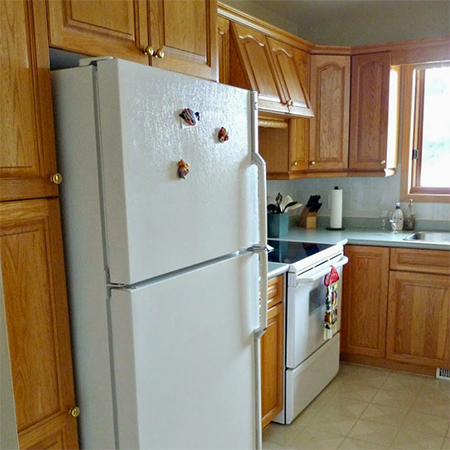
If you are looking at ways to update a boring wood kitchen, you are sure to be inspired by this incredible makeover.
The trend for painted kitchens continues as products and tools are introduced to make the process far easier. We asked Tanya from Dans Le Townhouse to share her amazing kitchen transformation with us, and if you are looking at ways to update a boring wood kitchen, you are sure to be inspired by this incredible makeover.
The style is very similar to the look that our very own Tanya Joel achieved with her magic kitchen makeover, and shows just how easy you can make changes to a kitchen without spending a fortune to have a new kitchen fitted.
We take you step-by-step through how the amazing transformation was achieved, and I have taken the liberty to add or amend details to make it more relevant for South African readers.
The first step in the process was to paint the cabinet doors and frames. All the doors were taken off and the hardware removed. I good scrubbing was needed to remove built up grime, and Tanya used a sponge scrubber and soapy water to clean.
All the doors and frames were lightly sanded with 180-grit sandpaper and a coat of universal primer applied with a paintbrush and foam roller. Be sure to let the primer dry for the specified amount of time.
The cabinet frames were given three coats of paint, applied with a paintbrush and foam roller and, while applied thickly, it still allowed the texture of the wood grain to show through once finished.

The colour used for the kitchen cabinets is Plascon Wonder Lake [B2-A1-3], which has a slightly turquoise tint, but be sure to check out the colour swatches at your local paint store or Builders before buying any colour. Take the colour swatches home and view them in the room under different light conditions before selecting the right colour for you!
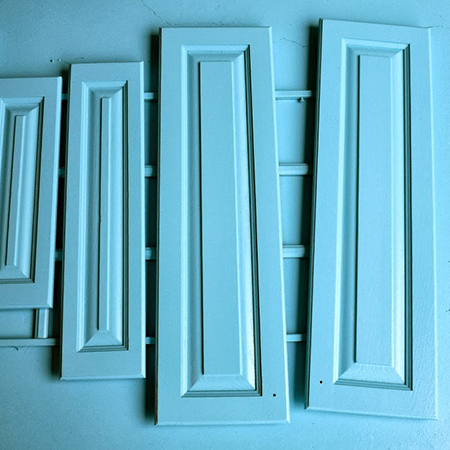
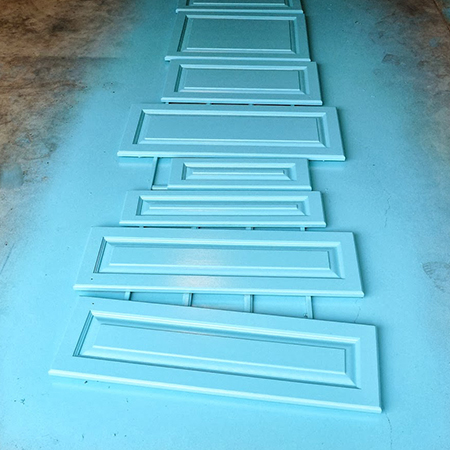
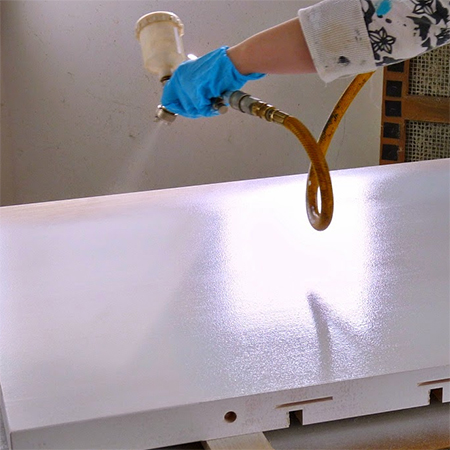
The cabinet doors were taken into the garage and sprayed with a spray gun, such as the Bosch PFS spray system. Using a spray system makes the process far easier and much faster, and allows the paint to get into all the nooks and crannies for a brush-free finish.
If you place the doors on scrap timber it allows you to paint the top and sides in one go, before allowing to dry and turning over to paint the back.
GOOD TO KNOW
If you are using Plascon Double Velvet for painting the doors, make sure the paint is completely dry before turning over and use new scrap timber. I like to apply a thin coat of wax polish over the strips, as this prevents the paint from sticking to the strips.
As an alternative, you could paint both the cabinet frames and doors with Rust-Oleum Gloss Protective Enamel spray. While this takes longer to dry, it offers a durable and tough finish to your doors.
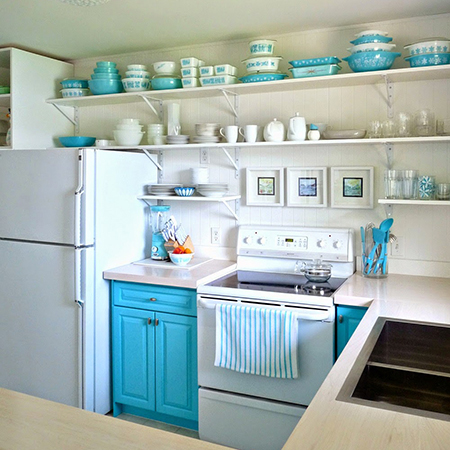
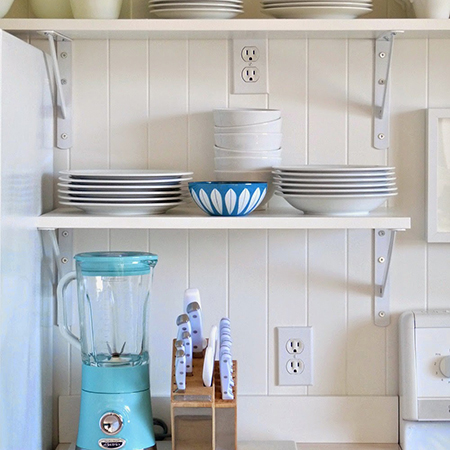
The wall cabinets were removed in favour of open shelving. Tanya has an extensive collection of Pyrex-ware that she wanted to put out on display and open shelving provided an affordable and easy solution.
Rather than tile the walls, beadboard panels were glued in place and then painted. Since we don't have beadboard panels in this country - make your own using 3mm masonite or MDF. Both materials are fairly reasonably priced and you can cut and fit without too much fuss. The panels can be glued onto the wall with Pattex No More Nails adhesive.

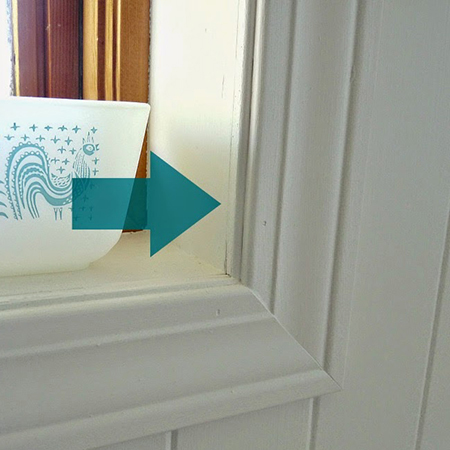
Pine moulding was installed around the window frame to cover up where the panels meet the window. You will find a selection of pine strips and moulding at your local Builders store.
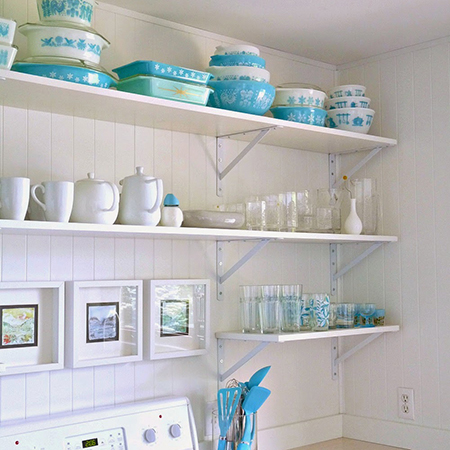
Simple brackets and laminated pine shelves were mounted onto the walls. You can paint steel brackets with a coat or two of Rust-Oleum Gloss Enamel spray.
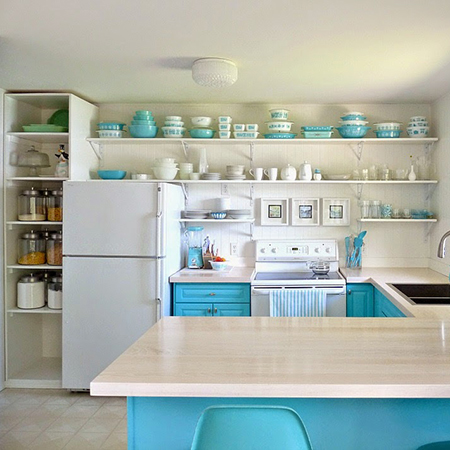
A simple shelving unit was built to fit down one side of the fridge to provide more storage after removing all the wall cupboards. Another reason for fitting the shelf unit - after removing the cabinets it was discovered that the floor tiles didn't extend underneath and this would have left an untiled area in the corner.
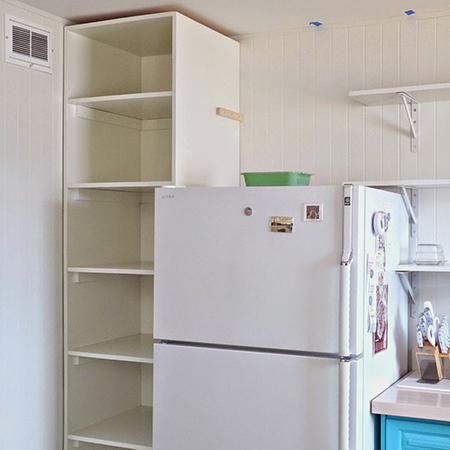
While Tanya used plywood for the shelf unit, the quality of our local plywood is so bad, I would recommend using laminated pine as a substitute. You will need to apply wood primer before painting.
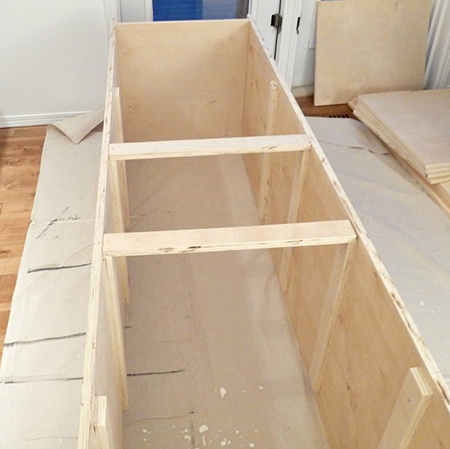
The design is a simple frame with battens mounted on the sides to hold the shelves, and battens at the back to give the cabinet support.
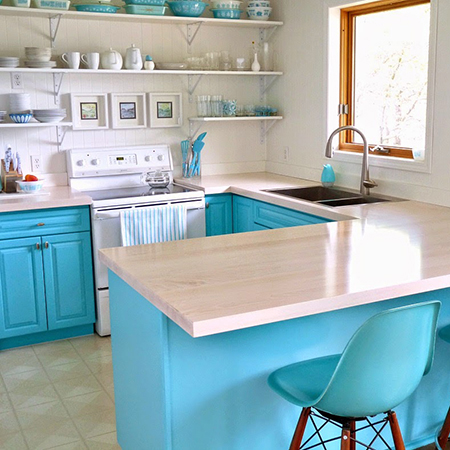
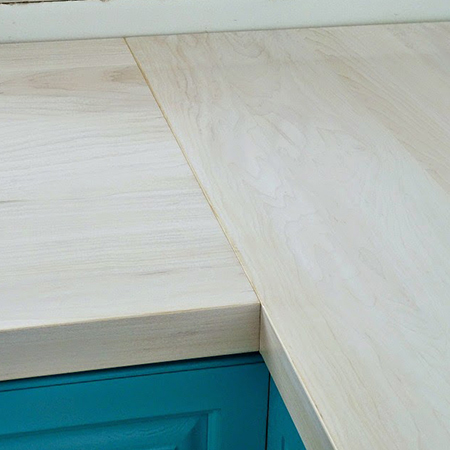
The solid maple kitchen countertops were handmade. Because of the high cost of imported timbers, you may want to look at substitutes such as Formica, Caesarstone or other alternatives for more affordable countertops. If you want to go the wood route, get in touch with your local timber merchant and discuss the option available.
dans-le-townhouse.blogspot.ca
The solid maple countertops were painted to give them a whitewashed effect and lighter finish that would complement the colours used in the kitchen
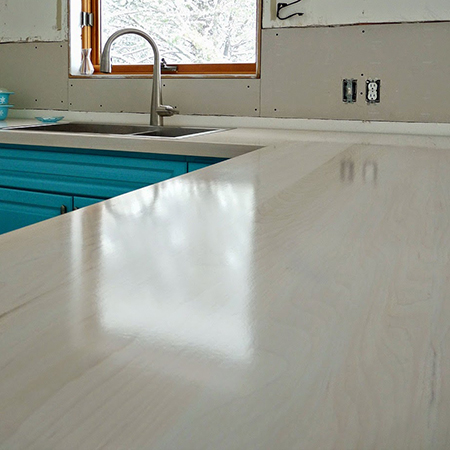
Tanya used a spray gun to apply a light coat of white paint over the surface of the maple countertops. Have some test pieces available and water down the paint until you are happy with the finished colour. If you need to, you can have a cloth on hand to wipe back the paint before it has time to dry.
Two to three coats of polyurethane varnish applied over the top will provide a durable finish and you an choose from satin or gloss.
Goes to show... you can turn a drab kitchen into a wonderful light and airy space on a budget and as a do-it-yourself project. Take the time to plan what you need to do, look at the various alternatives and options available and make sure you allow for the kitchen being out of action for a few days here and there.