
Tips on Removing Floor Tiles
Deciding to replace any type of flooring is messy, but none messier than ripping up floor tiles, so plan your day and let's get down to basics.
25/08/2022
Ripping out floor tiles is one of the messiest home improvement jobs you can do, especially when the floor tiles were laid properly and are going to be difficult to remove. Any tips you can get to make the project easier go a long way towards speeding up the time it takes and putting less effort into it.
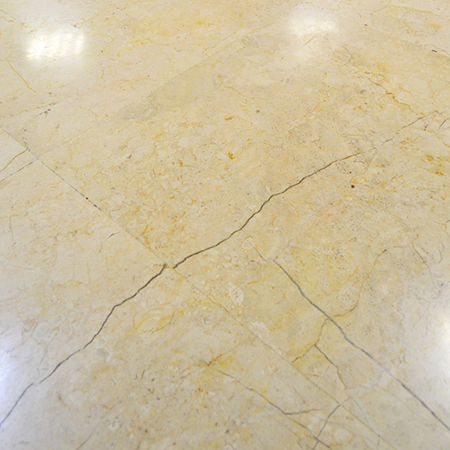
Tile is one of the most durable flooring materials out there, but that doesn't mean they are susceptible to damage. Let's be honest, you drop something on them, and the chances are they will chip or crack, if not installed properly, hairline cracks will appear across the tiles or tiles will come loose, or it could be that you are just tired of the look and want to install an alternative type of flooring. Whatever your reason for wanting to remove a tiled floor, use the tips below to guide you through the project.
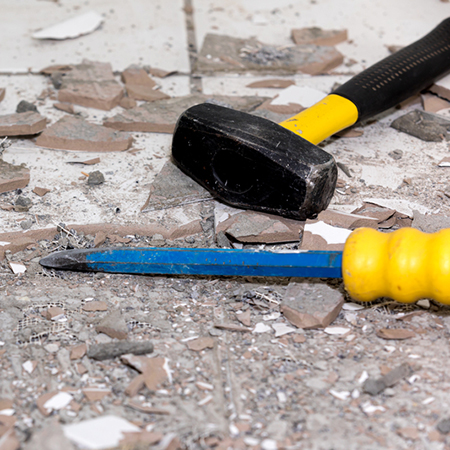
1. The tools you will Need
Having the right tools on hand makes all the difference. You can spend hours and hours using a hammer and chisel whereas hiring a hammer drill will do the job in the shortest time possible. To ensure you have all the tools you need, look at this list and pop into your local Builders store for items you don't already have. And don't forget Talisman Hire inside Builders where you can hire those tools you don't have but don't want to buy.
- • Hammer and chisels
- • Hammer drill - hire for the day or a weekend
- • Angle grinder
- • Wheelbarrow (it's also a good idea to hire a skip to remove the rubble)
- • Knee pads (the floor gets very uncomfortable after a while)
- • Dust mask
- • Safety goggles are a must
- • Thick gloves
- • Ear muffs or ear plugs if using a hammer drill
- • Old clothes
2. Prepare the space
Ripping out tiles is one of the messiest home improvement projects you can do. To limit the amount of dust in the home, use plastic sheets to close off doorways and prevent the dust from spreading throughout the house. You will also want to cover fitted items that cannot be removed from the room with drop cloths to protect them. The fine dust generated during the removal process is a nuisance but unavoidable.
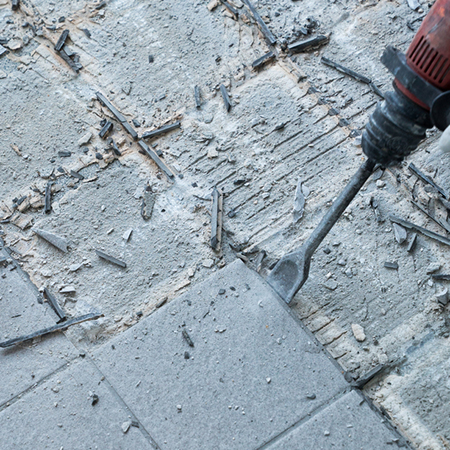
3. Remove the floor tiles
Pick an area to start removing the tiles, preferably the farther area from the entrance point so that you can work backwards and out of the room. If you are using a hammer drill, start on the grout around a single tile and manoeuver the drill so that it lifts and breaks the tile. From this point on, you can move on to the next tile and repeat the process. Don't attack the top of the tiles as this can result in sharp shards flying all over the place.
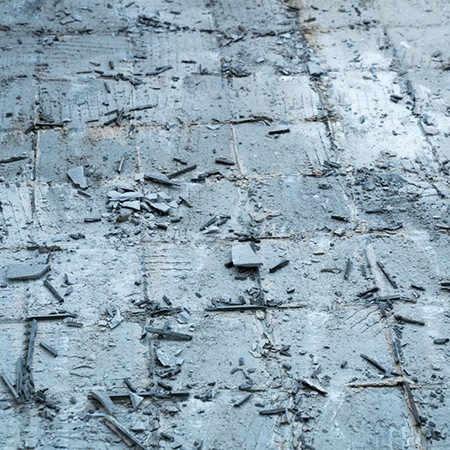
4. Remove tile adhesive
It is a sad fact but true that when you remove tiles hard adhesive is always left behind and this must be removed before you install new tiles or flooring. These hard lumps can be easily removed with an angle grinder if you don't want to go to the trouble of using a hammer and chisel.
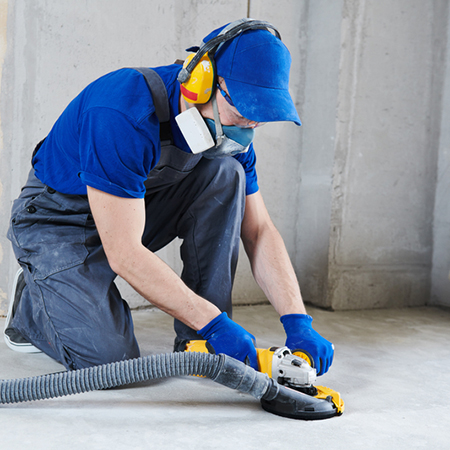
5. Clean up
Ripping out tiles makes a lot of mess and the clean-up is just as bad. The dust is fine and gets everywhere, so even using a sweeping brush can exacerbate the problem by making the dust fly all around. The best solution for cleaning up this fine dust is to hire a dust extractor or borrow one from someone you know. The dust is immediately sucked into the vacuum bag which can then be disposed of in a skip or bin.