Tips on plastering an exterior wall
In this feature we offer advice, tips and tricks for plastering an exterior wall where the plaster finish was falling off.
14/07/2021
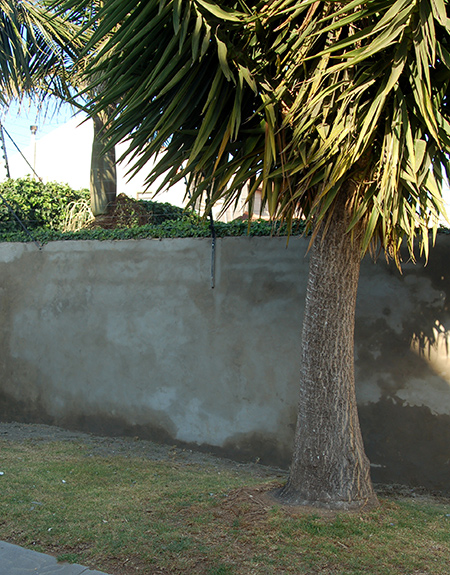
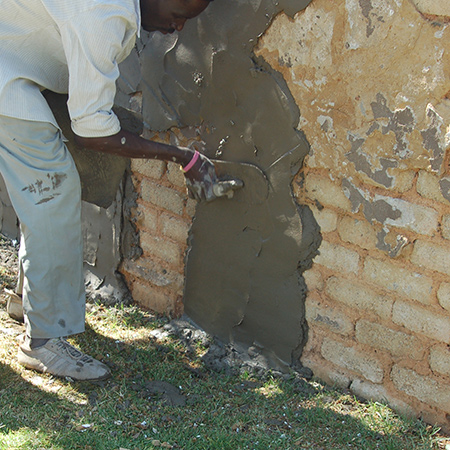
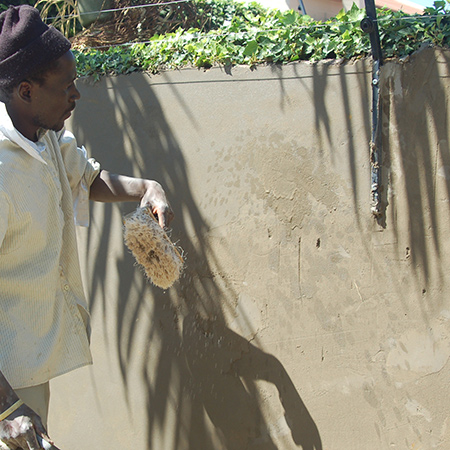
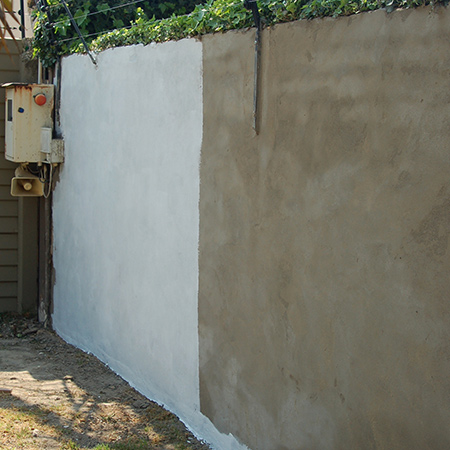
ABOVE and BELOW: 18 years of exposure to the elements has resulted in severe damage to this exterior wall.
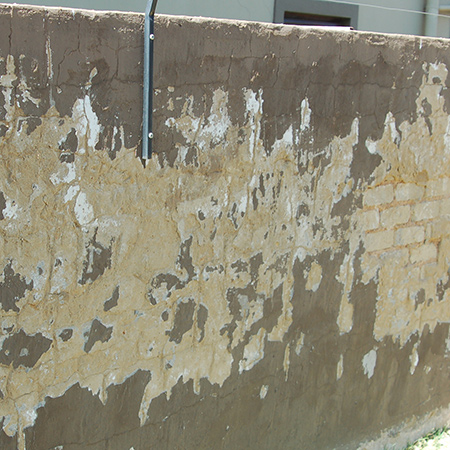
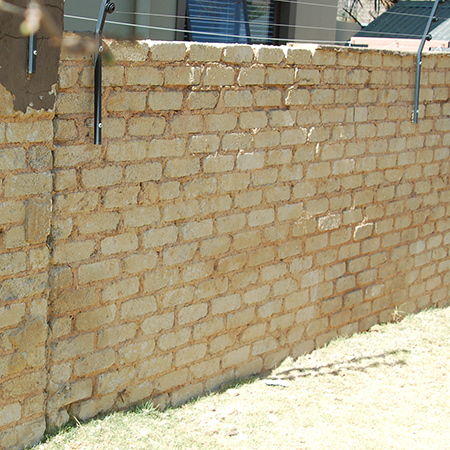
BELOW: To rectify the damage it was essential that the chalky, cracked plaster finish be removed down to the brick and mortar.
Many consider expert plastering a difficult job to take on, but it's not as difficult as you think. Start with a few small plastering jobs in and around the home before tackling something larger. That way, you will easily get the hang of the process.
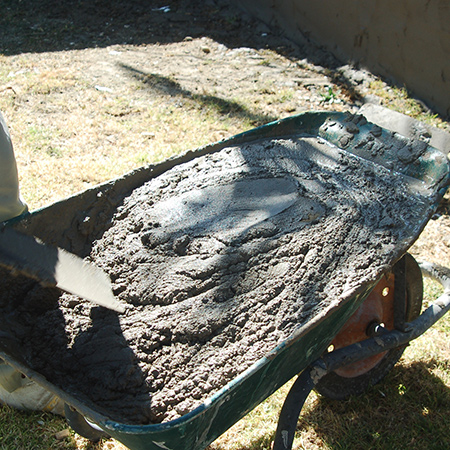
The correct mix for plastering is important; the proper ratio of sand to cement will ensure that a plaster finish is not chalky. The consistency should be stiff enough to hold firmly against the brick wall without slumping or falling off.
GOOD TO KNOW: Most Builders store offer 40kg bags of plaster sand and cement.
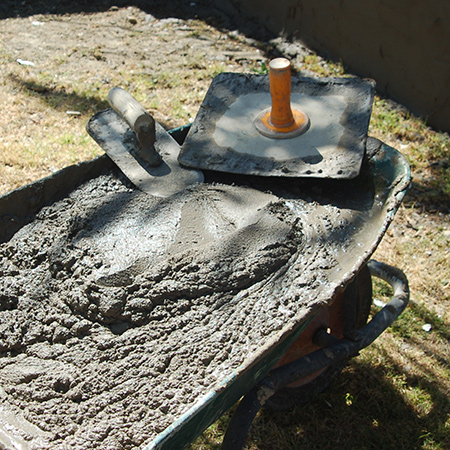
With the aid of a trowel, transfer a section of mixed plaster to the hawk (board). It's a good idea to try out small amounts in the beginning to get used to handling the hawk to hold and transfer the plaster onto the wall.
ABOVE: The plaster mix should be firm enough to hold its shape.
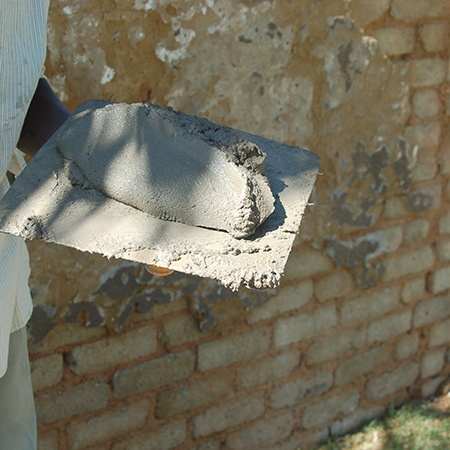
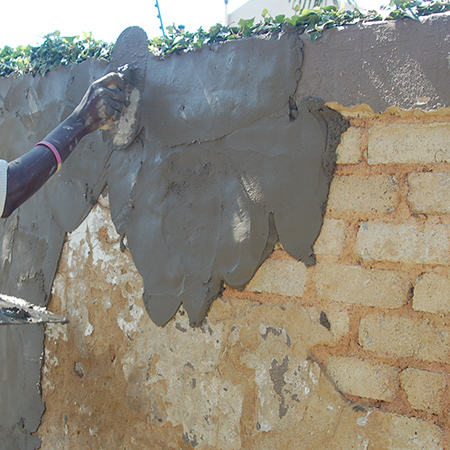
Holding the hawk (board) in one hand and the trowel in the other, take a section of plaster onto the trowel and quickly slap onto the wall. This is where the importance of the plaster mix comes into play, as a mix that is too sloppy with slump and not hold its form.
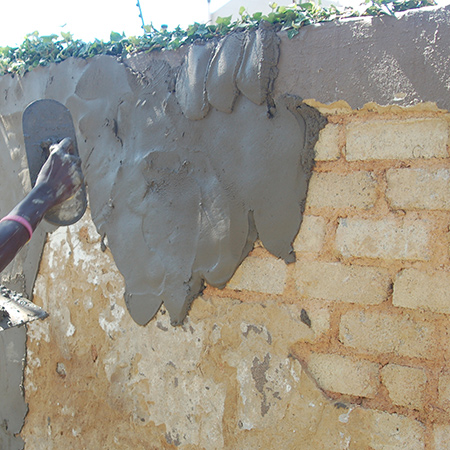
You want the plaster to hold to the brick and be spread across the wall surface. After slapping on a section of plaster, use the trowel to press and apply an upstroke, maintaining an even pressure to distribute the plaster as evenly as possible over the surface. The best method is to work from the top to the bottom in horizontal strokes.
Work one one section of wall at a time, depending on how much you can apply and spread before the plaster has chance to dry out as you work.
By repeating the process of slapping on and spreading the plaster you will quickly have a rough layer of plaster over the wall surface. The aim is to work as quickly as possible to cover a particular section before the plaster starts to dry, especially when the weather is hot.
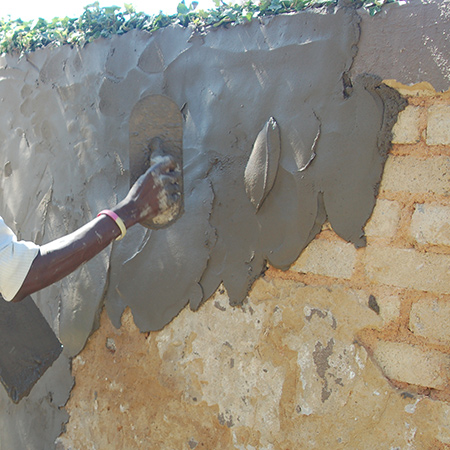
Continue to add more plaster, building up a rhythm of loading the hawk and transferring the plaster to the wall surface and then using the float to even out.
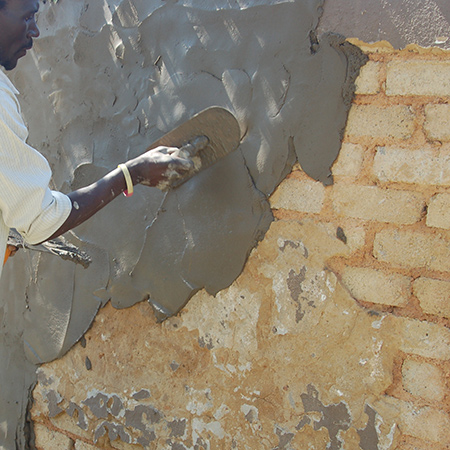
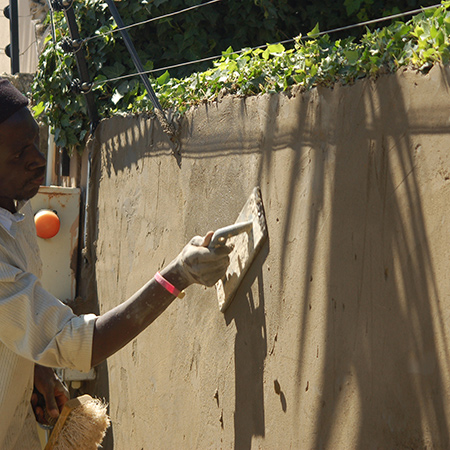
ABOVE: The angle of
the trowel combined with firm pressure ensures
an even
distribution of plaster.
GOOD TO KNOW: At this stage you aren't looking for perfection. However, you do want a reasonably even finish over the surface.
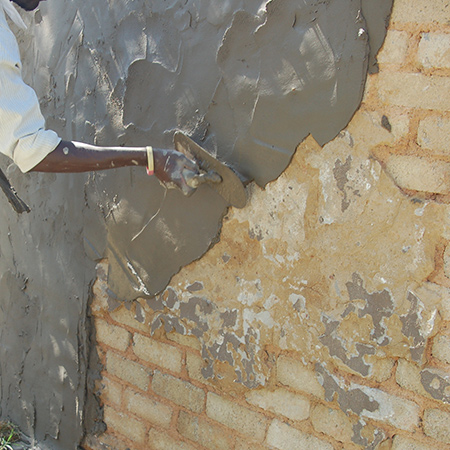
Slowly work your outwards in a horizontal direction and then vertically at the bottom of the wall.
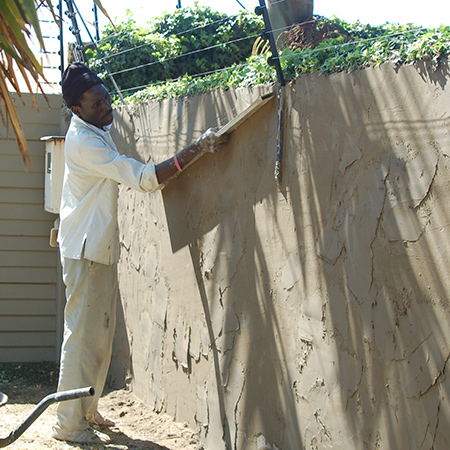
After apply one section move onto the next section. As you complete this the previous section should be ready for 'cutting'. This process involves the use of a straightedge that is scraped lightly over the surface to even out the finish.
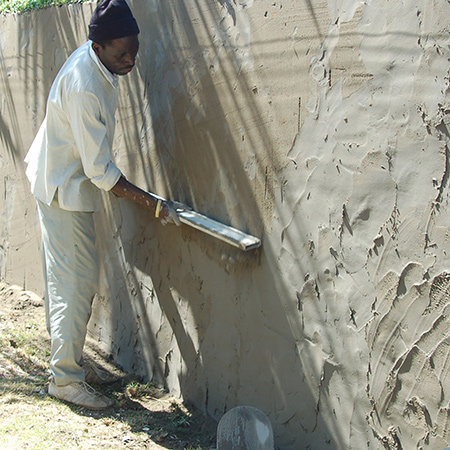
The cutting step removes excess plaster and shows areas where more plaster needs to be applied to build up an even, smooth finish.
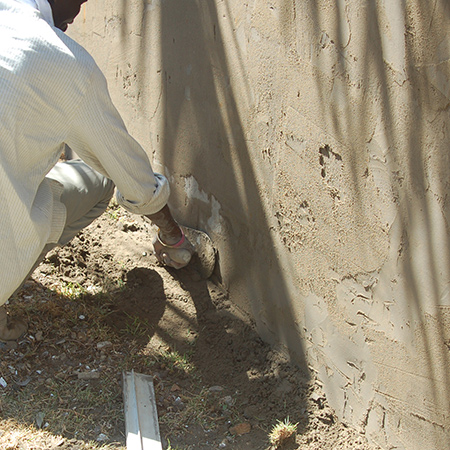
GOOD TO KNOW: Clean up as you work by removing any plaster around the base of the wall.
To even out the finish, or fill in any defects, wet the plaster finish with a large brush. Dip the brush in a bucket of water and throw this onto the wall. This is commonly known as the 'skim' coat.
While still wet, run the float over the dampened plaster with a circular motion. Wet and float, wet and float, until the entire section of wall is done.
Fill any defects by throwing small amounts of plaster mix against the surface, wetting with the brush and smoothing with the float.
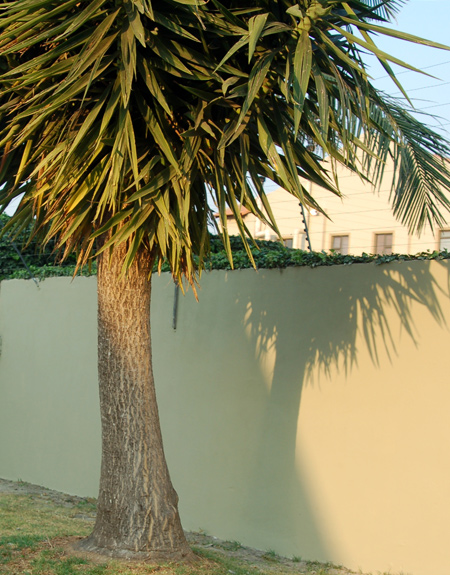
BELOW: Once you master the technique of plastering you can complete so many projects to your home.
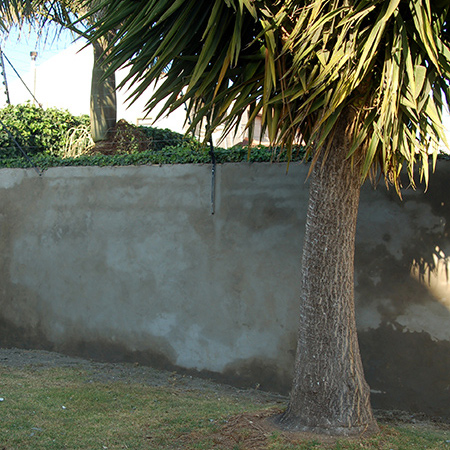
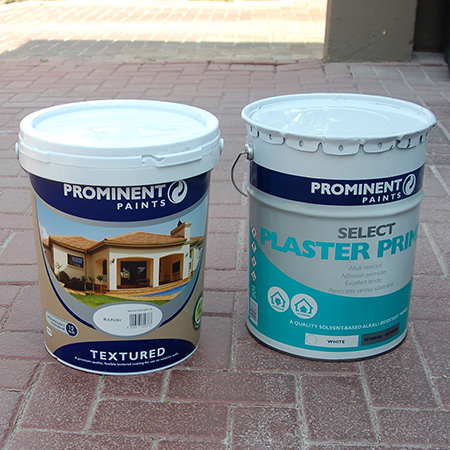
BELOW: To ensure proper bonding to the plaster finish it is necessary to apply a plaster primer. For this project we used plaster primer before applying textured exterior paint.
Allow the plaster to cure for 4 to 5 days. If you know that rain is forecast when planning to apply plaster, hold off the project until the weather improves. After this you can apply the Plaster Primer according to the instructions on the can.
The drying time for primer may vary, so be sure to check before applying the paint finish. Use a paint roller with a thick pile to apply the paint over the primer. Prominent Paints Textured paint is formulated for exterior use and has a life expectancy in excess of 12 years when properly applied.
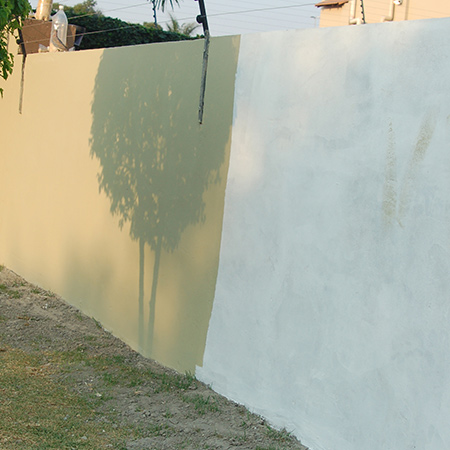
BELOW: The newly plastered wall with a coat of primer and two coat of Prominent Paints Textured paint in Bullrush.