
Lay a natural brick floor
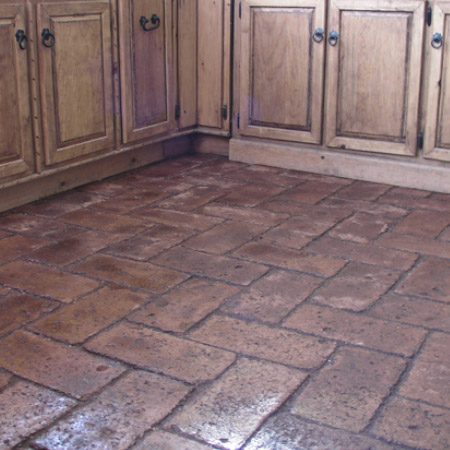
If you are looking for an affordable and sustainable flooring option for a new or existing home, don't forget to include a brick floor as one of the options. We have lived with brick floors for centuries - both indoors and outdoors, and they have more than proven that they are long-lasting and durable as a flooring choice.
flickr.com/photos/velacreations/3890219473/in/set-72157622051279853
Having looked for flooring options for my lounge / workshop I've encountered numerous problems and stumbling blocks along the way. The existing slab is too crumbly to apply a screen, at least within my budget. Tiles are not practical since we store and assemble heavy items that will chip or crack the tiles. And then I remember an article I did sometime back on brick floors, and this is definitely something that I am going to look into. The only stumbling block here will be that it raises the level of the floor.
The are more than a few reasons why brick floors are great for indoors:
- Clay bricks are more affordable than any other type of flooring
- They are easy to lay, even for a beginner DIYer
- Because of easy availability, you can replace or add on as and when
- Clay bricks offer thermal properties that keep them warm in winter
- Clay bricks are available in various finishes
Depending on the finish you want, you have the choice of laying bricks with mortar joints or simply sweeping sand into the joints. The latter is obviously the easier and faster method but does require more maintenance in the long run.
HERE'S HOW:
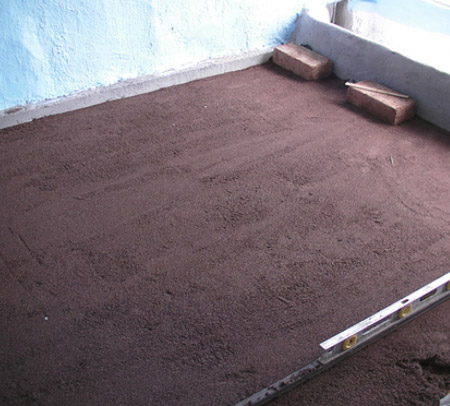
1. These instructions are based on an existing concrete slab or screed floor. Put a 2cm layer of sharp sand over the area where bricks are to be laid.
While it may not be necessary, filter the sand to remove any impurities or lumps before laying.
2. To ensure a level surface, bury a piece of square tubing in the sand at either side of the room. Use a spirit level to adjust and set the level for the soil with the top of the metal where you want the sand to be. Use a piece of steel angle bar - long enough to bridge the gap from both sections of buried square tubing - and drag this back and forth over the sand.
GOOD TO KNOW
Set up all your tools closest to where you will start work, preferably along the straightest edge, so that your first row of bricks follows a good line. You will also need to have the bricks close at hand, or have someone pass these to you.
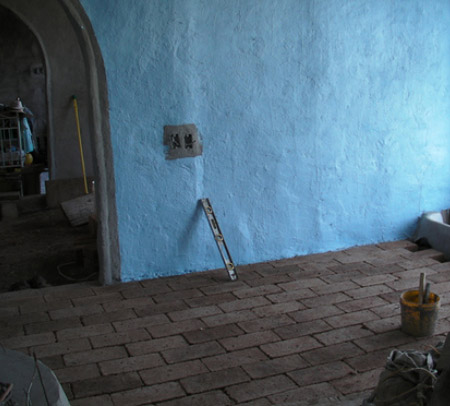
3. Work from one end of the room to the other, laying bricks in your desired pattern.
Any bricks that need to be cut can be added last. Use an angle grinder to cut bricks to fit.
4. As you lay the bricks, have a spirit level handy to adjust the level as you work, and tap the bricks closely together with a rubber mallet.
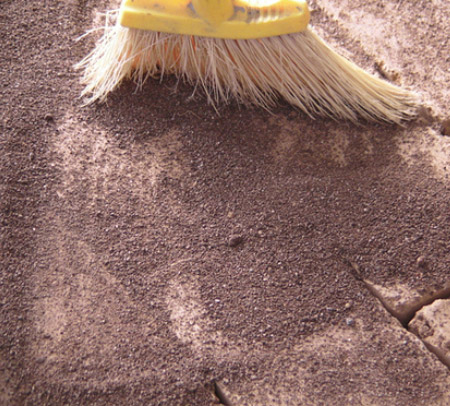
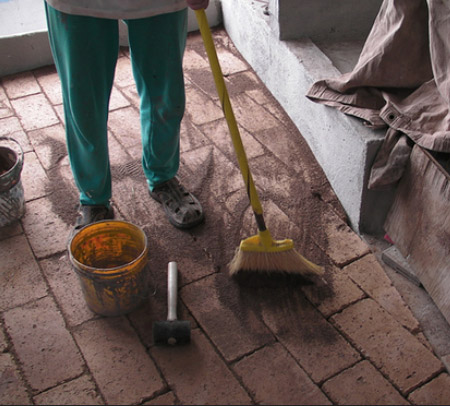
5. After laying all the bricks and cutting bricks to fill in gaps, sweep sharp sand into the joints between the bricks.
6. Sweep clean with a soft brush before applying urethane sealer according to the manufacturer's instructions.
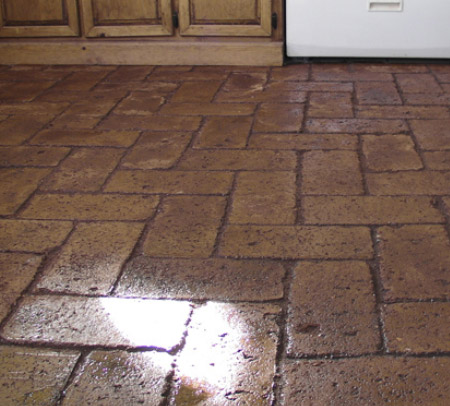
The sealer provides a durable finish that is easy to clean and enhances the natural colour of the bricks, as well as holding the sand jointing in place.