
How to Clad a Wall With Faux Stone Panels
Stone cladding is an easy do-it-yourself way to create a feature wall in a home.
19/04/2023
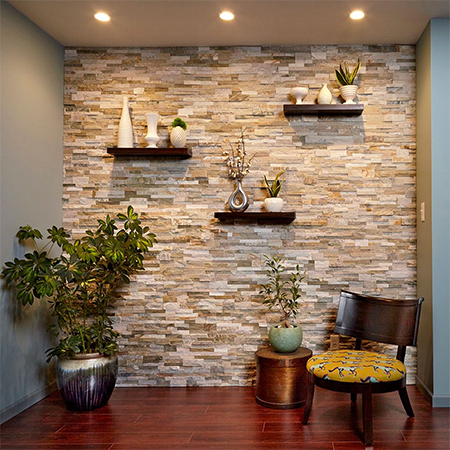
With some stone cladding, you can easily create a feature wall over a weekend. Using the same method as you would tile a wall, you can purchase panels of stone cladding that are affixed to the wall with adhesive. This trend has become so popular that there are many suppliers out there that offer a wide selection of stone styles and designs starting in price from around R230 upwards for a 0.91m2 box.
handyman magazine
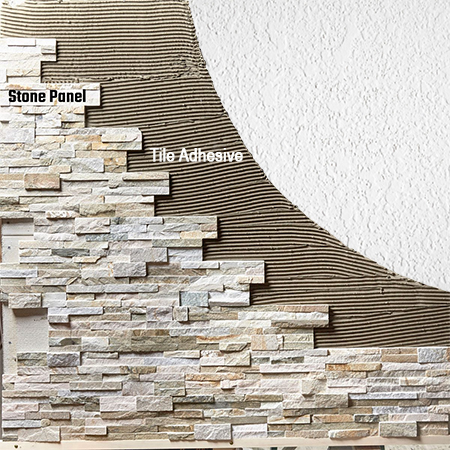
The installation of stone cladding is very easy and even if you only have basic tiling skills, you will be able to complete this project over a spare weekend. The stone cladding comes in panels that are affixed to the wall using a tile adhesive intended for stone tiles and it is simply a method of arranging these to create a beautiful feature wall in your home.
YOU WILL NEED:
Enough stone panels to complete the wall **
Tile adhesive - heavy-duty for natural stone tiles
Rubber gloves
** Most tile suppliers will calculate how many stone panels you need based on the wall measurements you provide.
TOOLS:
Notched trowel
Bucket and clean water
Stirrer or drill attachment for mixing
Tile saw - hire for a day or a weekend
Rubber mallet
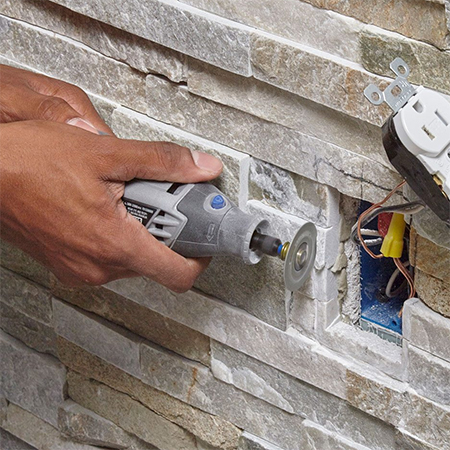
Dremel Multitool with cutting disc
Tape measure and pencil
HERE'S HOW:
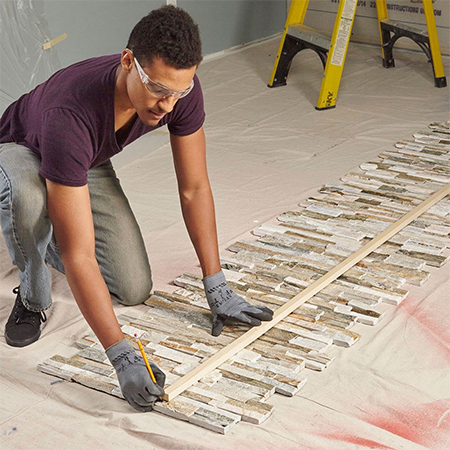
Step 1
To start the project, you need to have a straight vertical line of tile panels to fit at the edge of a wall where it butts the adjacent wall. Place your selection of stone panels on a flat floor and use a straightedge to mark the cutting location. The other side will be cut as and when you reach that stage. Check the height from floor to ceiling across the total width, as not all walls are plumb from side to side and not all floors are level. If you know in advance what you are dealing with, you can make adjustments to the tiles to fit into an uneven area by adjusting the top or bottom row of tiles.
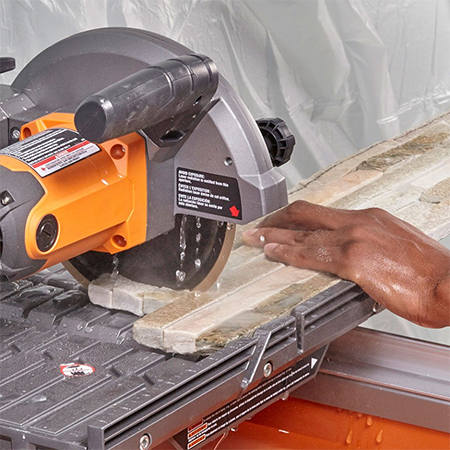
Step 2
A wet saw or tile saw is best for cutting the stone panels and you can arrange to hire one for a day or over a weekend. Cutting the stone panels is easy using a special blade that cuts ceramic and natural stone tiles, so make sure to request this or purchase what you need on the day you hire the tool. Talisman Hire is inside Builders Warehouse so you can arrange to hire the tool and collect everything you need for this project at the same time.
Step 3
Mix the tile adhesive according to the manufacturer's instructions and get yourself comfortable in front of the wall. Have the stone panels set out in the order that they will be installed, keeping in mind that the end at the far wall will be left blank so that the stone panels can be cut to fit.
Start at the bottom of the wall and use the notched trowel to apply adhesive over the surface of the wall, covering fully in an even coat. Press the stone panels into the adhesive so that they are bedded well in the mix. If you need to, you can lightly tap with a rubber mallet.
Step 4
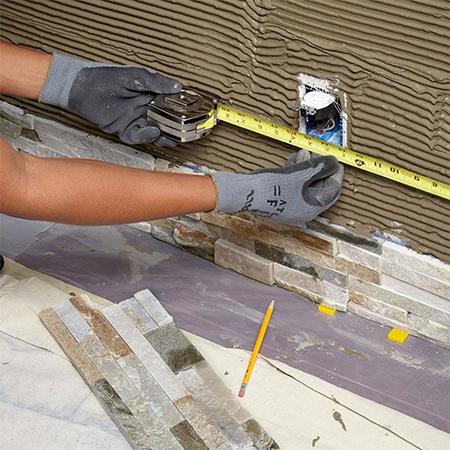
You are lucky if there are no power or light sockets on the wall but if there are, you need to measure the location so that you can cut out the stone panel to fit around these.
Step 5
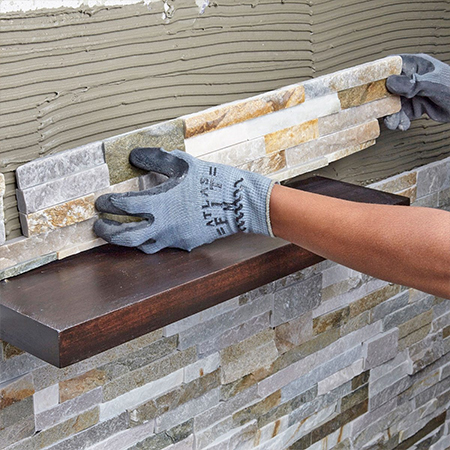
Any fittings that go on the wall, such as shelves, need to be removed in advance and measurements taken of their location so that stone panels can be cut to fit around them once they are back in place on the wall.
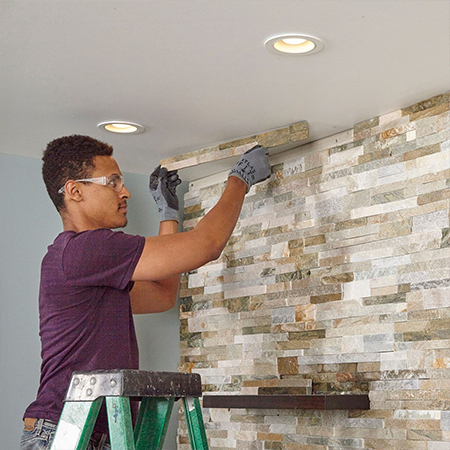
Step 6
Finish cladding on the open side of the wall where a space was left for cutting stone panels to fit and then do the same for the ceiling. It is better to do it this way than have to fiddle around with individual panels.
Finishing
While the stone cladding panels do not need to be sealed and can be left as is, if you prefer to be able to wipe down the wall occasionally, applying a clear stone sealer will make this task far easier.