
How to install RO water purifier
Having previously posted quite a while ago on the advantages of installing a water purifier, here's another article that shows how easy it is to install an RO water purifier system under your kitchen sink. .
I have been drinking purified water for the past 3 years and one noticeable fact is that my 5-year old kettle has no water stains and still looks new
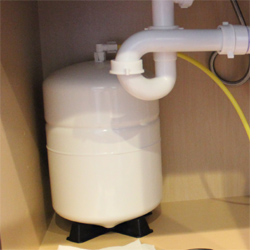
First off, you need to clear out under the sink. An RO purifier takes up quite a bit of space. The tank alone requires at least a third of the space. You will also need to switch off the water supply at the main stopcock. Have a bucket handy to catch any water that remains in the pipes.
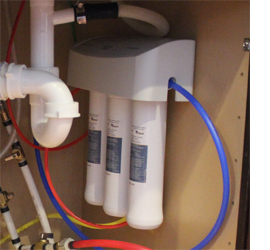
Allow enough space on one side of the cabinet for mounting the RO cartridges. The cartridges need to be replaced every 18-24 months, so make sure they are easy to reach as and when required.
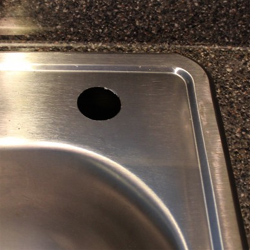
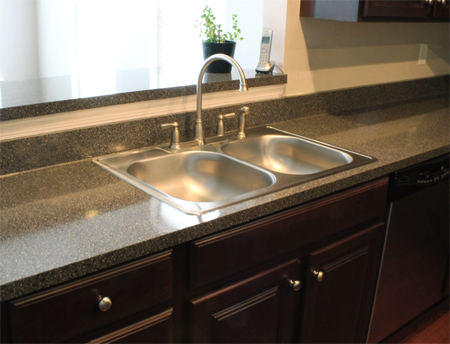
Use a drill/driver and hole saw to make an appropriate size hole for fitting the tap to the top of the sink. It doesn't have to be fitted in the sink itself, you could also mount the tap into the worktop next to the sink. However, make sure the tap itself runs into the basin.
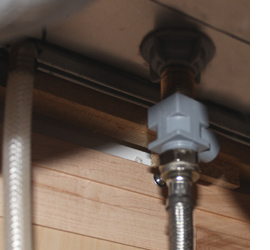
Your purifier system will come with detailed instructions for the correct fitting procedure, but the basic principle is to connect the tap and plumb in the pipes.
Some kits will require adding a waste pipe for overflow and flushing, but on my system I simply had to drill a hole in the drain pipe and insert the RO system overflow pipe.