
How To Trim Indoor Plant Roots
You don't have to purchase larger, expensive plant pots for your indoor plants if they are root-bound, simply trim the roots and re-pot them in the same pot.
24/03/2024
Indoor plants do require care and attention from time to time, especially if you want them to look healthy and flourish. Plants in any size of plant pot will eventually become root-bound, which is when the roots of the plant grow to such a length that they start to spiral around the inside of the pot and poke through the holes in the bottom. If left untreated, plants in this condition will eventually die due to lack of nutrition from the soil or stress.
Although root-bound plants are a problem that needs attention, if you love the size or look of the plant pot being used and do not want to have to replace it with a bigger plant pot, you can always trim the roots and re-pot the plant in the same pot. We show you how easy it is to trim plant roots so that they will continue to look good in their existing plant pots.
How to trim plant roots
YOU WILL NEED:
Premium potting soil (I love the Garden Master potting soil at Builders)
Trowel or scoop
Scissors
Gardening gloves
HERE'S HOW:
Step 1 - Set up a workspace
You will need space to work and it will be messy, so cover the surface with newspaper to make it easier to clean up once you are done.
Step 2 - Disinfect scissors
Before you do anything else, use surgical spirits or ethanol to clean the scissors. This is important as it will prevent any future infection in the roots.
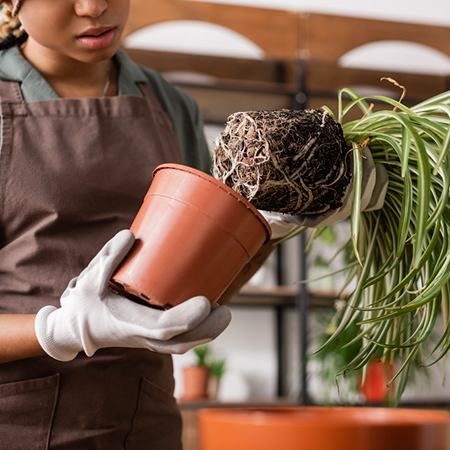
Step 3 - Remove the plant from the pot
Tap around the plant pot with your hand to loosen the soil in the pot. If roots are coming through the bottom of the pot, cut these away with the scissors to make it easier to remove the plant from the pot.
Step 4 - Clean the plant pot
Remove the old soil and clean the plant pot with soapy water. This is not absolutely necessary but it is the perfect time to refresh the pot inside and out.
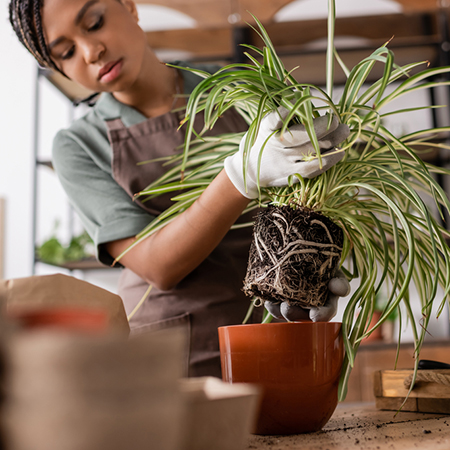
Step 5 - Trim the roots
Use the disinfected scissors to cut away the root-bound roots that have formed around the bottom of the plant pot. You want to leave about three-quarters of the existing root length in place. Don't be afraid to use your fingers to loosen the roots as your plant will appreciate this once it is in its new home.
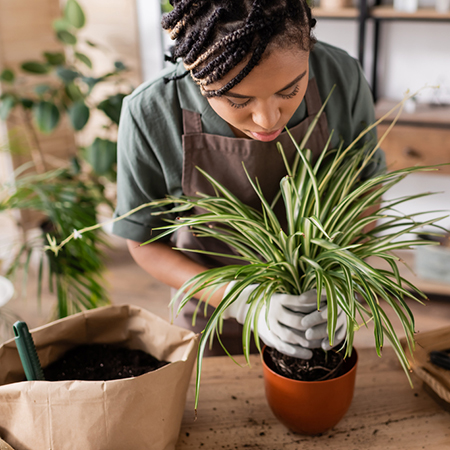
Step 6 - Re-pot the plant
Using a trowel or scoop, place new premium topsoil in the plant pot - just enough that the plant will sit nicely within the pot. Place the trimmed plant in place and, while holding the plant with one hand, use the trowel or scoop to add soil around the plant. Gently press the soil into the pot with your fingers so that there are no gaps and make sure that all the roots are well covered before giving the plant a light watering.
Continue to care for the plant as per usual and your plant will reward you with new and healthy growth.