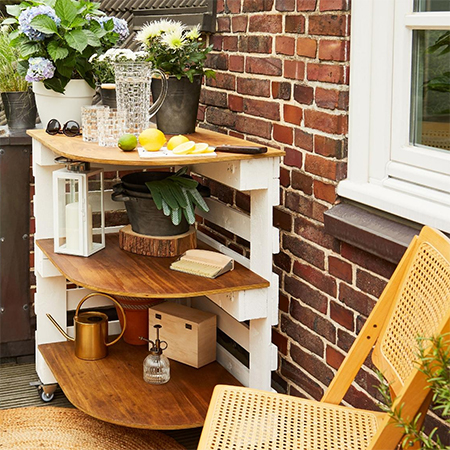
DIY Table / Shelf Unit for a Balcony, Stoep, or Patio
A wood pallet, plywood and a few extras and you can make a mobile table / shelf unit that is ideal for a balcony, on a stoep, or a patio.
23/07/2023
allaboutdiy.com
Here is a great project to do now before spring and summer that will let you enjoy more time on the balcony sipping a glass of wine and watching the sun go down. This corner mobile table is also a shelf unit and you can put all your favourite plants out on display or set up for afternoon cocktails with a few friends.
Using a reclaimed wooden pallet for this project means that you can do it on the cheap and only have to pay for a few additional supplies to finish it off. Adding a plywood top and plywood shelves gives the unit an upcycled retro look that is a bit fun and quirky. Follow the instructions below and you should be able to finish this project easily over a spare weekend.
YOU WILL NEED:
Reclaimed wood pallet (in good condition)
Half a sheet of 15/16mm pine plywood**
4 of 50mm cut screws
3 of Castor wheels with screws
9 of Plastic brackets, 50mm in length
Clamps
Exterior sealer for plywood top and shelves
Water-based enamel (white) for the pallet frame
**You can also use Shutterply as a replacement for pine plywood. Shutterply is a cheaper substitute that may require a bit more sanding and you will need to stain the plywood a dark colour to disguise any grain defects.
TOOLS:
Drill plus assorted drill bits
Jigsaw and fine-toothed cutting blade
All-purpose saw or handsaw
Sander plus 120-grit sanding pads
Bosch spray system or paintbrush
Tape measure and pencil
Safety gear (goggles, dust mask, and gloves)
HERE'S HOW:
CLICK HERE FOR ENLARGED DIAGRAM
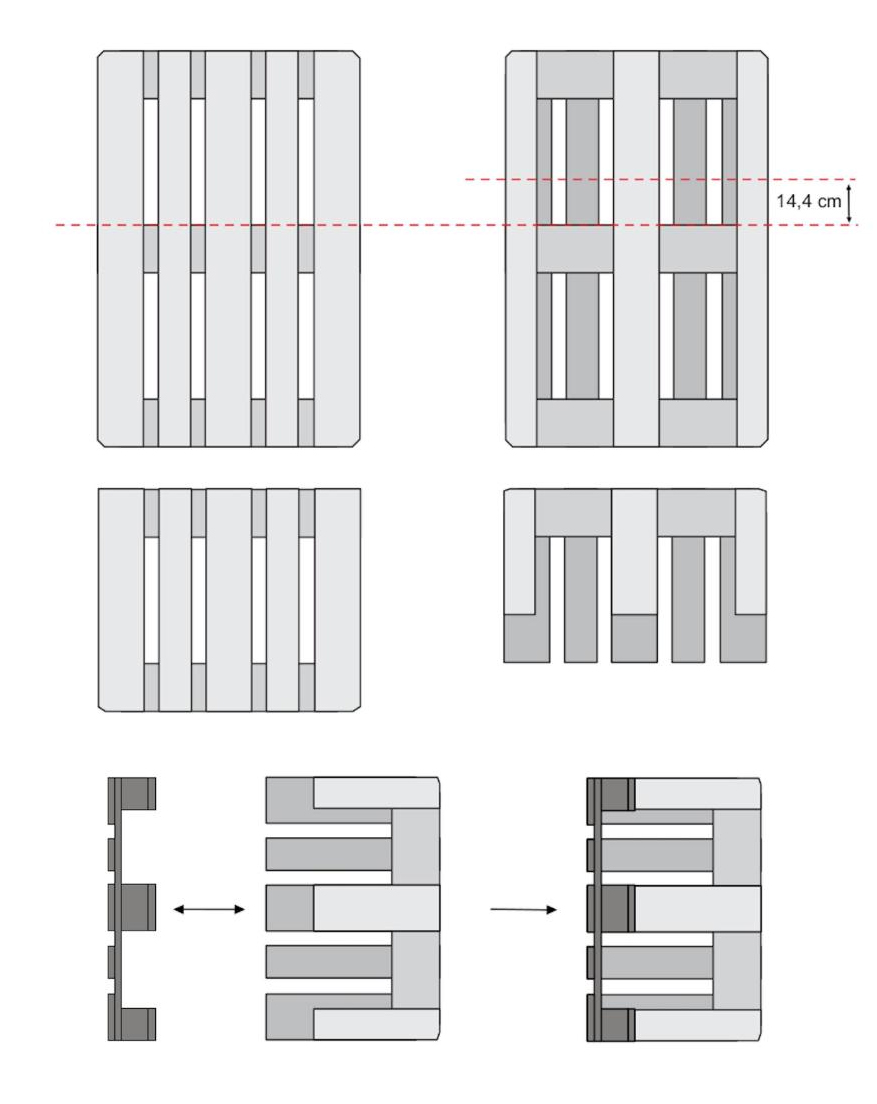
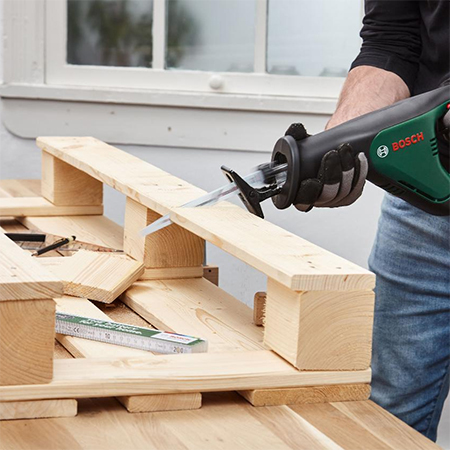
Step 1 - Prepare the pallet
Use the above diagram to cut the reclaimed wood pallet into usable sections. The best way to cut is using an all-purpose or reciprocating saw or a handsaw. DO wear the proper safety gear when breaking down and cutting the pallet. Sand the entire pallet components to remove any loose splinters.
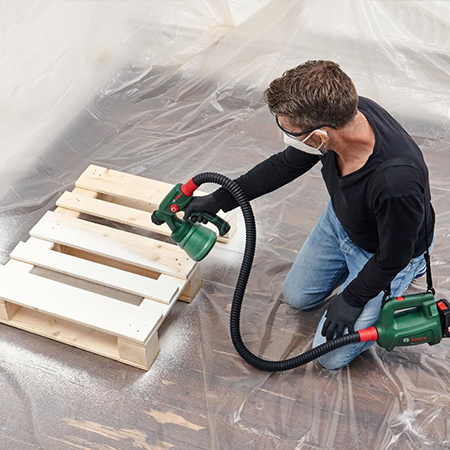
Step 2 - Paint the pallet components
Put down a drop cloth to prevent spills and overspray and use a Bosch spray system to paint the pallet components. If you do not have a spray system, you can paint using a paintbrush. A spray system just makes this step so much easier. DO wear a dust mask for this step. Make sure to allow drying time prior to assembly.
3. Assemble the pallet components
Use 50mm screws to assemble the two sections of pallet to make the frame for the table / shelf unit. Having a pair of clamps on hand will make this step easier for you.
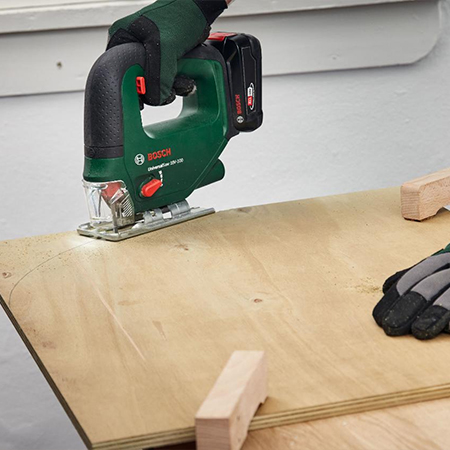
4. Cut the top and shelves
Decide on a shape you want for the table top and transfer this onto the piece for the top section. This table has a gentle curve that leaves out any sharp corners. Find a template that you can use to help you draw the curve and cut out the top section. You can now use this to cut the remaining [2] shelves.
5. Stain and seal the plywood
Because you will be using the unit outdoors, applying an exterior sealer to protect the top and shelves is best. Use a darker tint than you would if you used Shutterply for the top and shelves as the finish on this product is not as good as pine plywood, but it is a much cheaper substitute and if it is darkened, no one will know the difference. Apply the product in accordance with the manufacturer's guidelines.
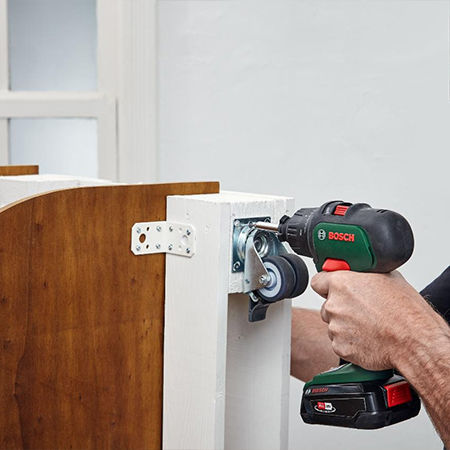
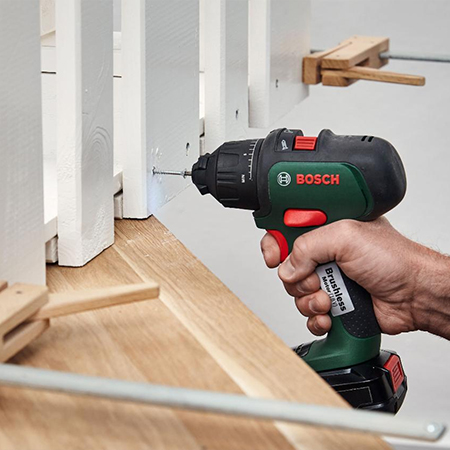
6. Finish the assembly
Use brackets and screws to secure the top and shelves in position on the pallet frame and then add the [3] castor wheels to make it easy to move the unit around.