DIY Planter and Trellis for Creeper
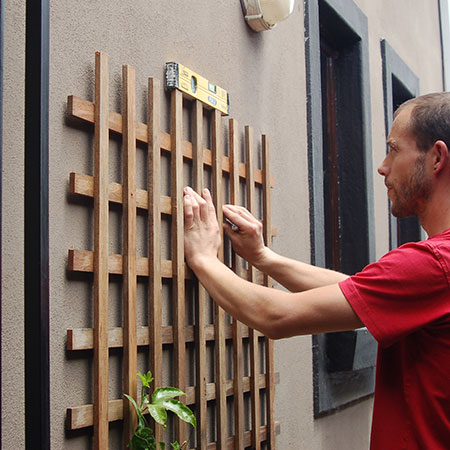
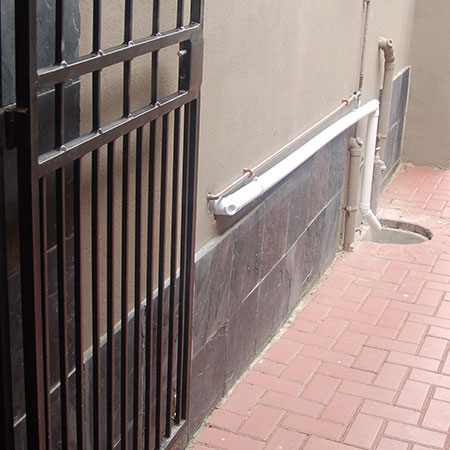
After making an easy trellis for his garden, I got my son to make a trellis and planter box for my front entrance - to disguise pipes installed for my new laundry.
14/01/2019
After seeing how nice this easy trellis looked in the garden, we make a trellis and planter box for my front entrance to disguise pipes fitted for my new laundry. I had some 220mm wide PAR pine left over from previous projects, as well as some Meranti cover strips.
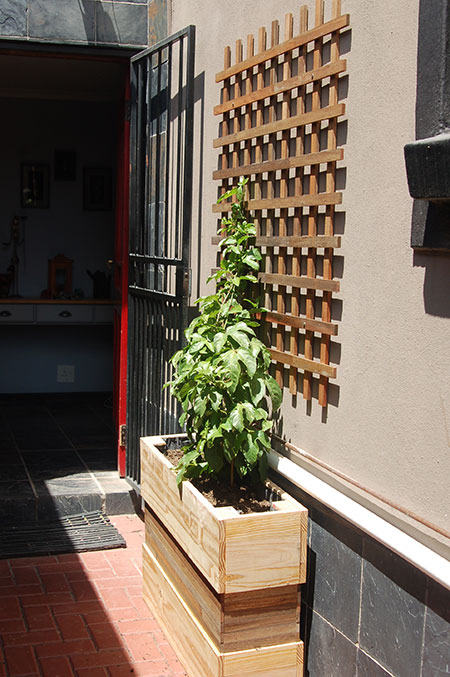
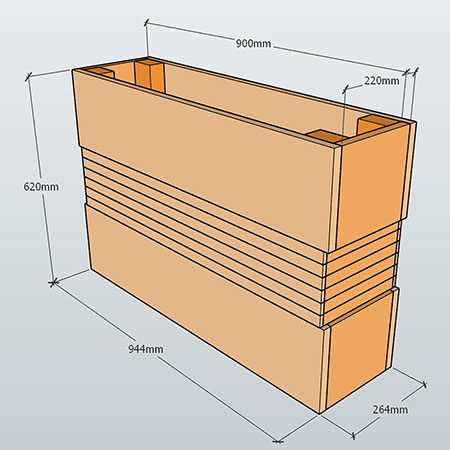
I designed the planter box according to leftovers from previous projects. Using the instructions below you can make a planter box to any size, using PAR pine that you will find at Builders Warehouse, to fit a particular space. This planter is 900mm long x 264mm wide x 620mm high. It is large enough for me to add a Granadilla creeper and a couple of colourful annuals to the front entrance, and also help to disguise the pipes.
YOU WILL NEED:
Materials to assemble the box
Waterproof wood glue
Plastic liner
TOOLS:
Drill / Driver plus assorted bits
Heavy-duty stapler
Tape measure and pencil
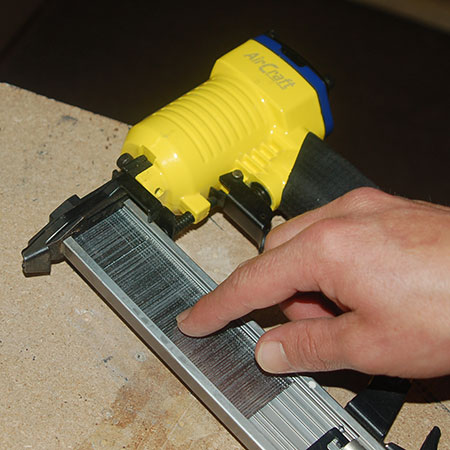
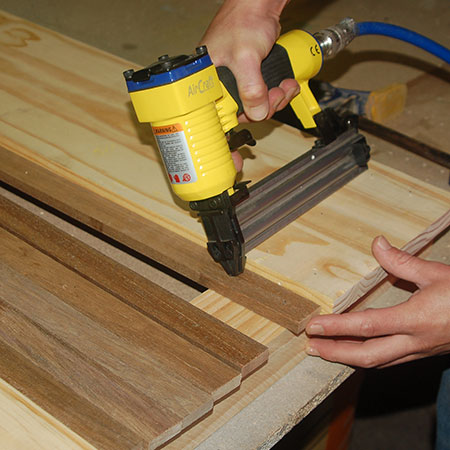
Aircraft Brad Nailer - or similar - or substitute with hammer and panel pins
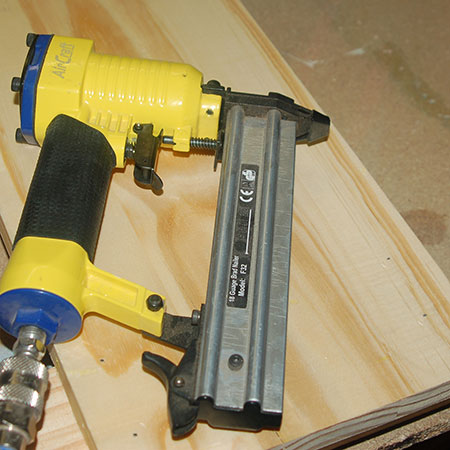
For this project we are using our Aircraft Brad Nailer. If you haven't yet thought about investing in pneumatic tools, once you see how easy it is to use these you will definitely want to find out more. I've done an article on this particular range of tools, if you're interested.
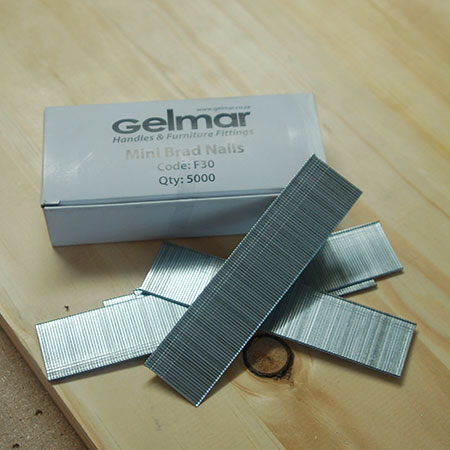
Gelmar stock a wide range of brad nails for pneumatic nail guns, and these work out far cheaper than using screws. So, while the original cost of investing in a compressor might seem a lot, you will save a fortune on not having to buy screws all the time.
HERE'S HOW:

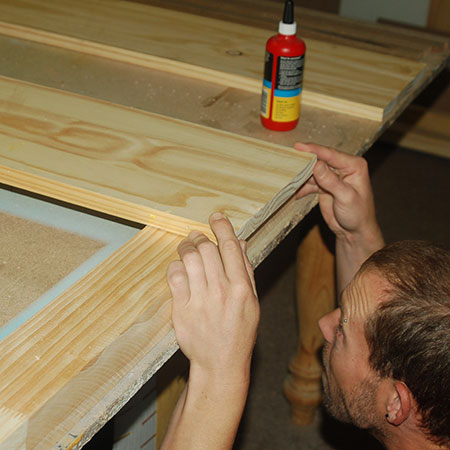
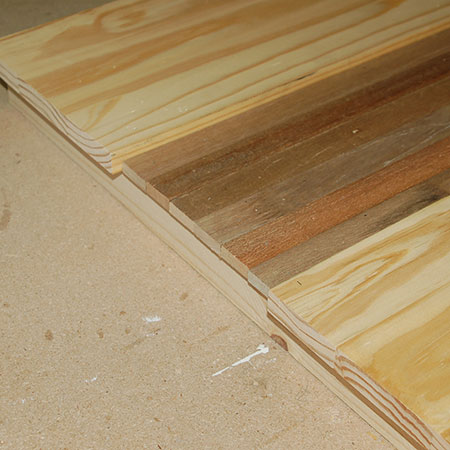
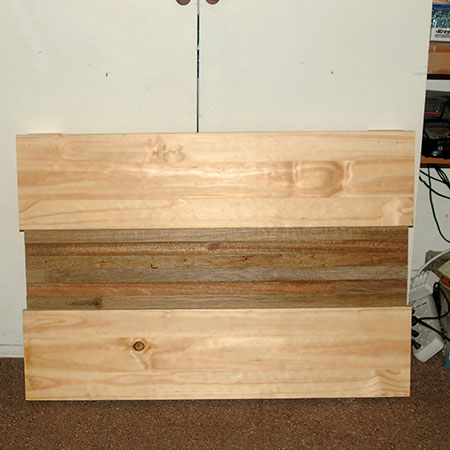
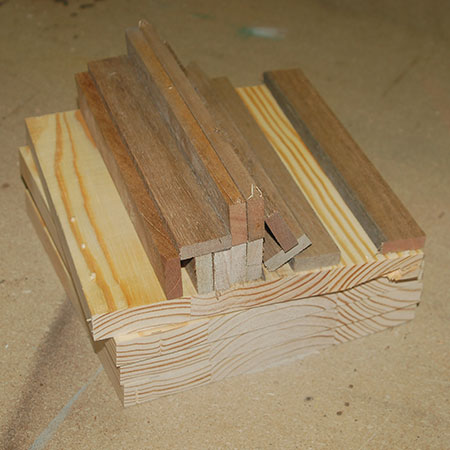
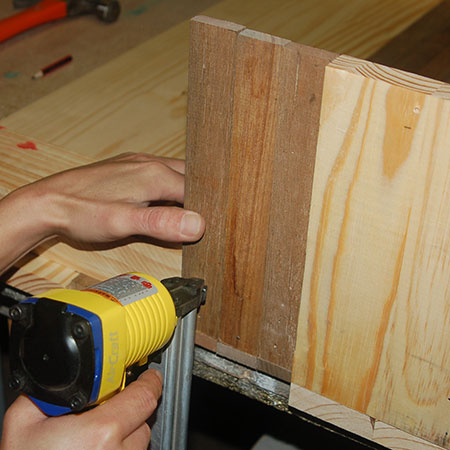
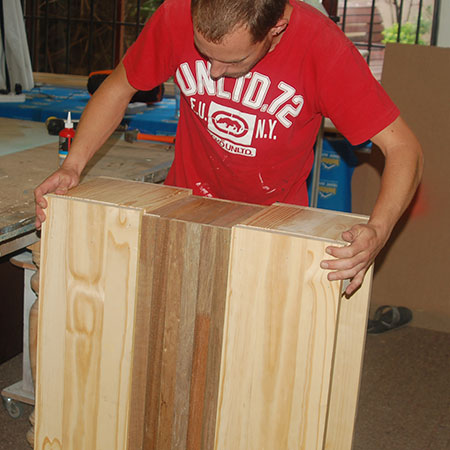
1. Start off by assembling the front and back panels. For my planter box I have a 220mm wide PAR pine panel at the top and bottom of both the front, back and sides, and the centre is filled in with 100mm x 10mm thick Meranti cover strips that have been left outdoors for a while to age naturally.
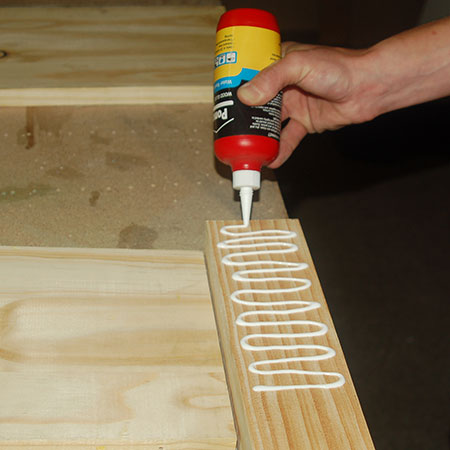
2. The top panels were glued onto the legs one at a time. Eyeball to ensure that you allow an overlap on these panels that will cover up the edge of the side panels once these are fitted later on.
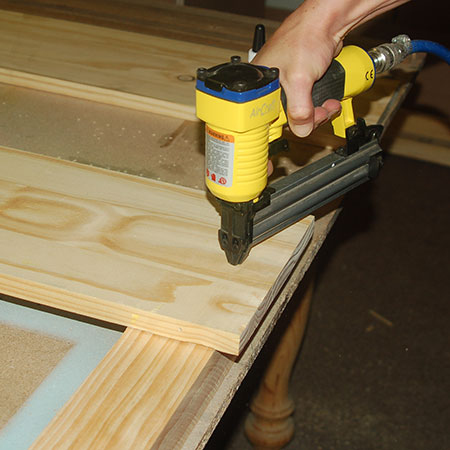
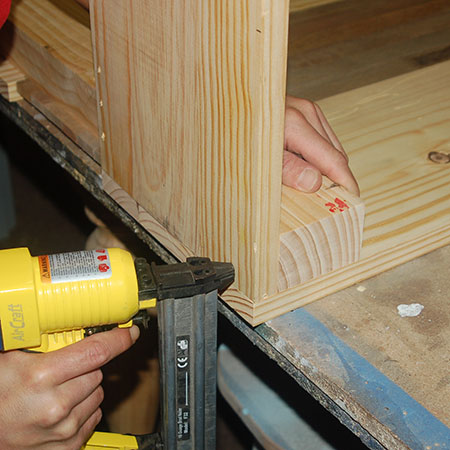
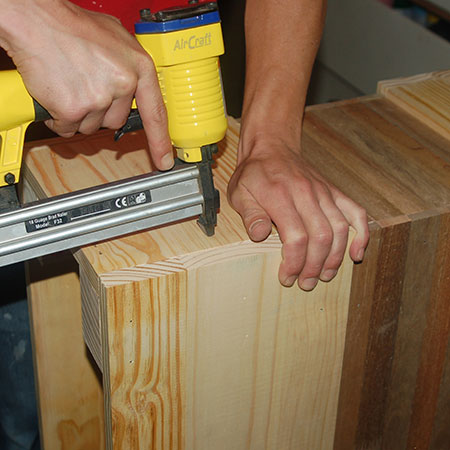
3. Fitting the larger panels is easy with a pneumatic nailer. we placed 2 rows of a total of 6 brad nails on each end.
GOOD TO KNOW: Check that the front and back panels allow an overlap to cover up the end of the side sections.

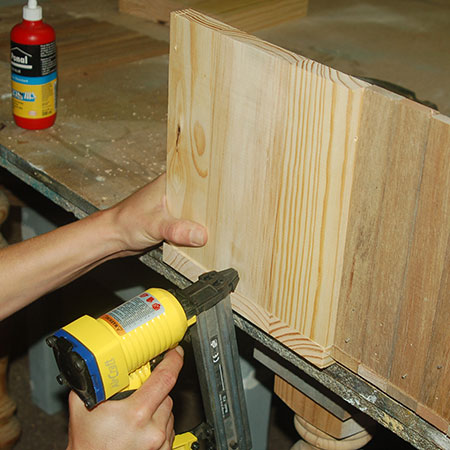
4, As with the larger panels, waterproof wood glue was used to secure all the smaller panels placed in the centre between the top and bottom panels.
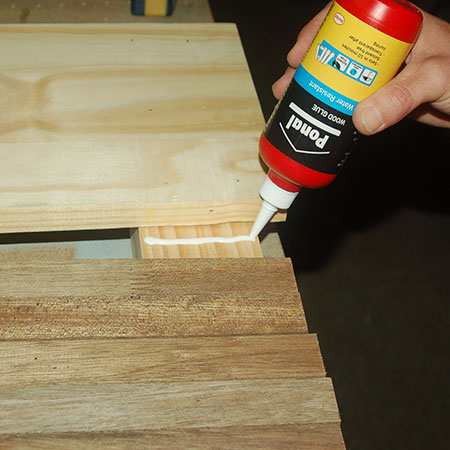
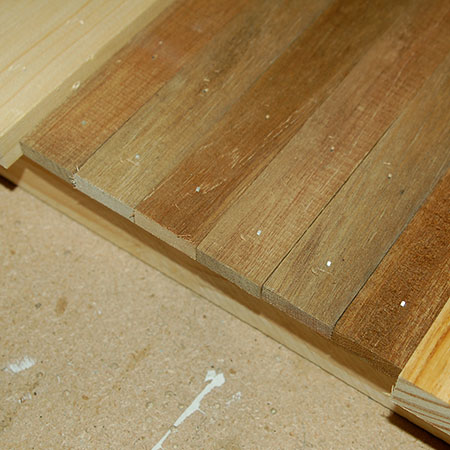
5. These smaller panels were nailed onto the legs and it should be noted that the pneumatic nailer was held at a slight angle when driving in the nails. This angle was adjusted - left to right angles - to ensure the smaller panels were securely in place and wouldn't come loose later on.
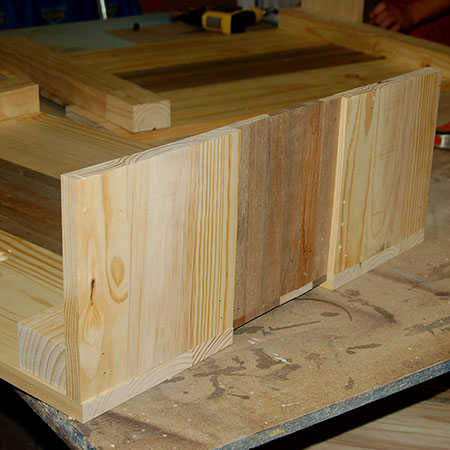
6. Repeat the steps above to assemble the back panel in the same way as the front panel.
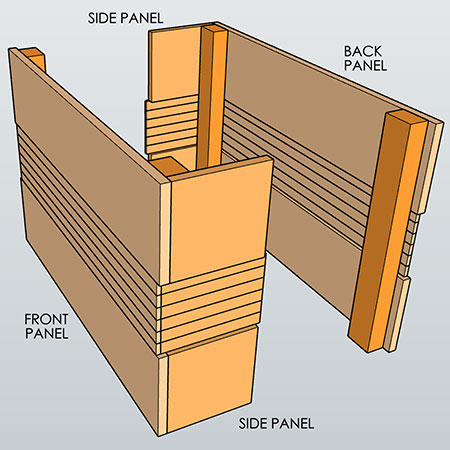
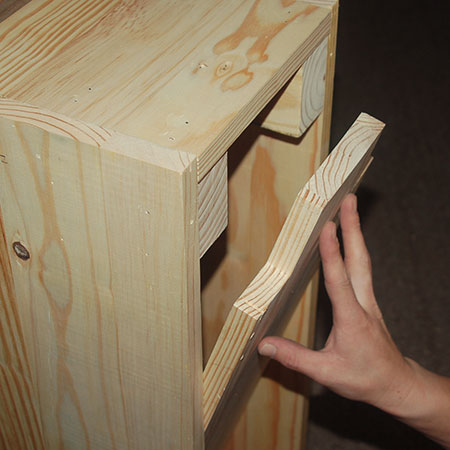
7. Now you are ready to attach the side panels to the legs.
8. Use waterproof wood glue and brad nails to secure the top panels in place to the legs, making sure these line up with the front or back panels.
9. Use the same process for securing the smaller centre panels to the legs.
10. Lastly, add the bottom panel in the same way.
11. To join the front and back panels together, apply waterproof wood glue along both legs.
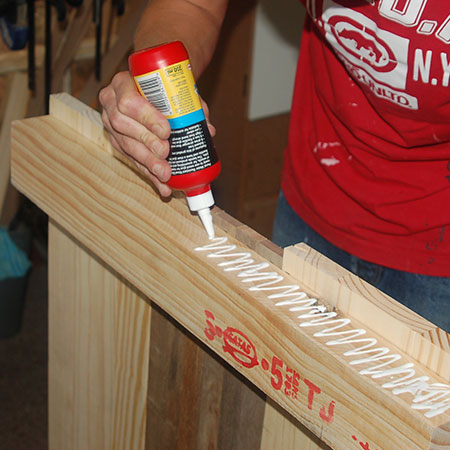
12. Place the assembled panels together. If necessary, you can use quick clamps to hold these sections in place.
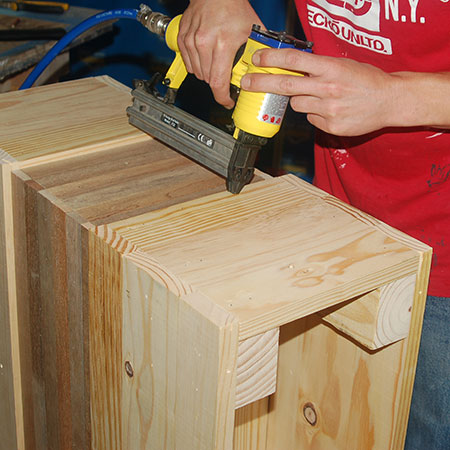
13. Use your pneumatic brad nailer to drive brad nails through the panels into the legs.
GOOD TO KNOW: Again, hold the nailer at a slight angle, varying from left to right angles for a secure fitting.

GOOD TO KNOW: My planter box has been outdoors in extreme weather for the past two weeks. I noticed that the glued panels (front and back) attached to the legs were starting to pull apart - despite using waterproof glue. To rectify this I added a couple of screws through the front and back panels to make sure they stayed fixed to the legs.
27/01/2019
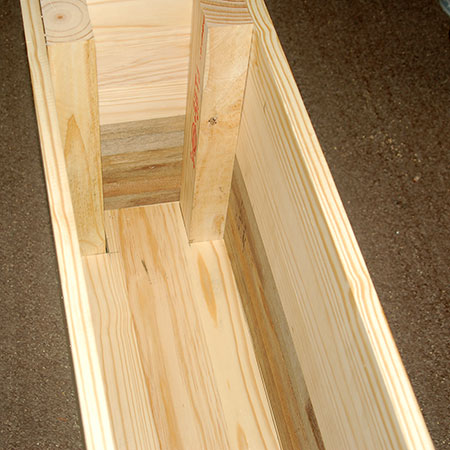
14. The base for the planter is cut to fit inside the box. You need to position this at a suitable height for the size of plants you will be placing in the planter box. In our case we are planting up a Grandadilla creeper and we set the base about three-quarters of the way down inside the box.
15. After placing at the required depth, brad nails were used to secure the base in place.
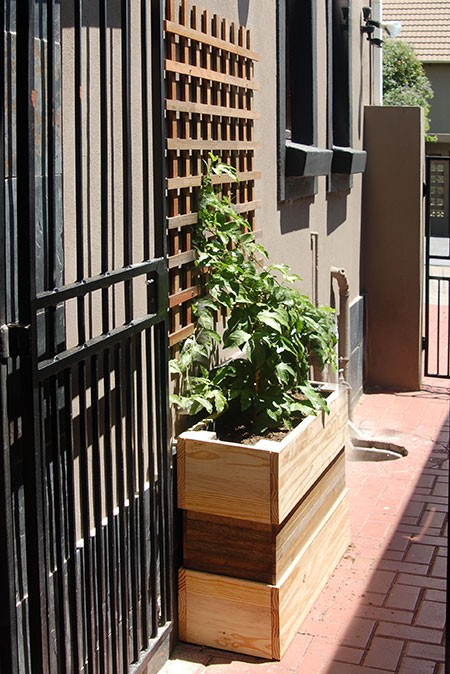
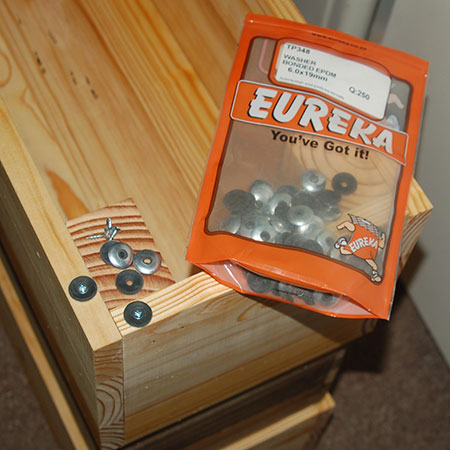
GOOD TO KNOW: To keep the planter box off the floor and extend the life, I added roofing washers around the base of the planter box.
16. To protect the wood from rot, a heavy-duty plastic liner was stapled inside the base area where the soil will go. My planter box is going outside in a fairly protected area. It receives plenty of sunshine, but not much rain due to walls surround the area and roof eaves over the top. I didn't drill holes for drainage, since I will be watering by hand and can control the amount of water. If your planter box is going outdoors, you might want to drill holes in the base and leave out the plastic liner.

Finishing
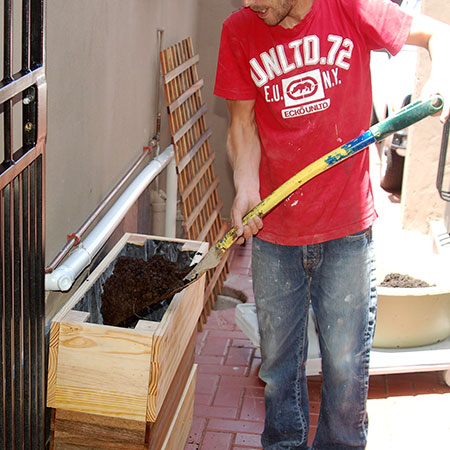
The planter box was filled with soil and the Granadilla creeper planted up.