
Lay a gravel path in a weekend
What's the point of a well-maintained garden if trying to get around it means trampling the marigolds and leaving your paw prints in the perfectly clipped lawn?
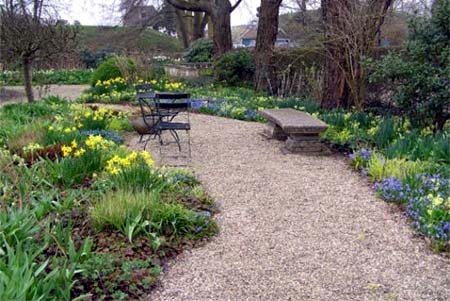
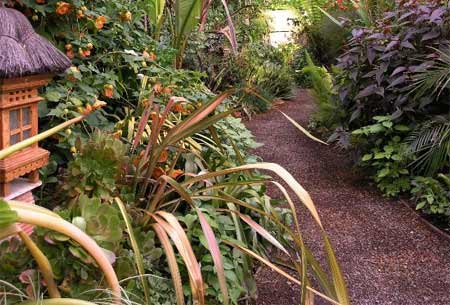
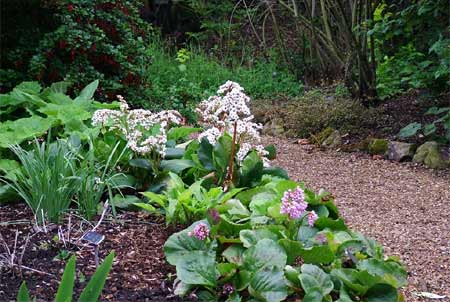
Sure, you could spend several days and many dollars putting in a walkway made of cobbles or bluestone, but a simple gravel trail won't break your back—or your budget. Gravel (as well as crushed brick or crushed shell) is a traditional path material found in formal gardens throughout Europe and Asia, and takes little skill to install. An afternoon to get it down and you'll soon have a natural-looking, foliage-free way to walk through your perfect landscape.
1. Start by marking the location and shape of your path with a garden hose, length of rope or spray paint. If using spray paint, buy Rust-Oleum line-marking paint, which allows you to easily spray lines while holding the can upside down. Using a square-edged spade, remove the soil within that border to a depth of 20cm.
2.
When digging the trench, use the square-edged spade to make the sides of the trench straight, and the bottom as even as possible. Occasionally check the depth of the trench with a tape measure as you go. Next, smooth the bottom of the trench with a steel rake, then compact the soil with a hand tamper.
DIY Tip:
When digging, place the excavated soil onto a tarp to make it easier to remove.
3. After smoothing and compacting the soil in the bottom of the trench, line the trench with about 5cm of crushed stone pack. Rake the pack to level its surface.
4. Dampen the stone pack by spraying it lightly with a garden hose or watering can. Then, use a hand tamper to pound the stone pack into a smooth, hard surface. Dampening the crushed stone first keeps down dust and helps with compaction.
5.
Roll out a layer of landscape fabric over the compacted stone.
To contour the fabric around curves, make relief cuts along both the outside and inside edges. On the inside of the curve, overlap the fabric at the cuts. On the outside, allow the fabric to open up at the cuts.
DIY Tips:
Use spikes or pins to hold the fabric taut so it won't bunch up through the finish layer of gravel. You can also let the edging do double duty by installing it over the fabric and letting its spikes punch through.
6. Make a template (spreader bar) to hold the two parallel lengths of edging lined up at an even distance apart: Take a scrap of timber plank and cut into it two grooves spaced equal distance apart.
Make sure the cuts are wide enough and deep enough to slide over the galvanized-steel or plastic edging. Line the inside of the trench with the edging pieces, resting them on top of the landscape fabric. Slide the plank template onto each piece of edging across the first section of path. Using a wood block and a hammer, tap the edging into the ground, through the fabric.
DIY Tip: For a more informal gravel path you can leave out the edging strip and add a brick edging.
8. Pour out enough gravel to come about 5cm shy of the top of the edging. Rake the gravel out evenly, making sure none of the landscape fabric shows through.
Landscape around the path with flowerbeds or sod. Maintain the path by occasionally raking it smooth and refilling it with more gravel, as necessary.
this old house