
DIY Concrete Edging
Make your own concrete edging for flower beds and borders. This easy weekend project will add interest and pattern to any garden.
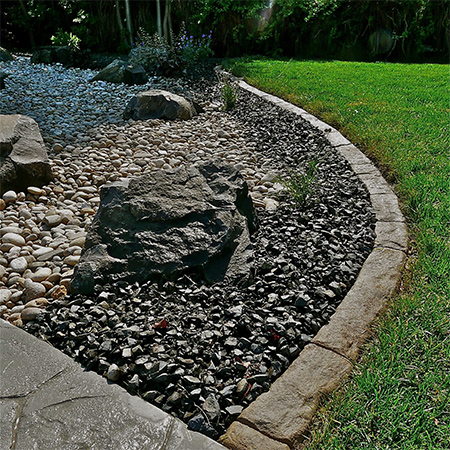
Making your own concrete edging is an easy way to save a fortune on rock or stone edging, plus you can make it to fit easily into the shape of your garden.
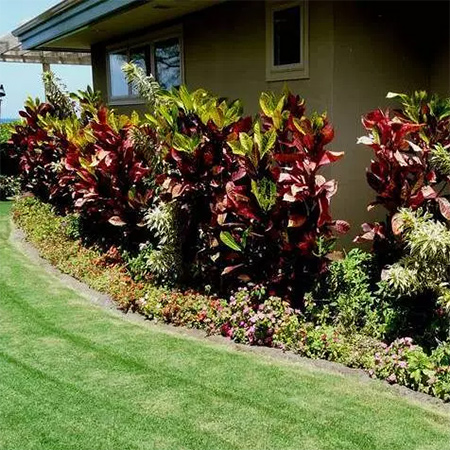
Concrete edging defines a lawn and creates an easy-to-maintain edge to contain flower beds and borders.
YOU WILL NEED:
Cement, sand and stone (see here for mix ratio)
Trowels, straight and curved edge
Stiff and soft brushes
Steel rebar
Wheelbarrow to mix
Spade
Hosepipe
OPTIONAL: Powder pigment | Concrete stain
Find all the materials and supplies for this project at your local Builders Warehouse.
HERE'S HOW:
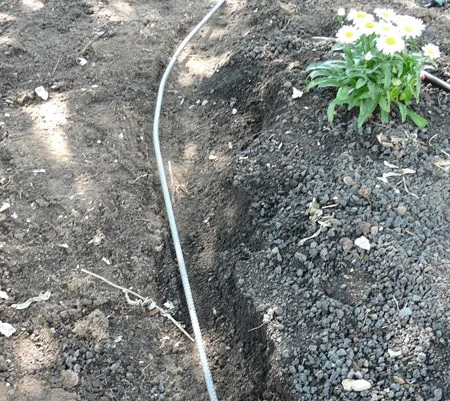
1. Mark the desired layout for the edging with marking paint and then dig out a trench 10cm deep and at least 5cm wider than the width of the finished edging. Bear in mind the finished height of edging.
2. Lay rebar along the base of the excavated trench. Bend the rebar to emulate the curves and then tie ends together with wire.
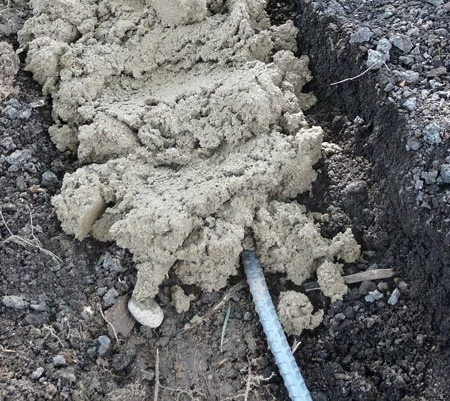
3. Mix the concrete for a firm mix. The best mix incorporates small gravel for strength. The mix should be able to hold its shape.
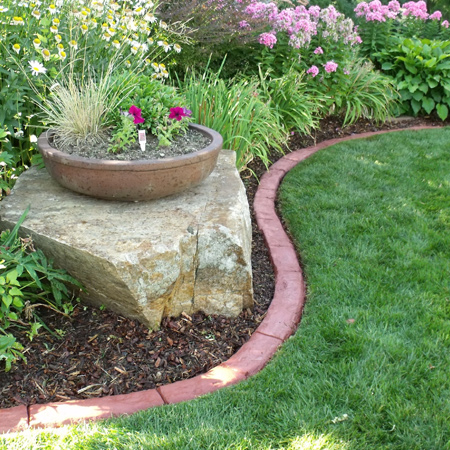
GOOD TO KNOW: If you want coloured edging, add pigment powder when mixing. A general guide is 5 scoops of cement to 20 scoops of sand with 2 cups of pigment.
4. Place the concrete mix along the rebar in the trench with a round point shovel. Shape from the outside in, pulling the rebar up into the centre of the concrete as you work.
GOOD TO KNOW: The overall shape should be 10cm deep and 5cm wide. If laying during the summer months, be careful not to deposit too much concrete mix into the trench in one go - the longer the concrete sits untouched, the more difficult it will be to work with.

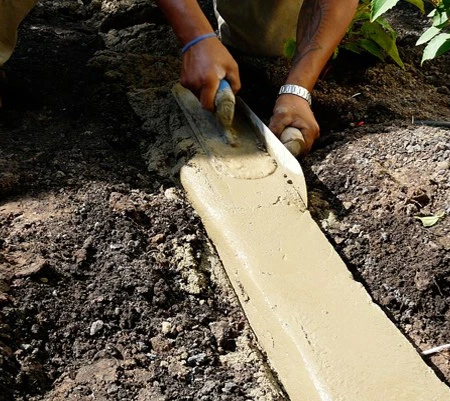
5. Allow an hour or so for the concrete to firm up and then add detailing using a trowel and rough brush. Create joints equally along the length between the edging, and brush out any obvious blemishes.
6. Leave for 48 hours before hosing off the edging and leave to dry. At this stage you can add any additional colouring required using concrete stain before sealing the edging.
GOOD TO KNOW: If adding colour with water-based stain, start with a light colour and then go darker. Think of this process of painting with watercolors, only on concrete. You can always add more layers of colour.

rockmolds.com