
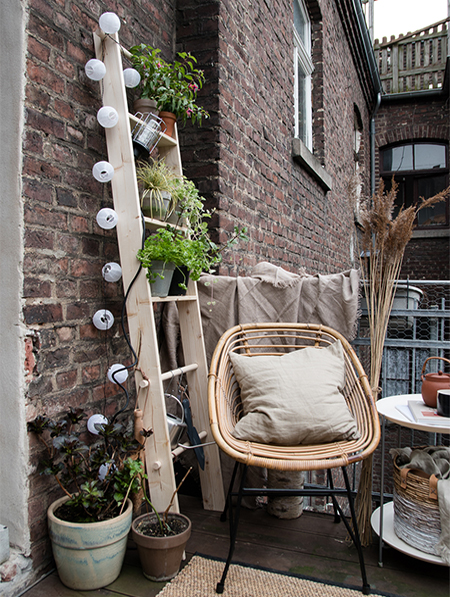
A DIY Ladder that offers a Place for Plants and Ambient Lighting
This beautiful DIY ladder is inexpensive to make and can be used to display plants on a balcony, in a dreary courtyard, or on a small deck or patio.
25/06/2023
craftifair.de
Making this ladder isn't a difficult project at all and you could easily make it over a weekend. All you need is some pine planks and pine or meranti dowels - and you can have these cut to size at Builders to make this project even easier. If you have a jigsaw at home, it is a quick project to cut everything to size.
Although the ladder shown here has been left raw, you have the option of leaving it natural and letting it age to a greyish-silver or you can apply a wood stain or tinted exterior sealer. The choice is yours.

craftifair.de
YOU WILL NEED:
3 of 21 x 144 x 1800mm pine planks
2 of pine or meranti dowels 25mm diameter x 1000mm
12 of 6mm pine dowels
Wood glue
Card template 100 x 250mm
120-grit sandpaper
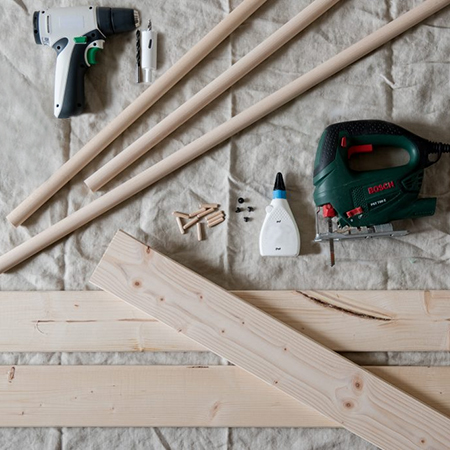
TOOLS:
Drill
6mm wood bit
6mm dowel centres - or go with your preferred method of joining
25mm MAD, spade or Forstner bit
Jigsaw
Rubber mallet or wood mallet
Quick clamps
Tape measure and pencil plus ruler
Safety gear
HERE'S HOW:
Step 1
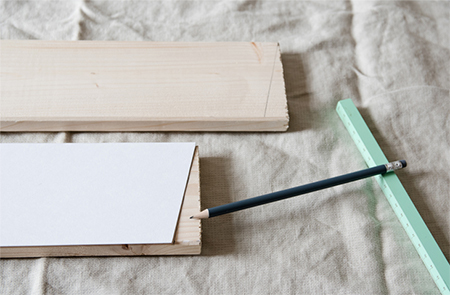
Two of the long planks serve as the sides of the ladder and you will use the piece of card to make a template for cutting a slight angle at the base of the two sides so that it will stand properly. Draw a line from 15mm up at one side to the corner, cut this on the template and transfer to the bottom of both side pieces. Use a jigsaw to cut away the excess. Repeat this at the top of the sides for a matching finish. Sand the cut edges with 120-grit sandpaper.
Step 2
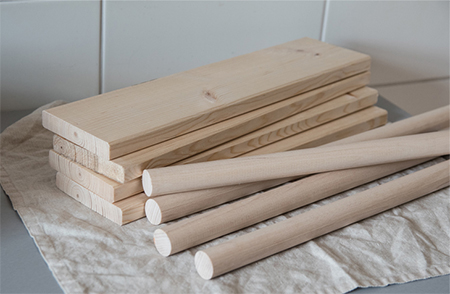
On the remaining long plank, measure and mark for 3 pieces 400mm in length and cut to size using your jigsaw. Measure and mark a length of 500mm and cut 4 pieces to length with your jigsaw. Sand all the cut edges with 120-grit sandpaper.
Step 3
Using a tape measure and pencil, measure and mark every 400mm down from the top. This will be the location of the rungs or dowels. At this stage, you can make modifications to these measurements if you want to add more rungs for plants or more dowels. Using a MAD, spade or Forstner bit, drill 25mm diameter holes for the dowels.
When drilling holes for the dowels, place a scrap piece of wood underneath where you will drill to prevent any blowout around the back side of the hole.

Step 4
For mounting the planks for the rungs, drill [2] holes where you marked every 400mm. These holes should be 100mm in from the sides.
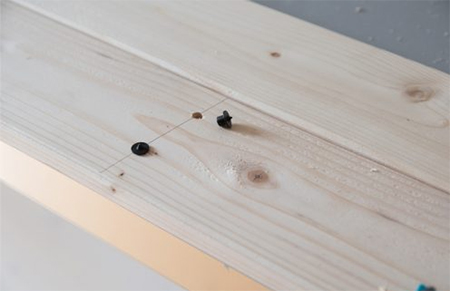
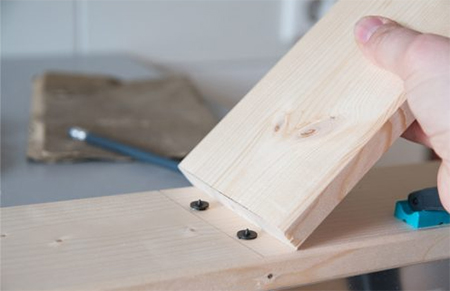
Step 5
Use dowel centres to mark the plank for the rung to drill matching holes for securing the rungs to the sides.
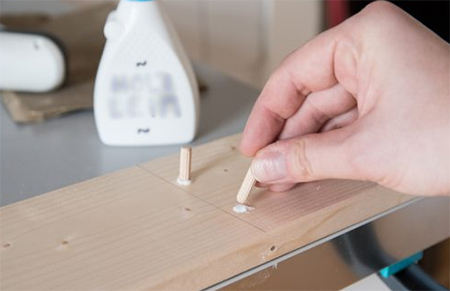
Step 6
Use wood glue and 6mm dowels to assemble the rungs (shelves) to the sides. If it is a tight fit, gently tap the dowels with a rubber or wood mallet.
Once assembled, you can decide on the finish you want to apply. If you do not apply any product, the pine will age naturally and take on a silver-grey patina.