
Sanding detailed or difficult areas
You sand to remove paint or varnish, to remove chips, dents and rough edges, to round off and chamfer, and to prepare for painting. Sanding is also necessary between coats of paint, sealer or varnish to provide an ultra smooth and glossy finish.
There are various sanding tools on the market that make sanding so much easier, and sanding is probably the most important part of any project.
Sanding grooves
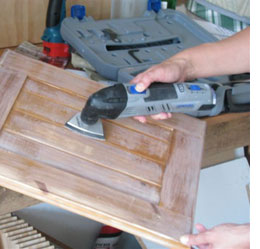
The new Dremel MultiMax is a cordless multitool that also works as a sander, and it's perfect for small detailed areas.
Our PE DIY Diva uses a Dremel MultiMax to sand between slats on her
Wetherley's Wannabe project.
Sanding small details
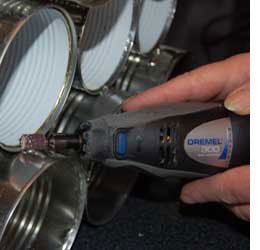
Staying with Dremel Tools, any of the Dremel MultiTool range are ideal for detailed sanding. Their small size allows them to be used in confined spaces, and with a small or large sanding ring you can sand detailed carving or cut outs.
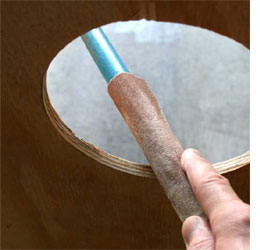
Sanding small openings
In the absence of power tools you can wrap sandpaper around almost anything to make sanding easier. I have used a pencil, a small dowel, an eraser and other items in order to sand in very small or difficult to get to spots. Sanding small pieces can be tricky, but another way is to tape a piece of sandpaper to your workbench and sand on this.
Sanding a large, flat surface
For large, flat surfaces wrap your sandpaper around a block of wood to get an ultra smooth finish. It's always better to use a block, an orbital sander or random obit sander for flat surfaces, as this ensures a smooth even finish.
ronhazelton.com
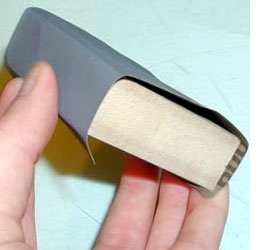
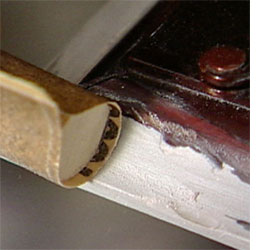
Sanding a curve
When you need to sand a curved section, instead of a flat support for your sandpaper - used a curved one. A foam roller is great for sanding curves around edges - and it gives a nice smooth finish. So don't throw away old foam paint rollers.
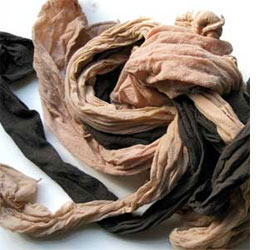
When is it smooth enough?
How do you know when the sanded surface is smooth and splinter-free! Use an old pair of nylon stockings and wipe these over the surface. They will pick up any rough areas.