
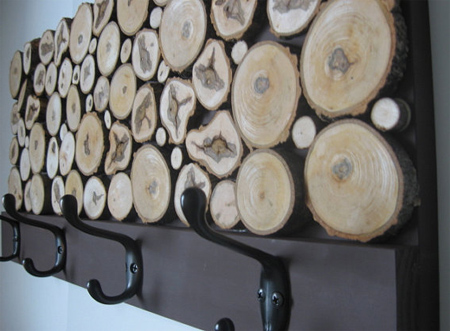
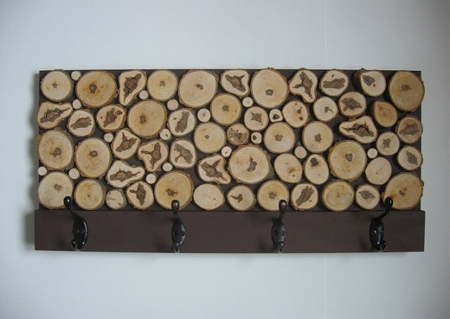
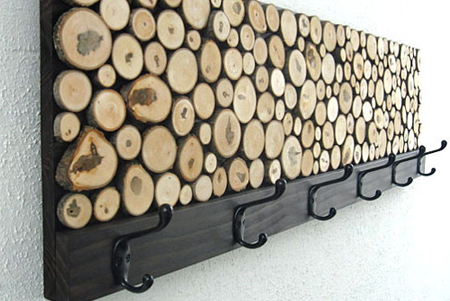
Coat rack with wood slices
I love these coat racks or hangers with wood slices. They look rustic and contemporary at the same time. Unfortunately I used up all my supply of branches for other projects, so will have to wait for winter before I can chop off some more. Here's how to make your own coat rack with wood slices...
etsy.com
custommade.com
YOU WILL NEED:
1 of laminated pine shelving cut to width and length required
1 of PAR pine 99mm wide by same length as lampine shelf
Cut branches of varying diameters
Wood glue
Clamps
Coat hangers and screws
2 picture hangers and screws
Paintbrush
Woodoc gel stain in your choice of colour
Disposable gloves
HERE'S HOW:
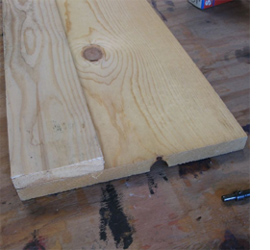
1. With all the sections cut to the required width and length, glue the thinner PAR pine section on top of the laminated pine. Clamp overnight.
2. Stain the glued sections with Woodoc gel stain in your choice of colour. Wear disposable gloves to protect your hands from stains.
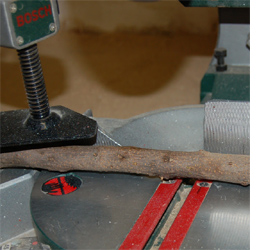
3. Cut the varying diameter branches to the same thickness. The best tool to use for cutting branches to equal thickness is a mitre saw, but you can also use a jigsaw, hand saw or Dremel Saw Max to cut.
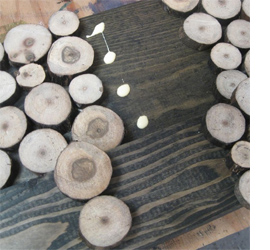
4. Before gluing to the top of the back, arrange them to fit within the space. Apply the cut branches with wood glue and leave to dry overnight.
instructables.com
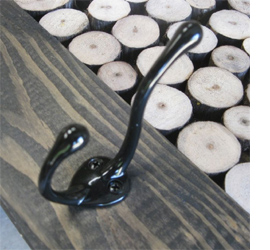
5. Place and screw on the coat hangers.
6. Mount hangers at the back of the board for mounting onto the wall.
recreatedesigncompany.com
Add some colour to your wood blocks with acrylic craft paint or Rust-Oleum UltraCover 2X spray paint.

flickr.com