
Measure twice - cut once!
There have been many times when I could kick myself for not measuring properly. A few millimetres here and there can make a big difference when you start to assemble a cut project. And there's no guarantee that having your board cut to size will solve the problem - more often than not their cutting is even worse.
When it comes to affordable, reliable tools, this is the golden age for DIY enthusiasts. We now have access to a wide range of versatile tools that can turn out great projects in almost any home workshop.
Always use the same tape measure for consistent results. Tape measures vary from brand to brand.
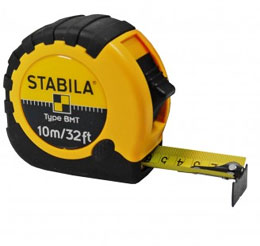
One of the most important tools in any workshop is a quality, reliable tape measure. With so many tape measures to choose from, how do you know which is the right one? First off, take note of the saying. "When you buy cheap you get cheap!" I've gone through more than my fair share of tape measures over the years, and the ones that have lasted are those that I paid more for - branded tape measures. Make sure the end tab of the tape measure is straight and firm and not bent. Avoid dropping tools, which can then give false reading if bent or jarred out of alignment.
Getting precision and potential out of measuring tools requires mastering the art of measuring and marking.
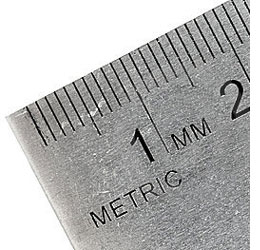
You'd be surprised how many dimensions in your projects can be handled within the modest range of a steel rule. You will find a selection of steel rules at your local Builders Warehouse, ranging anywhere from 30 centimetres up to 2 metres in length.
However, larger dimensions will require a tape measure. For consistency, use the same measuring tool throughout a project. Always keep the tape straight and at a right angle to the surfaces you're measuring.
Getting it right - the first time!
To mark a workpiece, you need something that provides a fine line that can either be erased our sanded out. A standard pencil, an awl, or a marking knife will all work well. I like to use coloured pencils when marking out various sections for a project. It's far easier to see when cutting.
Measure to fit
Reading a tape measure and precisely transferring that measurement to a workpiece is an essential DIY skill. However, you can reduce errors by avoiding that step altogether by marking a workpiece directly - a technique sometimes called "scribing to fit." In its simplest form, this technique involves test-fitting the piece in place and then marking for the cut. If the fit is right, the actual dimension is often irrelevant, and you don't have to remember whether you read 126 or 127mm on your tape measure!
Ultimate in measuring technology
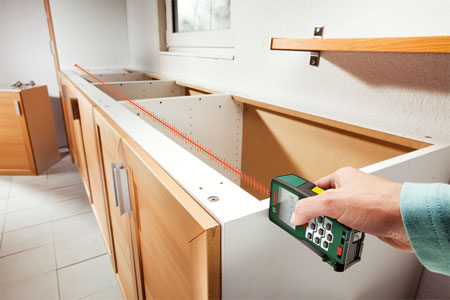
Tape measures are all fine and well when it comes to smaller areas, but what do you use when you are measuring large surfaces, distances, or areas and volumes? For this you're going to need a range finder.
If you need to fork out for this type of measuring tool, make sure you get all the bells and whistles. The
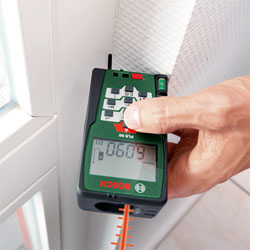
Bosch PLR 50 Digital Laser Range Finder has an integral measuring pin that allows you to measure from tight corner angles.
The large display is easy to read and the unit measures up to 50 metres.