
How to make your own wine crate
I have featured projects on upcycling wine crates and there are so many other projects on the internet. But what if you can't find wine crates, or if you do but they are overpriced or expensive. As an alternative, you can always grab some offcuts of timber and board and make your own wine crates.
I am lucky to have so many offcuts left over from projects and always look for ways to put these to good use.
YOU WILL NEED:
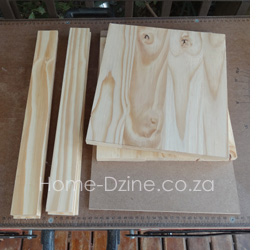
To make the wine crate I had a length of 10 x 44mm PAR pine, some scraps of laminated pine shelf and a piece of 9mm Supawood. If you don't have any scraps, make as many boxes as you can, so that nothing goes to waste and each box works out cheaper.
To make one wine crate:
1 of 10 x 44mm PAR pine - 2,4m length cut to 6 x 400mm long strips
2 of 250 x 300mm laminated pine shelving
1 of 250 x 400mm supawood - or any other piece of scrap timber or board
Panel pins
No More Nails adhesive
Woodoc antique oak gel stain
Woodoc antique wax
Rags
TOOLS:
Hammer
Gloves
Dremel VersaFlame
HERE'S HOW:
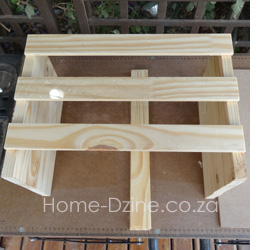
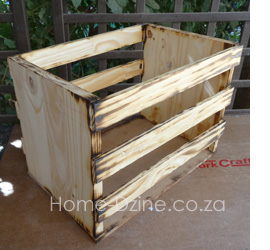
Position three side strips along the edge of both sides as shown. Use one of the spare side strips as a spacer to align the strips nicely. Lift each strip and apply some No More Nails adhesive to the edge. Let this dry for 10 minutes.
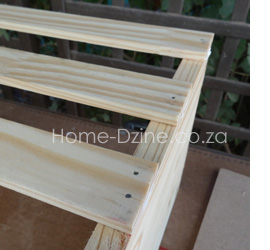
After 10 minutes you can hammer in panel pins to firmly secure the side strips to the edge. Hold the strips firmly just in case the adhesive is not completely dry. Repeat this process for the other side.
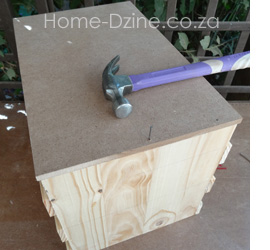
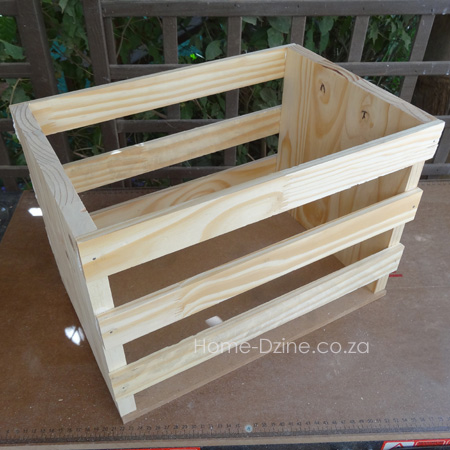
Turn the crate upside down and use panel pins to attach the base to the side sections. Below is how the wine crate should look once you have finished.
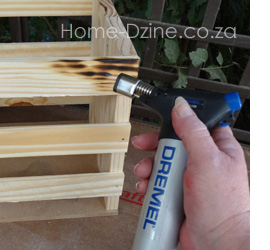
Because we want our wine crates to look old, I used my Dremel VersaFlame to burn the edges. Don't hold too close - it's actually hotter at the end of the flame. Apply more burn effect to the edges and around the edges.
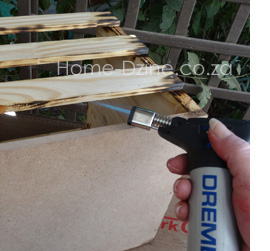
Continue to burn all around the edges and over the flat surfaces until it looks really ugly. The burnt areas will stand out nicely once we proceed with the next step.
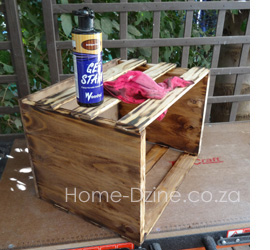
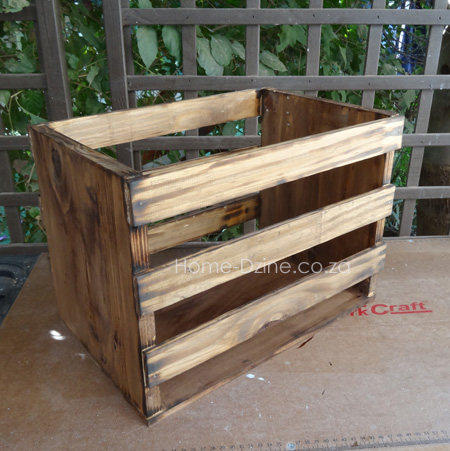
Now I add Woodoc antique oak gel stain over the entire project, and this further adds to the aged look - making our wine
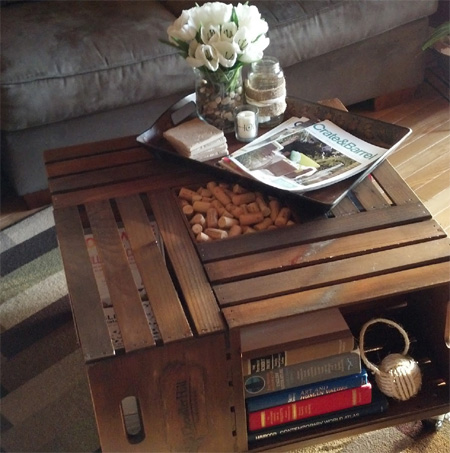
crate look more authentic. Finish off by applying Woodoc antique wax and buffing once dry. And there you have it...! Now that you know how to make your own wine crates, here's some projects for you to think about...

homedepot.com
Add some cup handles - and possibly even some castor wheels - and make storage boxes for your home.
decorhacks.com