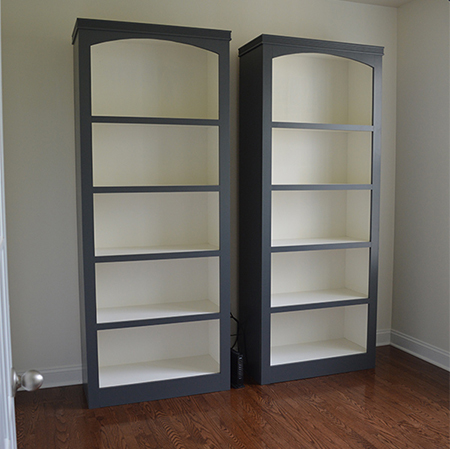
Bookcases for home office storage
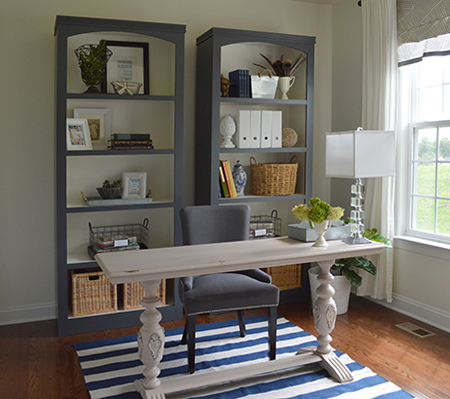
When you work from home, whether full time or part time, storage is essential. Building a couple of side-by-side bookcases using SupaWood provides ample storage for files and storage baskets, and even space to include a few decorative accessories to add a personal touch to the space.
Using SupaWood to make your bookcases allows you to paint these easily in your choice of colour, and you can have SupaWood cut to size at your local Builders Warehouse for quick and easy assembly.
YOU WILL NEED:
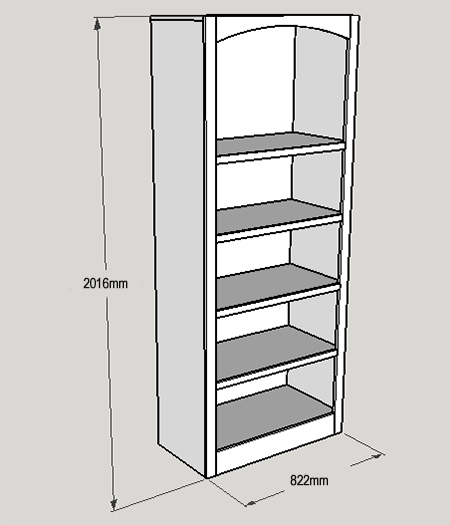
2 of 400 x 2000mm 16mm SupaWood - sides
4 of 400 x 800mm 16mm SupaWood - shelves
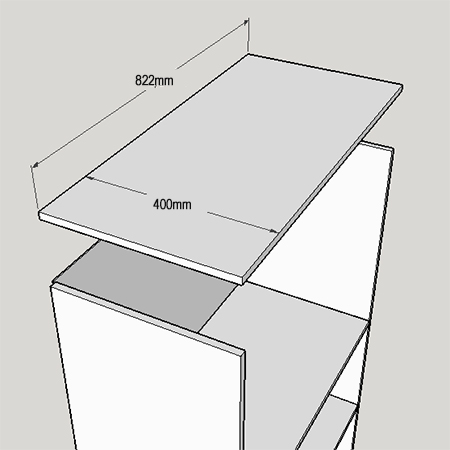
1 of 400 x 632mm 16mm SupaWood - top
2 of 50 x 2016mm 16mm SupaWood - front side facing
1 of 100 x 722mm 16mm SupaWood - top facing
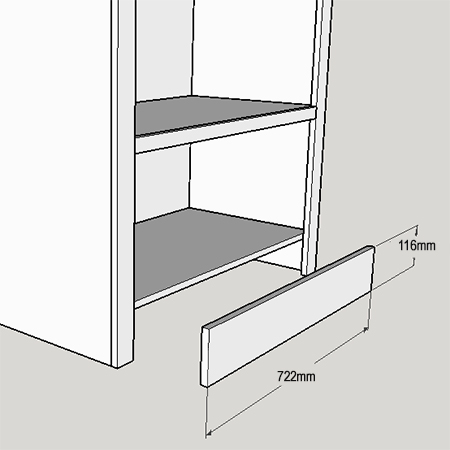
1 of 100 x 722mm 16mm SupaWood - bottom facing
4 of 30 x 722mm16mm SupaWood - shelf facing
1 of 800 x 1900mm 3mm masonite - backing board
4 x 35mm cut screws
30mm panel pins
Pattex No More Nails adhesive
TOOLS:
Pockethole jig
Drill / Driver and assorted bits
Router or Dremel Trio and rebate cutting bit (for 16mm slots)
Orbital sander plus 120- and 240-grit sanding pads
Hammer
HERE'S HOW:
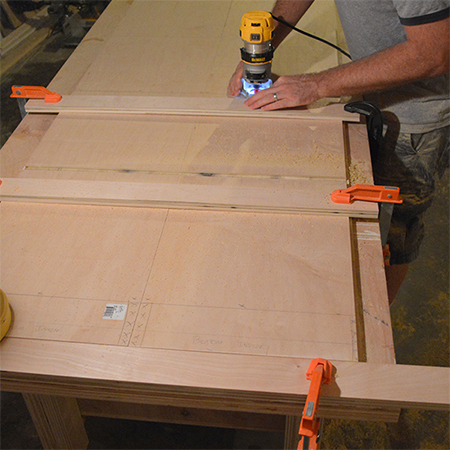
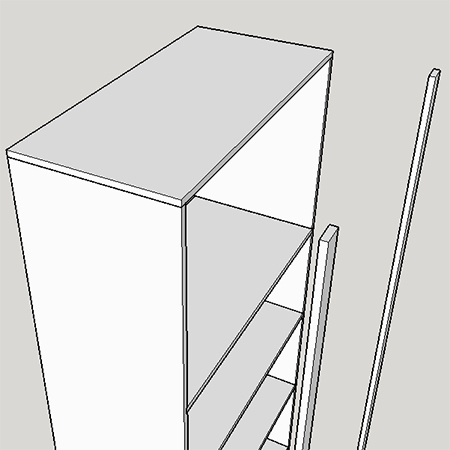
1. Rather than using brackets or braces, this design has slots or rebates cut into the sides for the shelves. To do this use a straightedge of straight pieces of offcut timber to use as a guide for running a router or Dremel Trio to create the slots 16mm wide and 5mm deep.
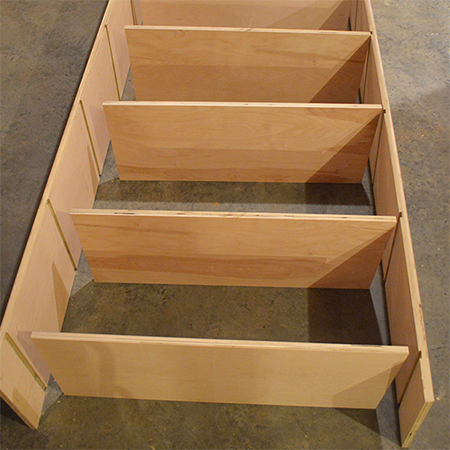
2. Place a bead of Pattex No More Nails adhesive into the slots before adding the shelves. It's a good idea to clamp the sides while the glue dries, but you can just as easily add a heavy item at either side to hold everything together for an hour or so.
3. Secure the top onto the frame by pre-drilling 3mm countersunk pilots holes and securing with 4 x 35mm cut screws.
GOOD TO KNOW
Before adding the front faces, sand and paint the shelf assembly -
and the individual face sections - beforehand if you plan to do
these in two different colours as shown in this project.
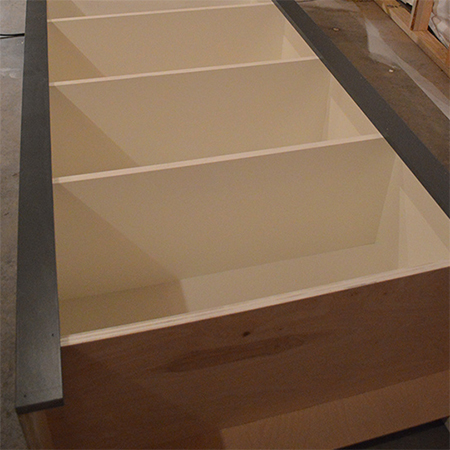
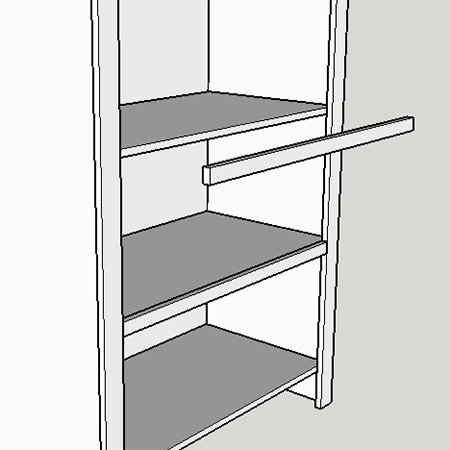
4. Use Pattex No More Nails adhesive to fasten the side faces in place, and hammer in a few panel pins along the length. Fill any holes with wood filler.
5. Use Pattex No More Nails adhesive to fasten the shelf faces in place, and hammer in a few panel pins along the length. Fill any holes with wood filler.
GOOD TO KNOW
Let the adhesive set overnight before moving on to the next step.
Once dry, lightly sand and touch up with paint.
6. Turn the assembly onto one side. To attach the bottom face, drill two pocketholes on both sides of the back of the bottom face. Apply a bead of adhesive along the shelf edge and secure the panel in place.
7. Use a template to draw a curved shape onto the top face and cut out with a jigsaw. Drill 2 pocketholes on both sides at the back of the top face. Apply a bead of adhesive along the shelf edge and secure the panel in place.

Finishing
You have the option of adding a strip of pine moulding at the top of the cabinet using Pattex No More Nails adhesive. Cut the corners at a 45-degree angle using a mitrebox and saw or mitre saw.