
Make your own dining chairs
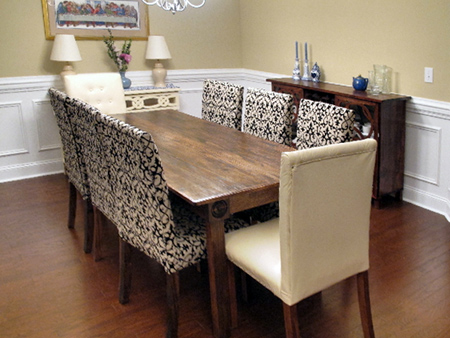
When you can expect to pay upwards of R700 for a dining chair, making your own makes sense. You can make comfortable dining chairs upholstered in your choice of fabric at around R150 per chair. Here's how to make a dining chair and upholster in your own choice of upholstery fabric.
lazylizonless.blogspot.com
YOU WILL NEED:
To make 8 chairs 100cm tall x 50cm seat height x approx 50cm seat width:
32 of 20 x 140 x 1000mm PAR pine - back legs
16 of 20 x 44 x 460mm PAR pine - long pieces of front legs
16 of 20 x 44 x 416mm PAR pine - short pieces of front legs
8 of 20 x 44 x 420mm PAR pine - front / back cross brace and top rail
4 of 1 X 2 X 460mm PAR pine - side apron
32 of 20 x 44 x cut to fit PAR pine - corner braces
8mm dowels
Wood glue
Woodoc gel stain and interior sealer
TOOLS
Quick clamps
Orbital sander + 120- and 240-grit sanding pads
Drill/Driver plus assorted bits
Mitre saw or mitrebox and backsaw
8mm dowel centres
Tape measure and pencil
Rubber mallet
Paintbrush
You will find all the tools and materials required from this project at your local Builders Warehouse.
HERE'S HOW:
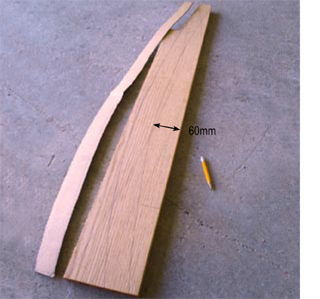
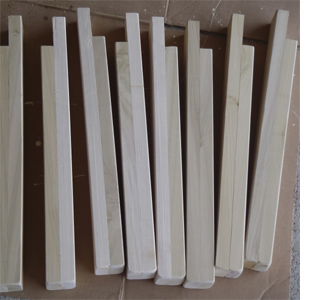
1. Make up a cardboard template for the back legs. You need to cut out 32 legs in total. The widest part in the curve is approximately 60mm, but you can make a smaller or larger curve.
2. Each leg comprises two cut sections glued together for a total of 16 legs - or back legs for 8 chairs. Clamp the legs while the glue dries.
GOOD TO KNOW
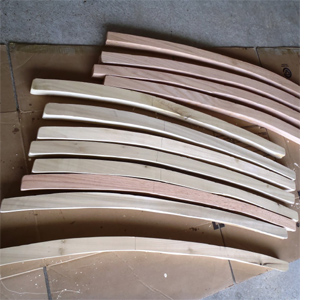
Once dry, clamp the legs together again so that you can sand in bulk rather than singly.
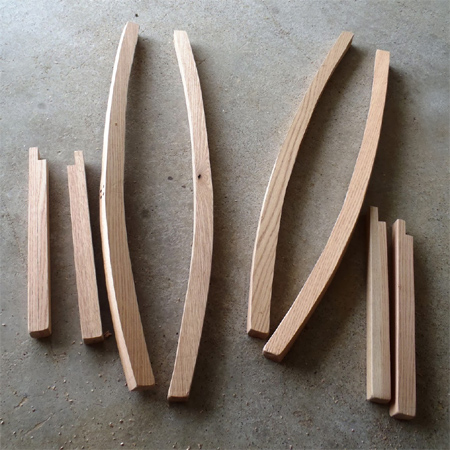
3. Glue and clamp the short and long leg pieces together for the small and large chairs. Leg the glue dry before clamping together for sanding.
BELOW: You now have 4 back and front legs for the larger chairs, and 12 back and front legs for the regular chairs.
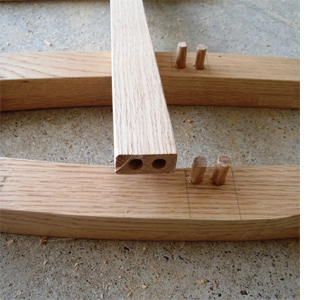
4. To assemble each set of legs you will use dowels and dowel centres. Click here for tips on using dowel centres. Measure and mark at 416mm and 460 up in a straight line (not curved with the shape of the leg) for placing the cross brace at the back of each chair. At this mark use an 8mm wood bit to drill to half the depth of the length of the dowel.
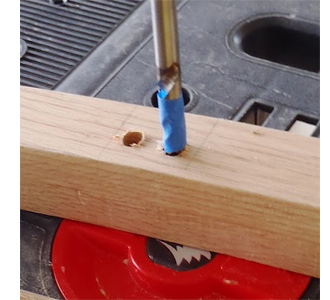
GOOD TO KNOW
Measure the length of the dowel and divide this in half. Transfer this half measurement onto your drill bit by wrapping a piece of masking tape around the bit. This way you know exactly how deep to drill.

5. Join all the backs together using dowels and wood glue and clamp until the glue dries. Have a rubber mallet handy for tapping together where necessary.
GOOD TO KNOW
If you don't have large clamps, wrap the pieces with tape to secure until the glue dries.
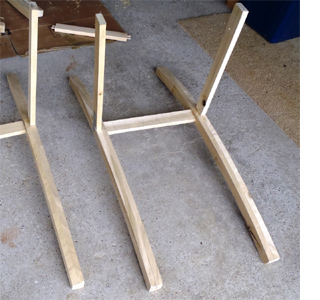
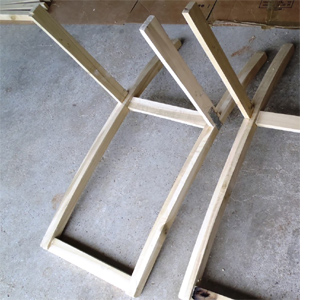
6. Repeat steps 4 and 5 to attach the seat sides to the backs of each chair.

NOTE: For additional strength, steel joining panels have been added to the back/seat sides.
If you are still new at using dowels, this added measure will ensure that your chairs are sturdy and strong.
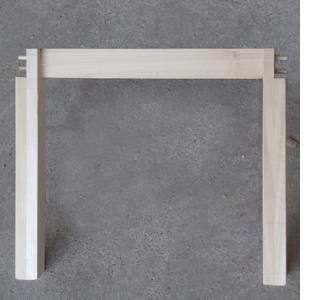
7. Repeat the above steps to attach the top rail to the back of each chair.
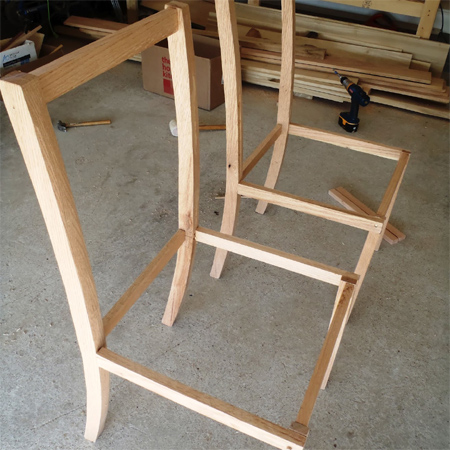
8. Attach the front seat apron to the front chair legs using dowels as per above. You will also need to drill additional dowel holes for attaching the seat sides to this section, so stagger the holes for the dowels.
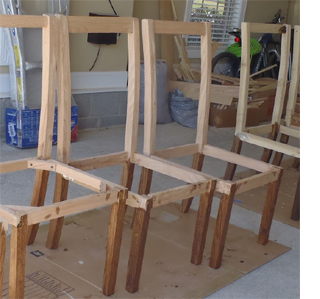
BELOW: At this stage of assembly your chairs should look like the ones shown here.
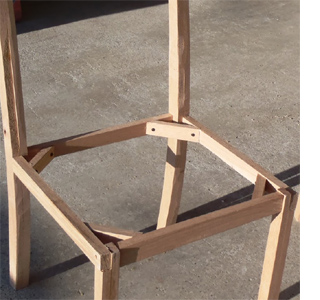
9. Measure and cut 20 x 44mm PAR pine corner braces for each of the chair seats. Each end of the brace is cut at a 45-degrees mitre to fit snugly within the frame. Use two screws to attach the braces to the chair frame. This step is important and adds strength and stability to your chairs.
10. Cut a plywood seat to fit each individual chair and screw this onto the frame. Leave one seat loose as you will need this during the upholstery process.
Finishing
Stain and varnish your chairs before continuing onto the upholstery section, which you will find here.