Diagonal shelf unit
Designed to be flat-packed for storage, and based on the simplicity of Japanese design, this geometric, shelf can be used for books or display. It’s made with 16mm PG Bison shelving that is pre-edged.
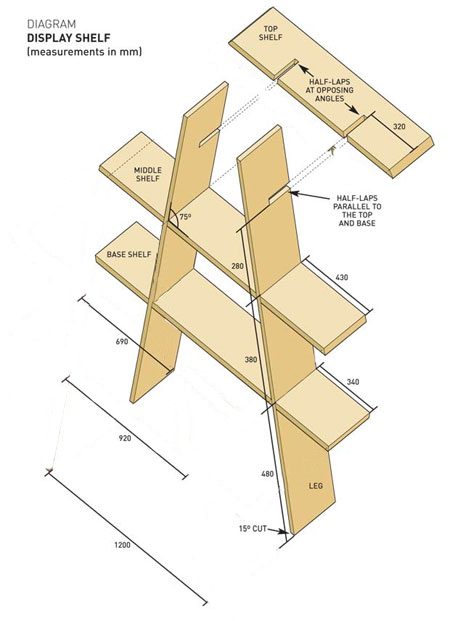
The legs and shelves interlock, with the legs cut at 15º, and angled together at 75º, with half-lap joints angled and cut at 15º. The leg joints are cut parallel to the top and base, and the half-lap shelf joints are cut at opposing angles to match the inverted V of the legs.
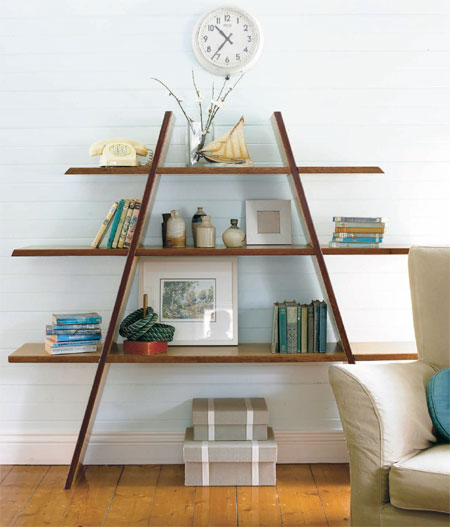
The shelving unit stands about 1450mm high, with the base shelf 1650mm wide, and space for storage on the floor.
YOU WILL NEED:
| 2 | legs | 16mm shelving | 290 | 1420 | |
| 1 | base shelf | 16mm shelving | 290 | 1650 | |
| 1 | middle shelf | 16mm shelving | 290 | 1600 | |
| 1 | top shelf | 16mm shelving | 290 | 1200 |
TOOLS:
Carpenter's square
Tape measure
Pencil
Sliding bevel
Mitre saw (or jigsaw with adjustable base and clean-cut blade)
Wood chisel
See Diagram at bottom of this page
HERE'S HOW:
1. To cut the ends of the legs, Set a mitre saw to 15º, cut the base of the legs to sit flush on the floor at an angle, and the tops to be parallel to the floor.
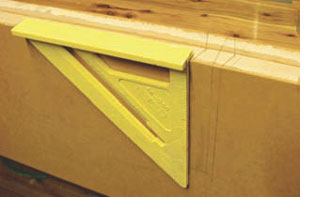
2. Position the legs together, with the front and back edges matching to form an inverted V shape at the base end and mark up one side of the legs using a square (see Diagram at bottom of page).
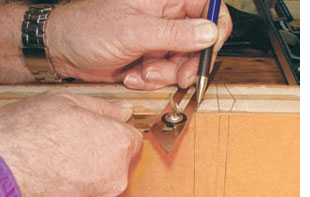
3. Set out angled half-lap joints across the back edges of the legs using a sliding bevel. Mark the cut lines across the other side of the legs, from the angled back edge lines to halfway, joining the two points to form the base of the joint.
DIY TIP: Although the term half-lap joint is used in this project, my definition is for an overlapping join - where two sections of board are cut to half the width and then joined (overlapped) to connect them together.
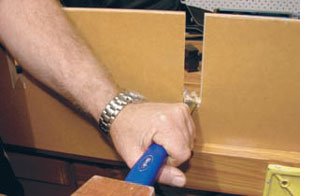
4. With the mitre saw adjusted to 15º, cut out the half-lap joints, finishing the cuts using a jigsaw and tilting the base to match the 15º of the mitre saw. Use a chisel to clean up the joint.
DIY TIP: You can also use a jigsaw to cut a mitred edge. Adjust the base plate on the jigsaw to the desired angle. Securely clamp pieces to a workbench before cutting.
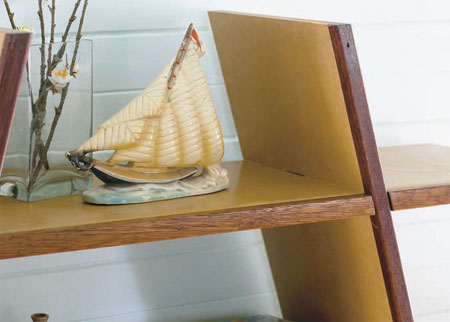
5. Position the shelves in the completed legs, ensuring they’re centred.
7. Finish the tops and sides with a file or abrasive paper and apply polyurethane to raw edges.