Installing a mock beam ceiling
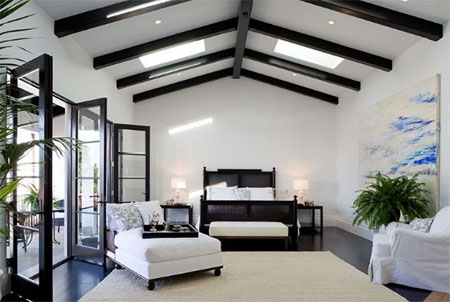
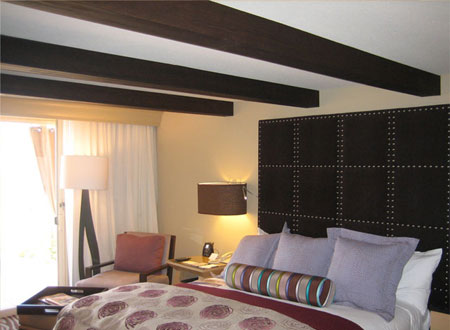
Rooms take on a completely new atmosphere with ceiling beams. It's one of those architectural features that adds character and detail that is lacking in many homes, and yet it's a fairly simple detail to add.

valleywainscotingandtrim.com

inspireyourlifestyle.com
How to make mock box beams

1. Start off by making the mock beam box with PAR pine to the size you want. A standard beam would use around a 20 x 100mm PAR pine plank for the three sides. You can glue and screw (or nail) these sections together.
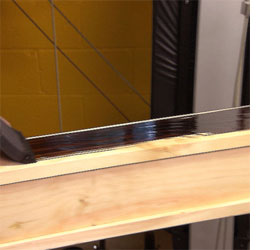
2. Fill in any holes with wood filler; let dry and then sand smooth before applying stain/seal or paint. Woodoc 5 or 10 interior sealer can be tinted to your choice of wood stain with stain concentrate and applied according to the manufacturer's instructions.
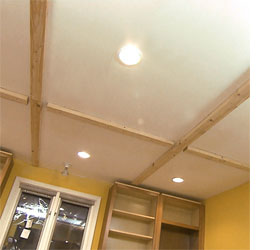
3. While waiting for sealer/paint to dry you can start mounting the support beams to the ceiling. The beams must be fastened to roof beams for safe mounting. Measure the width of the box to ensure that the support beams will fit snugly inside the box when mounted.
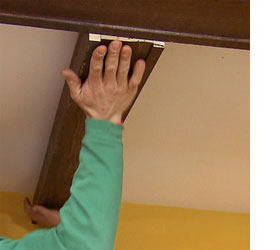
4. Position the sealed/painted box over the support beam. You will need an extra pair of hands to help with this step, or some form of support to hold the boxes in place.
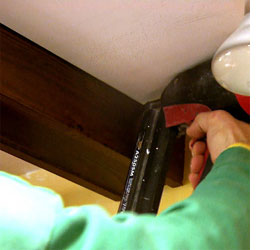
5. The boxes are attached by screwing (or nailing) the sides of the box to the support beam mounted onto the ceiling. You can use wood filler or screw caps to cover up where screws are visible.

diynetwork.com