
DIY adirondack garden chair
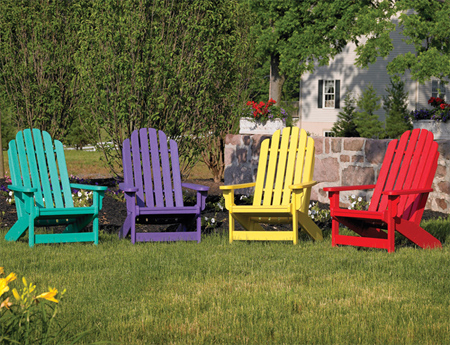
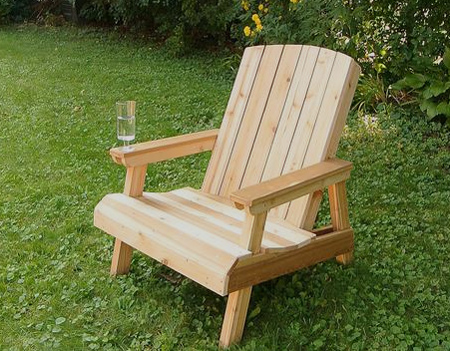
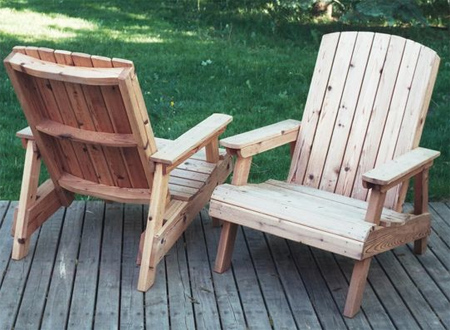
Adirondack chairs have been popular for many years because they are comfortable, sturdy, and easy to construct. The design of this Adirondack chair is also not as severe as most traditional Adirondack designs. With less of a recline and only the legs touching the ground, this makes it easier to interact with others or eat while sitting in one of these chairs.
founterior.com
Adirondack chairs can be made from a variety of woods. The most common wood used in the construction is pine. However, our local pine is not that great and I would suggest looking at alternatives such as meranti or saligna for a more permanent option.
The design of this Adirondack chair is also not as severe as most traditional Adirondack designs. With less of a recline and only the legs touch the ground, this makes it easier to interact with others or eat while sitting in one of these chairs.
woodgears.ca/lawn_chairs/plans/
HERE'S HOW:
CLICK IMAGE FOR ENLARGED VERSION
CLICK IMAGE FOR ENLARGED VERSION
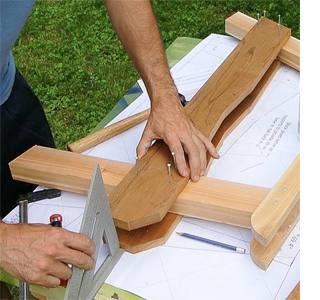
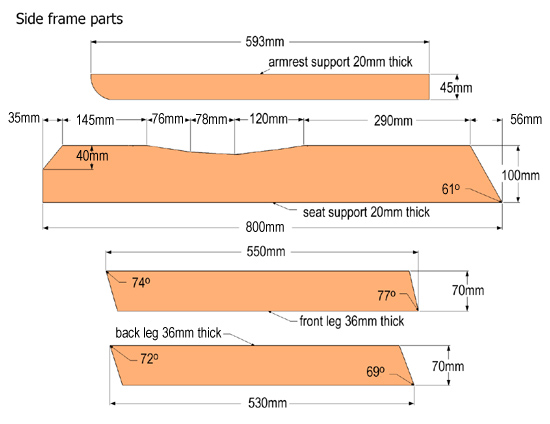
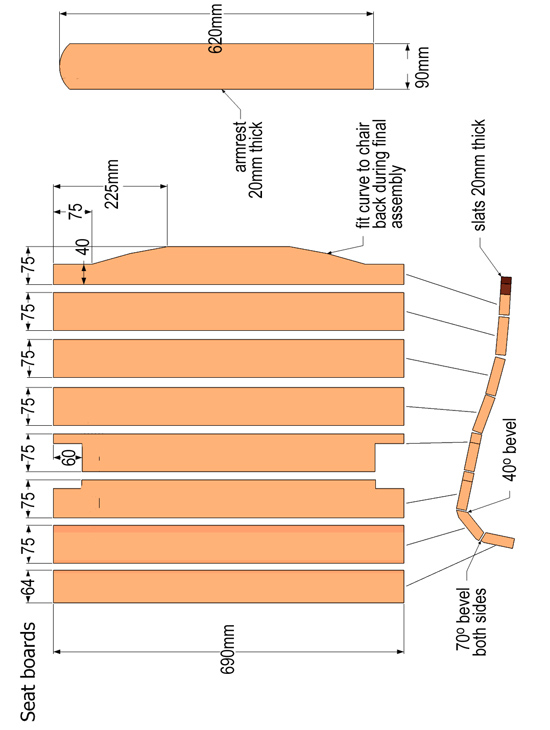
Cut the sections
Use a mitre saw, jigsaw or tablesaw to cut the angles as per the diagram above.
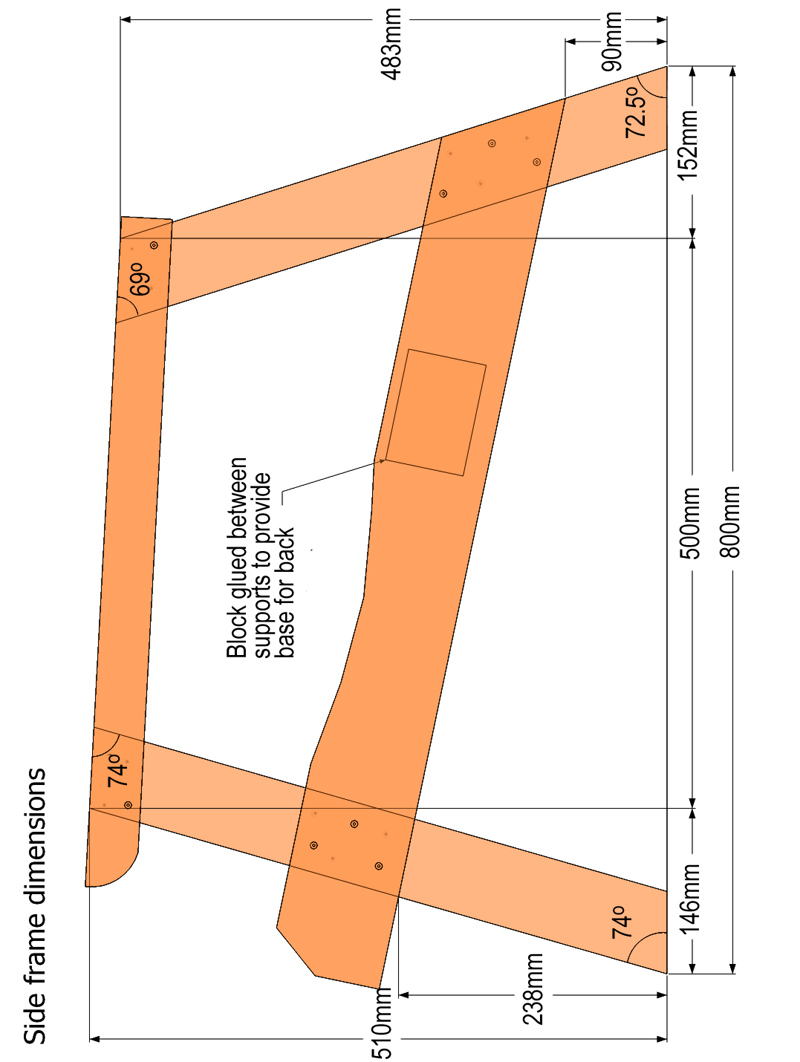
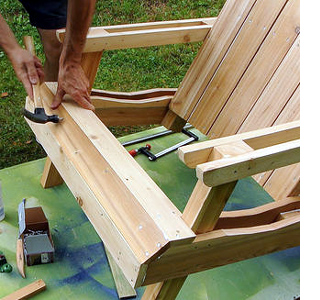
Assemble the sides
Nail (or screw) boards to one side of the legs before flipping over and clamping the other pair of legs.
Make sure everything lines up.
Continue to add boards to the other side of each side frame, being careful to make sure the boards line up.
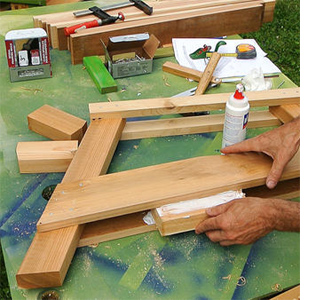
Finally , insert the wood block inside the frame. This block provides something bigger to nail the back frame to.
GOOD TO KNOW
Apply plenty of exterior wood glue to joints to reduce the chance of moisture getting inbetween and possible wood rot.
CLICK IMAGE FOR ENLARGED VERSION
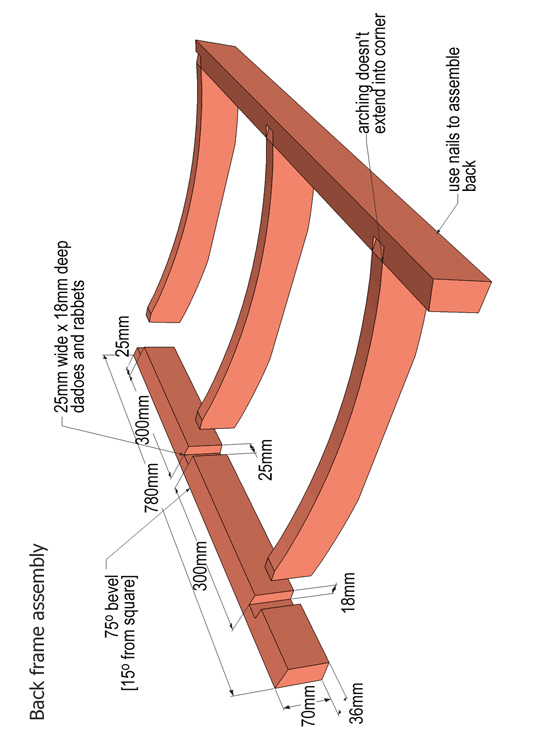
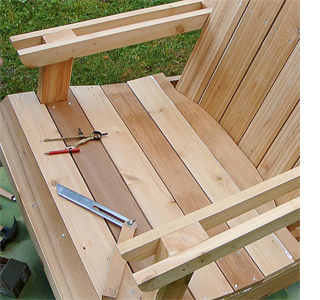
Cut out dadoes
The easiest way to cut out dadoes is using a circular saw. Set the depth of the blade at 18mm and run across the 25mm width until you have a clean rebate. Nails or screw (and glue) the back frames to the sides.
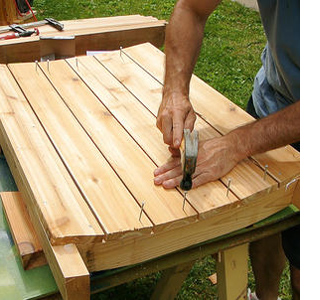
Cut curves and fit back boards
The top of the back boards form a curve. Use a template or draw freehand and cut the curve before attaching the boards to the back frame.
Nail down the two outside boards down and then carefully lay remaining boards so that you have reasonably equal spacing between the boards.
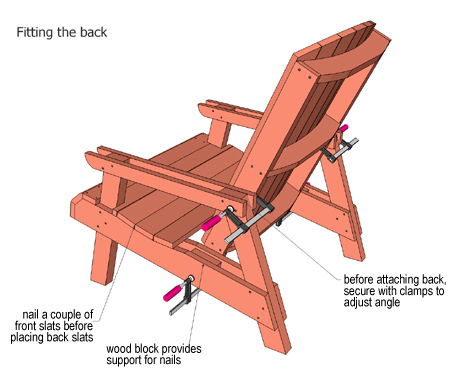

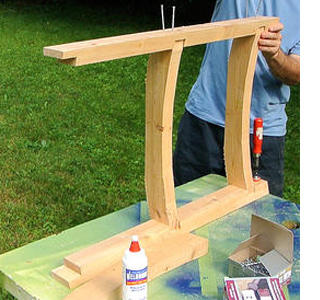
Attaching the back
If this is your first chair, do a trial fit using quick clamps and laying the seat boards down without nailing. Once you are happy with the angle, make a mark before gluing and nailing it on one side.
Aligning the second side can be tricky, so have clamps handy to hold in place as you attach.
CLICK IMAGE FOR ENLARGED VERSION
Fit seat slats
On the first three slats you will need to bevel the edges for a gentle curve.
I cut the first board, then used a bevel gauge to figure out exactly what angle the second board needed.
The third and forth slats need to have a rebate cut to allow for fitting around the legs. Mark this on the chair and then cut to fit.
On the last board cut a curve to match the seat back profile.
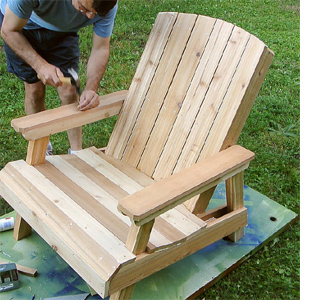
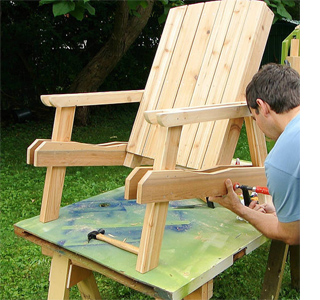
Attach armrests
These go on last so they don't get in the way when fastening the slats in place.
Finishing
Sand all the sections and chamfer (round-off) the edges so that the chair is nice and comfortable.
Unless you are using a hardwood that ages well, apply three coats of exterior sealer, either with added stain or clear, to protect your new chair from the elements. Make sure you cover both the top and bottom.
If you are using teak or hardwood that contains a lot of natural oils, regular maintenance with Woodcare Wood Preservative will extend the life of your Adirondack chair.
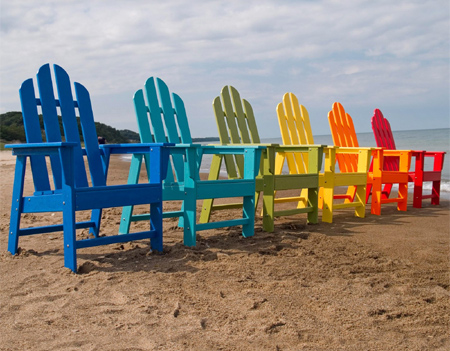
If you feel like adding some funky colour to your adirondack chair - why not! Apply Wood Primer to the chair and then have Plascon Velvaglo tinted in your choice of colour.
lovelyontheinside.com