
Add a Glass Panel to Hollow Core Door for More Light
To lighten up my dark passage, I added a glass panel to a standard hollow core door as per this method.
21/11/2023
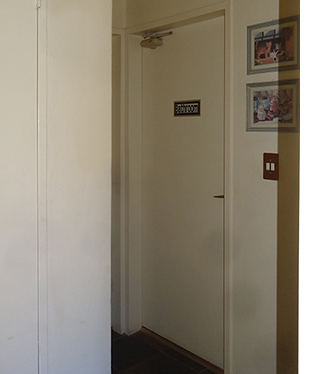
Way back in 2014, I made a decision to add a glass panel to the standard hollow core door for the bathroom. Because this house is double-storey, on the lower level or ground floor the small passage that serves two bedrooms and a bathroom is very dark since there are no windows here and no opportunity to fit any kind of skylight.
I needed an easy solution to bring more light into the dark passage and the only way I could think of that would work was to add a glass panel to one of the doors. With the other two rooms being bedrooms, it made more sense to do this modification to the bathroom door. Adding a glass panel to this door would allow natural light into the space.
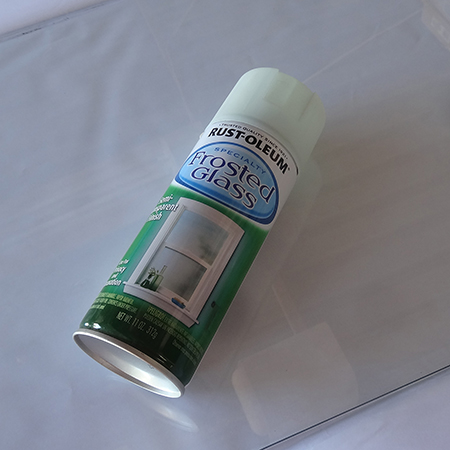
Because this is the bathroom door, I also needed a solution for privacy, as you would be able to see through the glass panel into the bathroom. This was easily solved by using Rust-Oleum Frosted Glass spray.
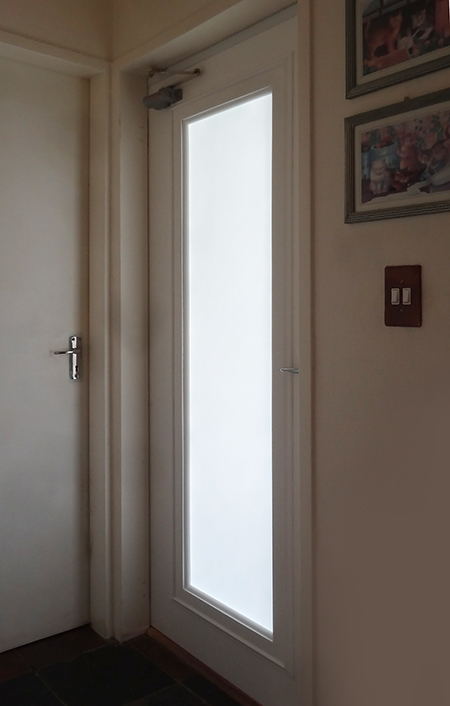
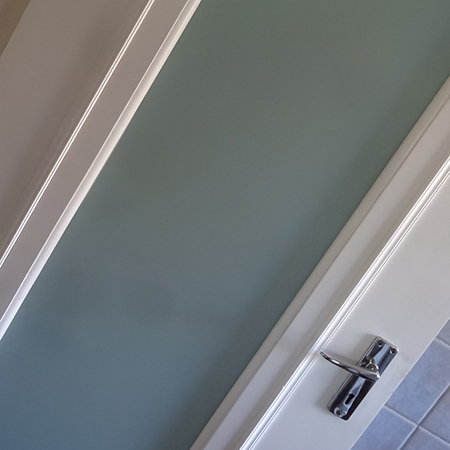
This is the same door as the one at the top of this page - almost 10 years later.
It is going on 10 years since I originally posted this project on Home-Dzine.co.za and I wanted to do an update to let you if this solution solved the problem and how it has stood up over the years. I can confirm that this was an excellent solution for adding light to the dark passage and that the glass panel still has the original frosted glass finish to add privacy.
GOOD TO KNOW
I know that some of you may have safety concerns about adding a glass panel to an interior door, but if safety glass is used it is no different than having a front door with glass panes or a patio or French door.
Now, let's get onto how to add a glass panel to a standard hollow core door. It is an easy project and my door has remained in its original condition for coming up on 10 years. The panels have remained firmly in place, the frosted glass hasn't been touched since it was applied and installing the glass panel has brought much-needed light into the dark space.
YOU WILL NEED:
Hollow core door, existing or bought new
32 x 32mm PAR pine cut to fit
3 x 40 x 1800mm SupaWood strips*
Pine moulding or trim
Wood glue, preferably in a bottle with a nozzle applicator
Pattex No More Nails adhesive cartridge and gun
Builders do not sell 3mm SupaWood but you can substitute this with Masonite or Hardboard strips.
TOOLS:
Dremel DSM 20 or similar tool
Circular saw - if door needs to be trimmed to fit
Mitre saw or Mitre Box and backsaw
Bosch Tacker or heavy-duty stapler
Quick clamps
Workbenches or a pair of saw horses
Steel rule at least 1.5 metres in length
Hammer or mallet
Tape measure and pencil
Safety gear
HERE'S HOW:
Step 1 - Trim a new hollow core door to fit
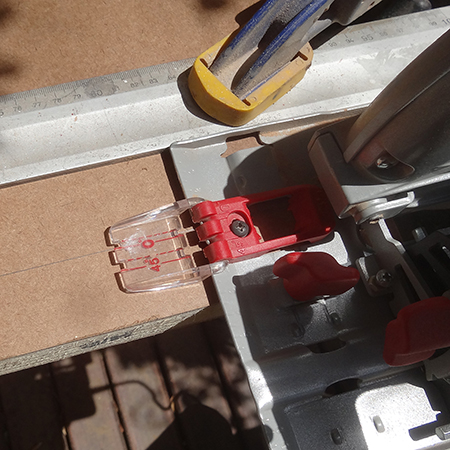
Your standard hollow core doors are longer than the height of the door and you will need to cut away a section at the bottom of the door to fit. To do this, measure the height of the existing door and transfer this onto the new door. I am cutting away a section at the bottom using a circular saw.
GOOD TO KNOW
Since it's only a small section, the guide that comes with a
circular saw won't work, so ensure I cut
a straight line I clamp a steel ruler as a guide. Make sure that the
blade of the saw is in perfect alignment for cutting off the correct
amount. You don't want a huge gap at the bottom of the door.

Step 2 - Reinforce hollowed areas inside the door
Depending on the quality of the door, most affordable options do not have much timber support at the bottom - as would a more expensive door. When you cut away the bottom of the door you are left with cardboard supports. But to fix this problem you only need a length of 32 x 32mm PAR pine. Cut the 32 x 32mm pine to fit snugly into the gap at the bottom of the door and use a hammer to tap this into position.

Step 3 - Secure 32 x 32mm PAR pine in place
Squeeze wood glue between the pine and the door frame. Use a glue that is runny consistency and has a small nozzle that allows you to get into a small gap easily. If your glue bottle does not have a nozzle similar to the one shown below, purchase a large syringe that can be filled with wood glue and that you can squeeze into the gaps to secure the pine in place. Immediately wipe away any excess glue that oozes out before it has time to dry.

GOOD TO KNOW
Use clamps to hold the front and back of the door together until the glue has
dried or overnight.
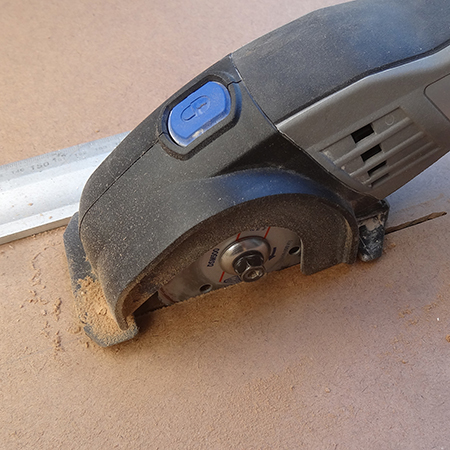
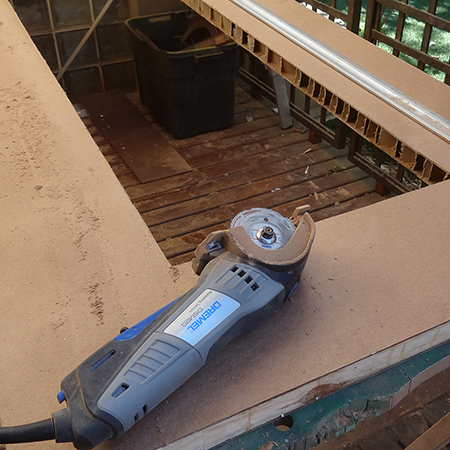
Step 4 - Cut out the centre of the hollow core door
For the centre panel, I measured in 200mm from the top, bottom and side edges on both the front and back of the door. This is where the glass will be fitted. I used my Dremel DSM 20 to do this. You can use a Jigsaw if you don't have a DSM 20 but only use a laminate cutting blade to avoid ripping the edges of the board. Line up the cutting blade with your mark and then clamp a straightedge or steel rule at the top and bottom to act as a guide for cutting a straight line.
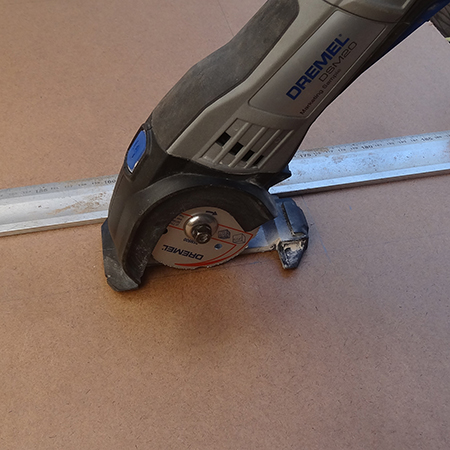
GOOD TO KNOW
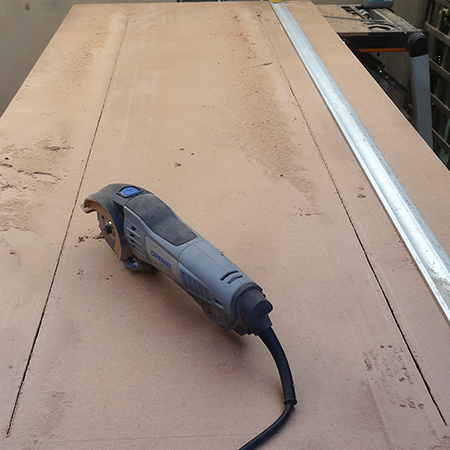
Using the Dremel DSM 20 was quick and easy to do, and after finishing one side, the door was turned over to do the other side.
BELOW: One side of the door has been cut and now the door can be turned over to cut the other side.
Step 5 - Reinforce the centre cut out areas
Just as with the bottom of the door, the centre cavity is filled with cardboard supports and nothing else. This doesn't give the door much strength and will need additional supports added.
For the bottom of the door and the centre frame I used a total of two 32 x 32 PAR pine and cut these pieces to fit inside the frame at the top and bottom, and to butt up against the corners down both sides. Adding the pine will provide strength and stability to the door. Glue the lengths of pine in the same manner as you did with the bottom of the door.

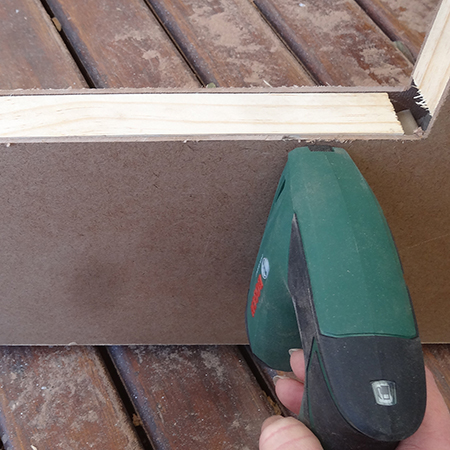
GOOD TO KNOW
The frame that will be added around the centre opening will cover this, so I used my Bosch Tacker to secure the frame to the pine. This will add even more strength and stability to the centre of the door where the glass is to be installed.
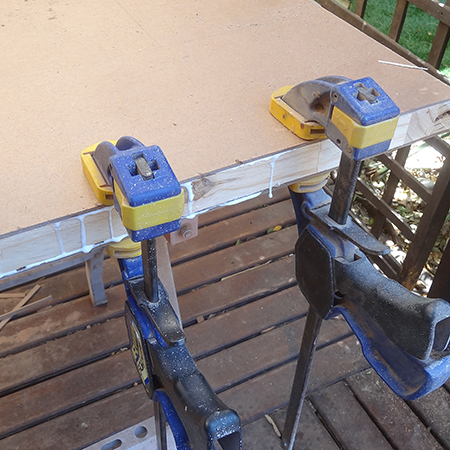
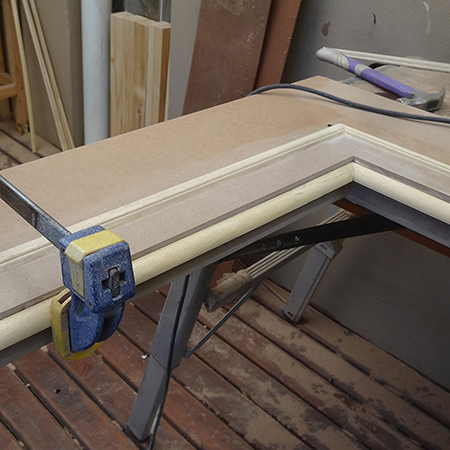
Step 6 - Framing inside and around centre opening
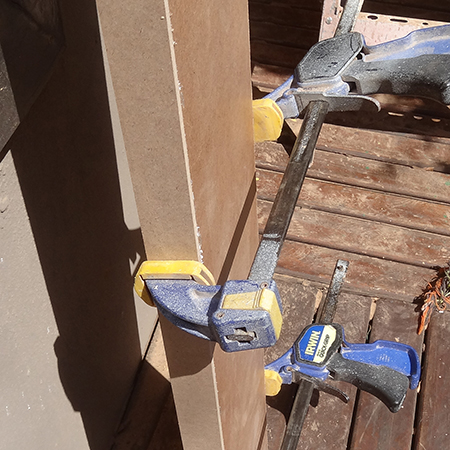
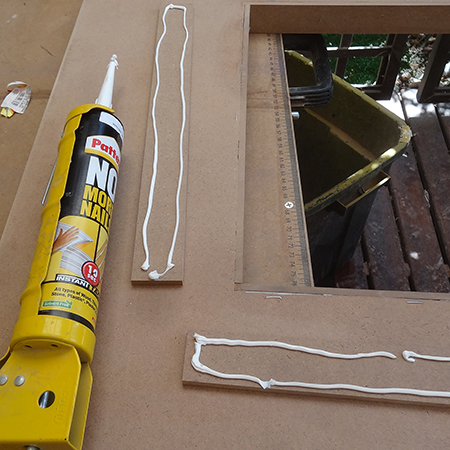
The frame mounted to finish the centre opening is 3mm SupaWood 40mm wide and cut in strips. These strips were glued in place using Pattex No More Nails adhesive. Once in position, clamps were used to hold the framing strips in place for a couple of hours.
GOOD TO KNOW
Clamp the framing strips in place for about
a couple of hours.
The same framing strips were glued onto the front and back of the door around the edge of the opening in the centre. These will add a decorative effect and also cover up the staples used in the steps above.
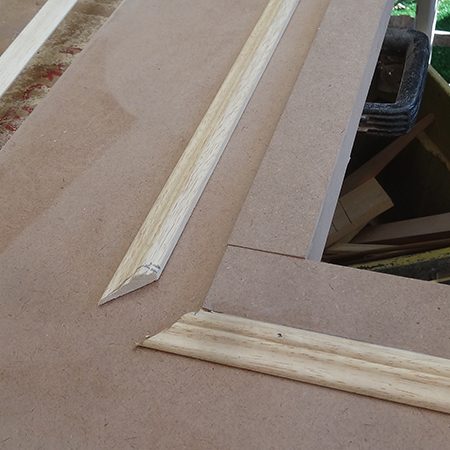
Step 7 - Add pine trim
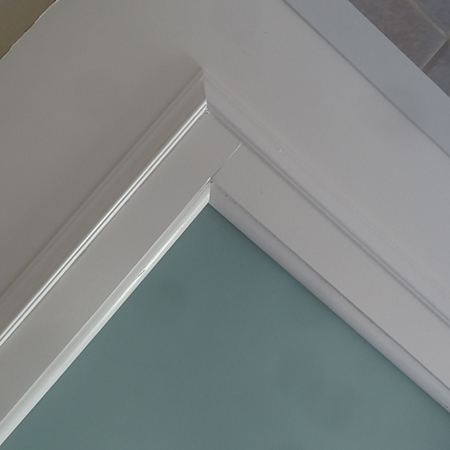
To add another layer for decorative effect, the pine moulding was cut to fit around the outside edge of the framing strips. The corners were cut at a 45-degree angle to give a professional touch. You can cut these angles on a mitre saw or using a mitre box and backsaw.
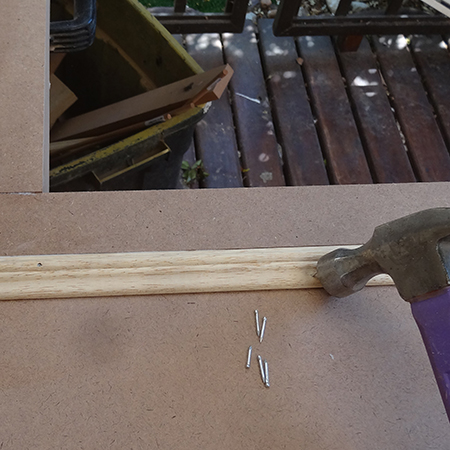
GOOD TO KNOW
Although the moulding was glued down, the strips were slightly warped and I needed to add a few panel pins along the length.
Step 8 - Fit the frame to hold the glass pane in place
To hold the glass pane in place, a frame of 12mm pine quarter-rounds was glued inside the opening. The frame will be visible on the front of the door and there is no frame at the back.
Step 9 - Sanding and painting
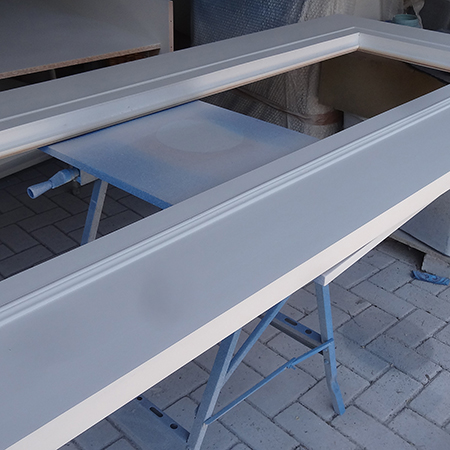
I sprayed the door and new fittings with my Bosch PFS spray system and three coats of Plascon Polvin, finishing off with two coats of clear acrylic sealer. If you do not own a Bosch PFS spray system, you can substitute it with spray paint or use a paintbrush and paint roller to apply Plascon Velvaglo water-based enamel paint.
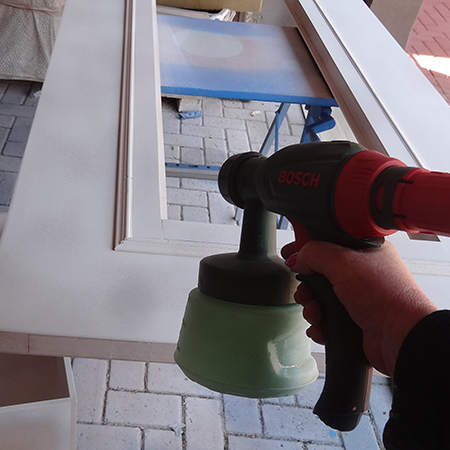
BELOW: The door after painting finished.
Step 10 - Applying Frosted Glass spray
Bathrooms need privacy and I don't want to be able to see through the glass panel so I applied 3 coats of Rust-Oleum Frosted Glass spray - sea glass. Allow drying time between each coat.
GOOD TO KNOW
For future reference, avoid using window cleaner on the painted side of the glass as this will affect the frosted glass finish.
Step 11 - Install glass panel
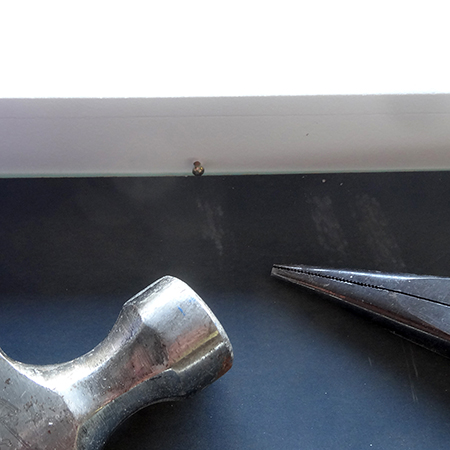
The pane of glass was gently placed in the opening and a few small panel pins hammered in around the back to ensure that the glass was firmly placed.
GOOD TO KNOW
To avoid scratching the glass with your hammer, pop a piece of paper
on top of the glass where you hammer and slightly angle the pins to make
it easier to hammer them in.
To ensure a safe fit, I applied Pattex Sanitary Silicone - white - and used a profile to seal around the edge of the glass panel. This will also serve to disguise the panel pins.

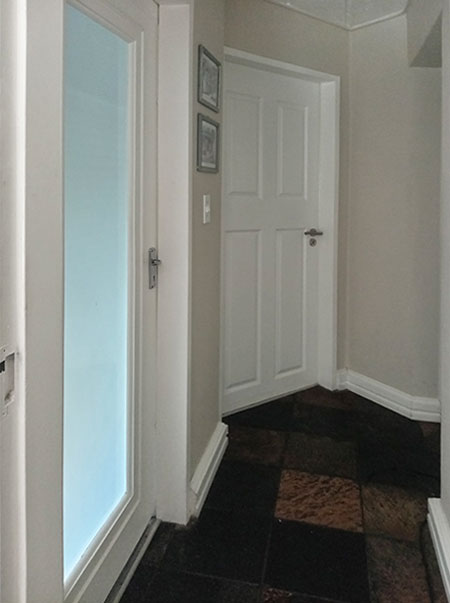
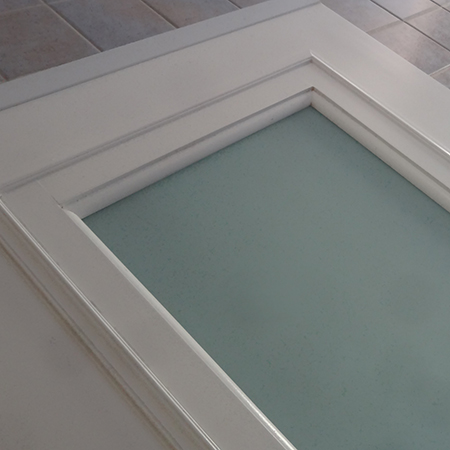
The frame moulding adds a wonderful decorative touch to the front and back of the door and the sea-glass frosted glass adds privacy and just a hint of colour to the door.
With the addition of the glass panel to the door, the passage is so much lighter and brighter during the day.
If you are planning to update your home in the future and perhaps have new modern doors installed, give some thought to this project and how it can add light to a dark passage or hallway.