
How to Make a Template for Decorative Details on Cupboard Doors
A router is the ideal power tool to use to add decorative detailing to cupboard and cabinet doors and in this article, we show how to make a template you can use for repeatable results.
07/12/2023
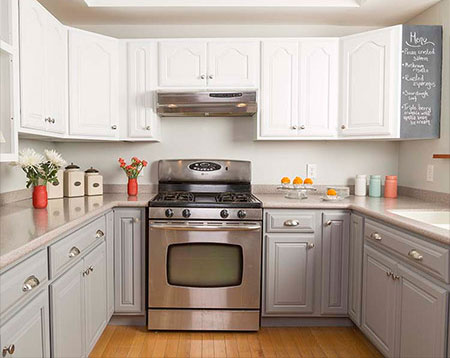
When you opt to take on a kitchen renovation, facelift or kitchen remodel one of the tasks you need to do is to add decorative detailing to cupboard doors and drawer fronts, particularly if you are looking to fit wood or board doors for a traditional kitchen design. The easiest and simplest way to add detailing to cupboard or cabinet doors or to drawer fronts is to use a router and, for repeatable results for lots of doors or drawer fronts, you will need a template that you can follow. In this article, we explain how to make a simple template that will allow you to achieve many different designs and repeat them with accuracy.
To add decorative detailing to any project, you are going to need a router. You can purchase a brand new router from around R1000 for an inexpensive model that will perform most basic tasks to around R7000 for a quality brand name router. What you spend for the router should be based on the quantity and quality of work you want to perform. If you are only going to be adding detail to a few doors and drawer fronts an inexpensive model will do the job. If you plan on doing more than a few doors and drawer fronts and using the router for other projects in the home, then consider a model that offers higher speeds and improved accuracy. Purchasing wisely will allow you to achieve a professional finish and do many other projects.
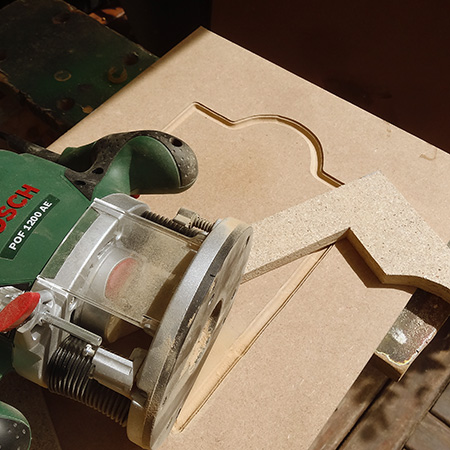
In this project, we use a Bosch Plunge Router and Pro-Tech Router Bits - both available at Builders - to create a template using 16mm SupaWood (MDF) that you can also purchase at any Builders store.
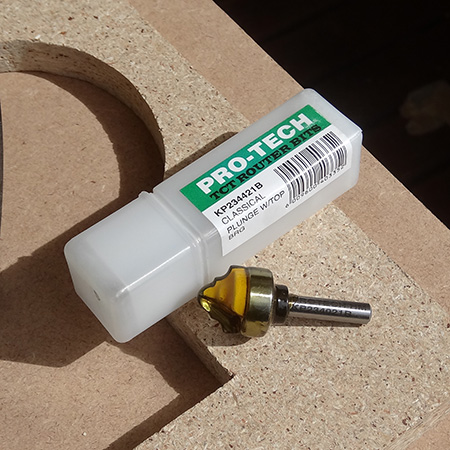
While I use Tork Craft routing bits for general timber projects, when you are routing dense board products such as SupaWood/MDF or hardwoods, these bits are too quickly blunt. It's worthwhile spending a bit more and buying a router bit that won't blunt quickly and Pro-Tech bits are known and used by cabinetmakers for almost 30 years. You will find Pro-Tech bits at your local Builders store.
How to make a template for a router
When making your cabinet doors with a decorative design that is repeated on all the doors you need a template. For this project, I used a scrap piece of 16mm particleboard (chipboard). You can use particleboard, plywood or SupaWood/MDF to make your template, but the board should not be thinner than 8mm or thicker than 16mm, especially if you need the template for all your kitchen cupboard doors.
If the decorative detail will need to cover an entire door front, the template should be the same size as the door, so that you can line up the template perfectly every time you use it. My template is smaller simply because it's a piece of scrap board that I had lying around.
Step 1
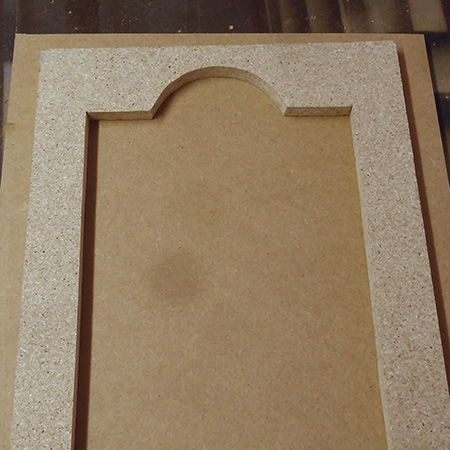
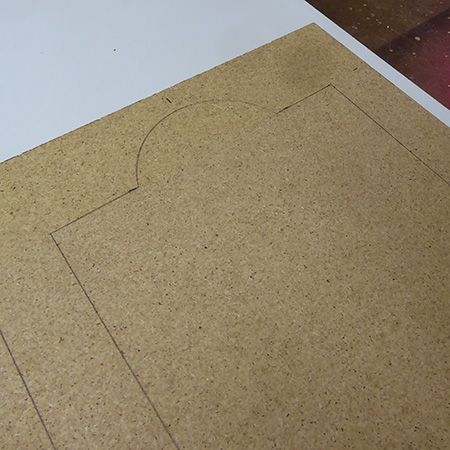
Before you start making the template for any doors or drawer fronts make sure that you have a clear design in mind. Consider all the variables of this design on the doors before you measure and mark and draw your design onto the material you will be using for the template. We opted to put a curve at the top of our template to show you how easy it is to do almost any type of decorative design for cupboard or cabinet doors.
Step 2
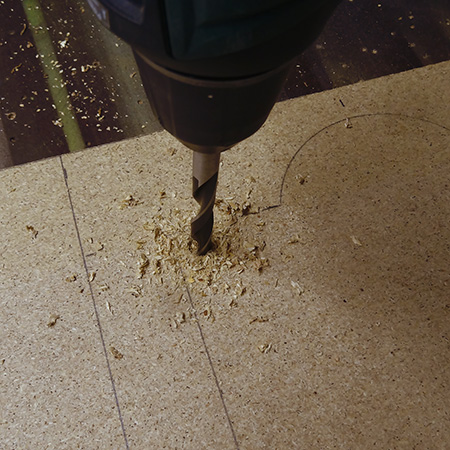
Place the template on a couple of sawhorses or workbenches that will allow you to leave the underside exposed as you will need to drill a few holes inside the area to be cut out with a jigsaw. Once cut, use 120-grit sandpaper to smooth any rough edges.
GOOD TO KNOW
The template must be as perfect as possible, as this transfers the design onto the door or drawer front and any mistakes you make will be visible.
If you have not used a router before, acquaint yourself with the instruction manual before you start. Although I have used a router before, I haven't done plunge routing or made a decorative door like the one shown here. A few practice runs beforehand using scrap wood will not only up your level of confidence but will also allow you to prevent mistakes when you finally rout the design for the first time
Step 3
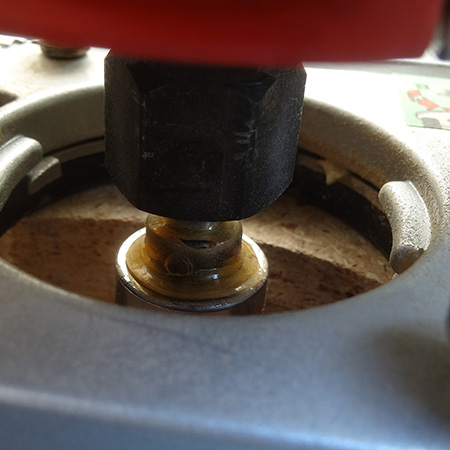
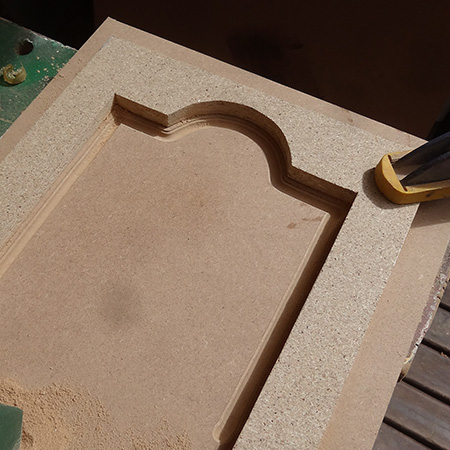
Set the rim of the fixed bearing at the top of the bit to the height of the template. The template acts as a guide for the fixed bearing so ensure sure that it follows the template.
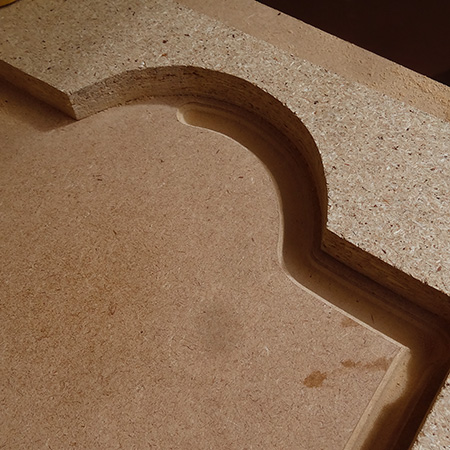
You will be working from right to left around the template, so place a couple of clamps at opposite corners to hold the template and door firmly to a workbench. You can move the clamps as you cut around the template. I started in the curved area at the top of the door and worked my way around to the side in one go. At this point, I needed to stop and re-position the clamps to continue around the bottom and up the other side to the starting point.
Not bad for a first attempt. My advice is to have some scrap pieces or offcuts to practice with before you start on the actual doors. That way you get a feel for using the router and can make any height adjustments for the router bit.
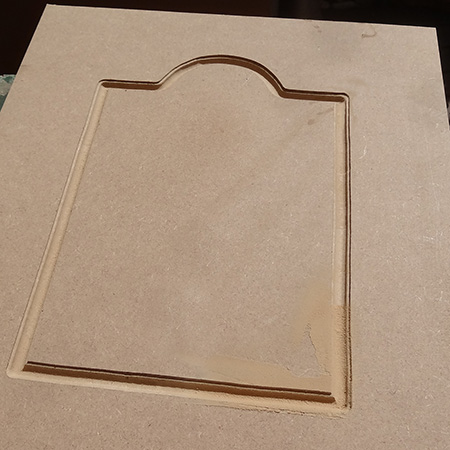
This is a simple design, but a very common one found on many kitchen cupboard doors. It is a good idea to go online and collect as many ideas as you can before you begin your project so that you can determine what would work best for your particular situation.