Make your own Tufted Ottoman | Stool
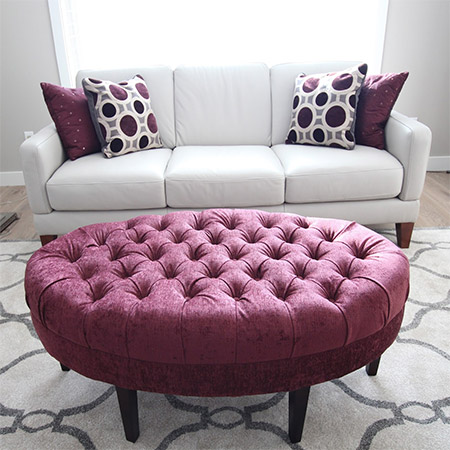
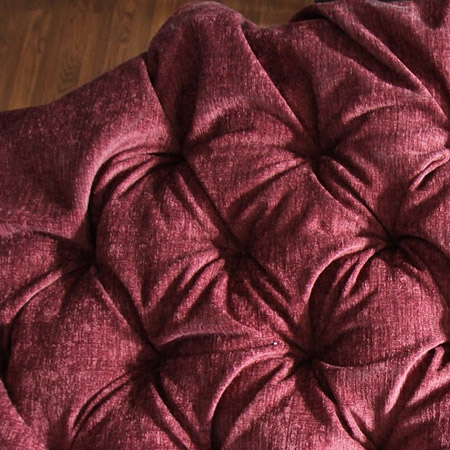
This beautiful tufted ottoman | stool was reupholstered and given a new lease on life. You can use the instructions to add a tufted top to a coffee table.
25/04/2018
do-it-yourselfdesign.blogspot.co.za/
Kara Paslay discovered a worn and weary ottoman-stool that just needed some TLC. She replaced the worn fabric with a beautiful burgundy linen. While these instructions include the reupholstery, you can also use them to attach a foam top to a coffee table to make your own tufted ottoman.
YOU WILL NEED:
Upholstery fabric
5cm thick foam
Nylon thread or heavy-duty finishing line - or button cord
Upholstery buttons
Upholstery needle
pliers
TOOLS:
Long-nose pliers
Heavy-duty stapler or Bosch Tacker
Scissors
Hammer
HERE'S HOW:
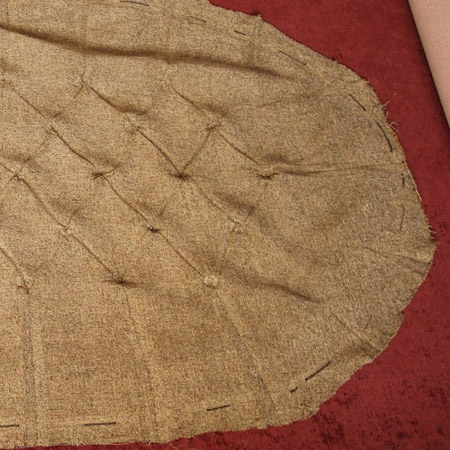
1. If re-upholstering, use the old fabric as a template for cutting new fabric. If working from scratch. Measure the size of the stool and add 20% all round to make sure you have a generous amount of fabric for tufting.
2. Have a basic design for your tufting and transfer this onto the foam for your ottoman stool. If re-upholstering AND the foam is still in good condition, you should be able to re-use this. You can use this DIY foam hole cutter to cut holes in the foam where you have marked.
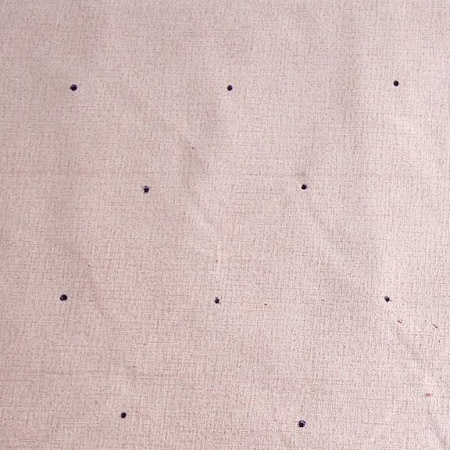
3. Also transfer the design onto the front of your fabric with chalk BUT allowing an extra 20cm spacing between the holes to allow plenty of extra fabric to make luxurious pleats. These marks indicate where to push the needle through.
Note: Kara did it differently, since she is reupholstering and wanted to make the job as easy as possible.
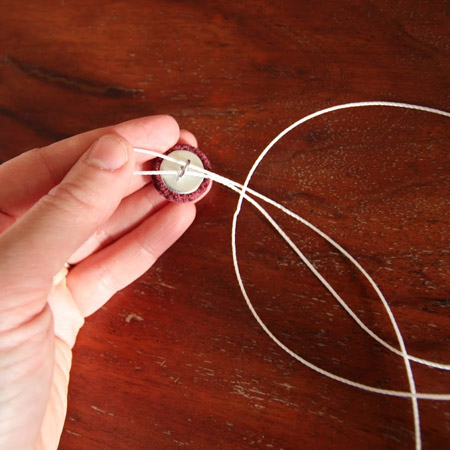
4. Cover your upholstery buttons with small pieces of fabric before threading. You need to use a nylon thread or heavy-duty fishing line to sew on the buttons - something that won't break easily when you pull tight... very tight.
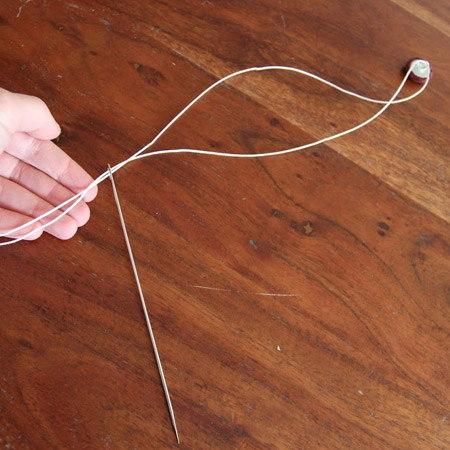
5. Double up the thread just to make sure it doesn't break as you are working.
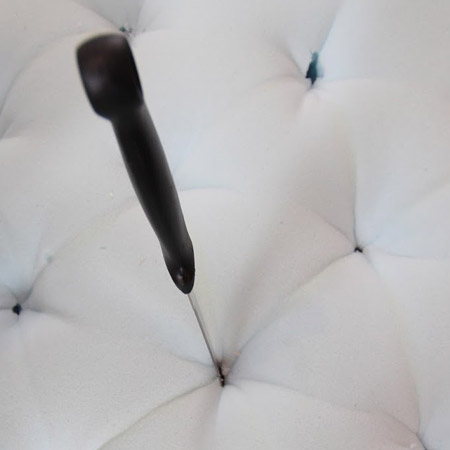
6. Starting in the centre, push the needle through the front of the fabric on the marks you made - and come out at the back. Follow your marks on the fabric and line these up with the marks on the foam.
GOOD TO KNOW: Position the furniture on its side, where it will be easy to flip over the fabric to see your marks as you work.
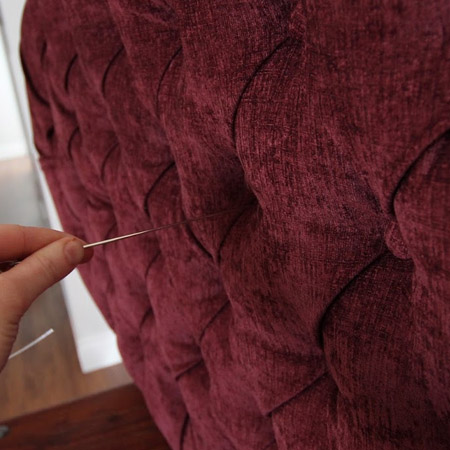
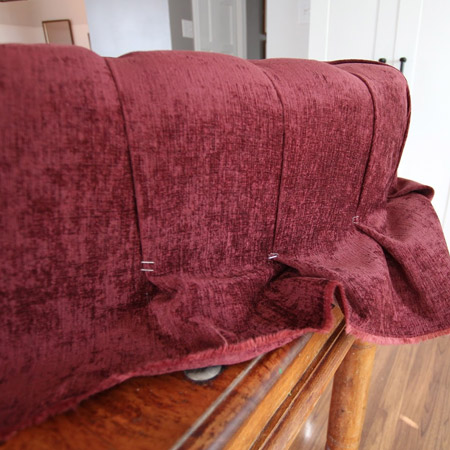
7. It will be a baggy mess to begin with, but you can gently fold and tuck the fabric as you work, so that it creates perfect pleated lines between the buttons.
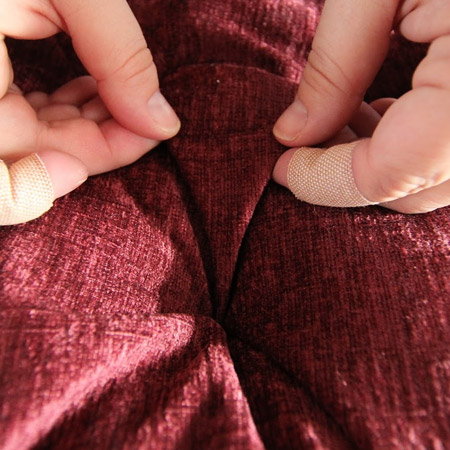
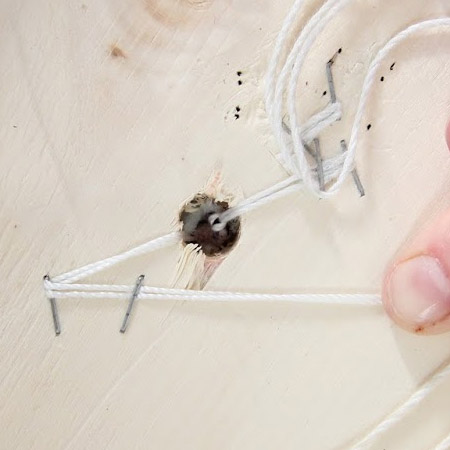
8. As you secure each button and push the needle through to the back, pull and pull until you can't pull anymore and then secure the fabric with a few staples, folding it over so that it won't come undone.
9. As you reach the sides, fold the fabric over for a neat pleat.
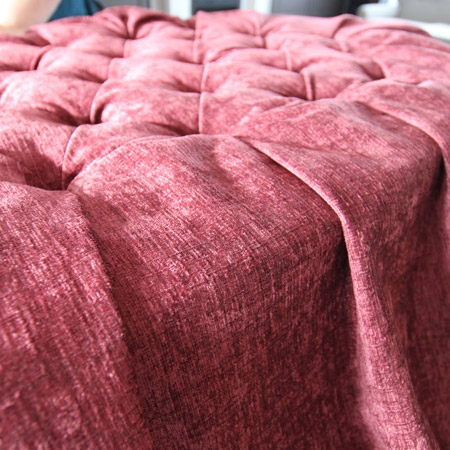
10. Staple the edge of the fabric to the frame, making sure the staples will be out of sight once you are finished. For this project there is an extra piece that wraps around the base - covering up the staples.
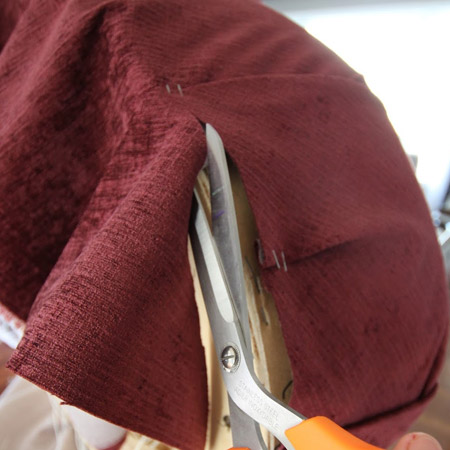
11. Trim off any excess fabric and fold under and staple the fabric out of sight to finish your tufted ottoman.