
DIY Shelf Brackets
Given the total lack of choice when it comes to decorative shelf brackets, making your own DIY shelf brackets is the way to go!
If you own a drill / driver, jigsaw and sander, making your own decorative shelf brackets is an easy project. If you have a mitre saw and a router, you have even more options for making unlimited designs for decorative shelf brackets. In this feature we show just a few option you can consider, from basic to fancy depending on the tools you own.
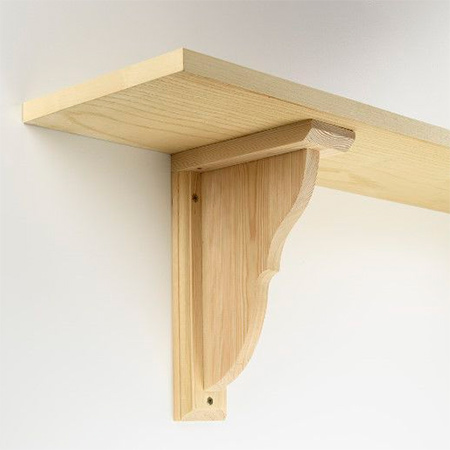
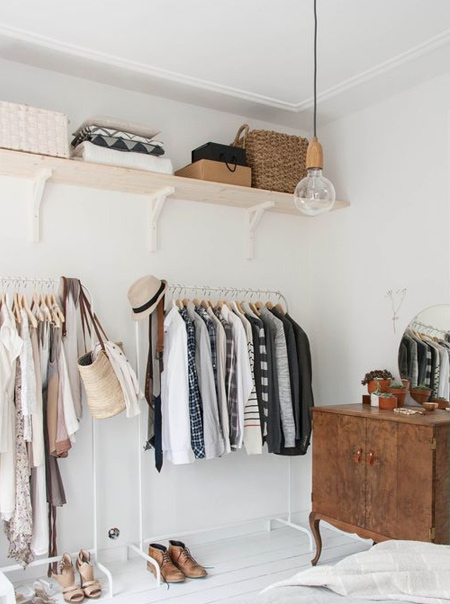
ABOVE AND BELOW: See the instructions below for a simple shelf bracket and modify this design by adding a decorative pine panel in place of the support bar.
pinterest.com/pin/17240411050226413/
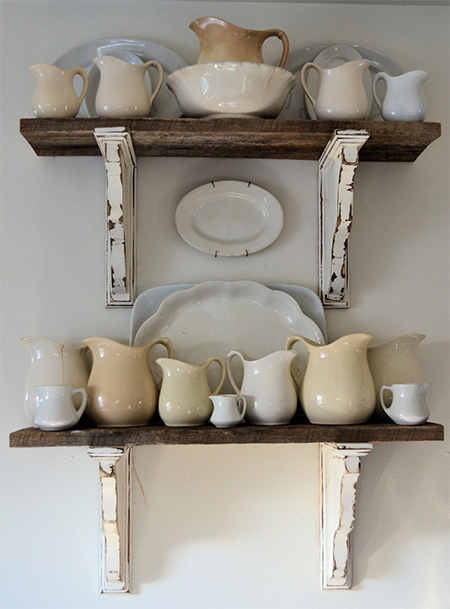
Once you have made your shelf brackets, the finishing is up to you. You can leave raw, paint them, or apply a distressing technique to replicate the look of vintage shelf brackets.
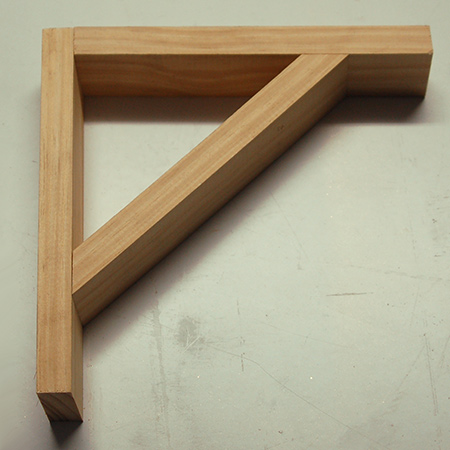
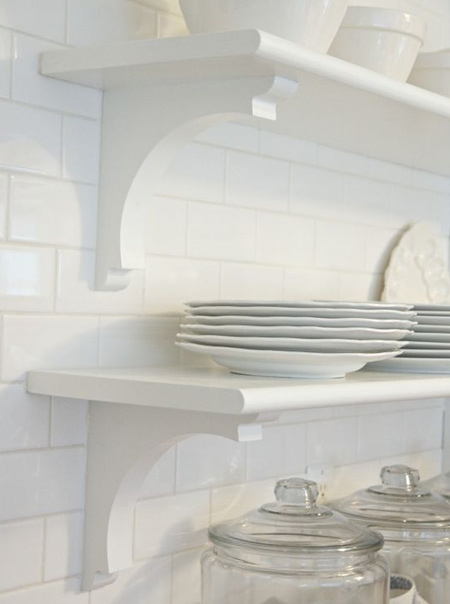
Simple Shelf Bracket

With the basic tools (drill / driver - jigsaw - sander) it is easy to make a simple shelf bracket like the one shown above. Raw or painted, these simple shelf brackets can be used to support plain pine shelves, glass shelves or painted shelves.
pinterest.com/pin/56787645279583165/
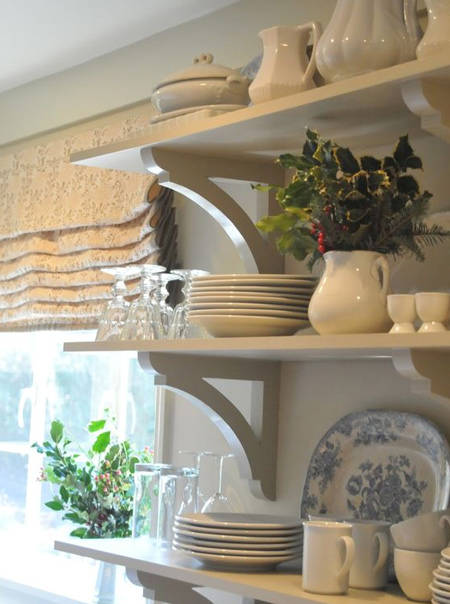
ABOVE and BELOW: Painted or not, simple pine brackets look so much nicer than what's available locally in hardware stores.
pinterest.com/pin/96334879511783401/
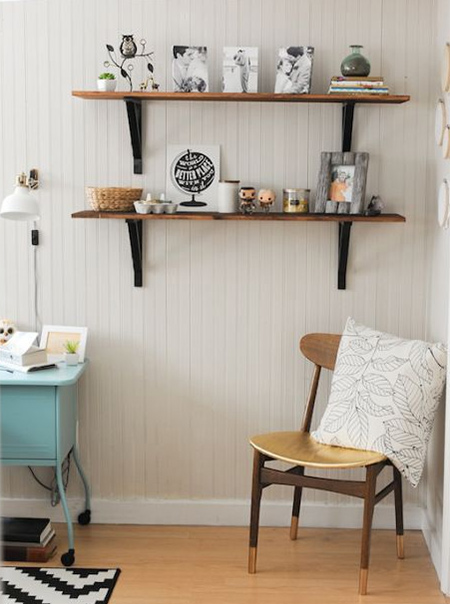
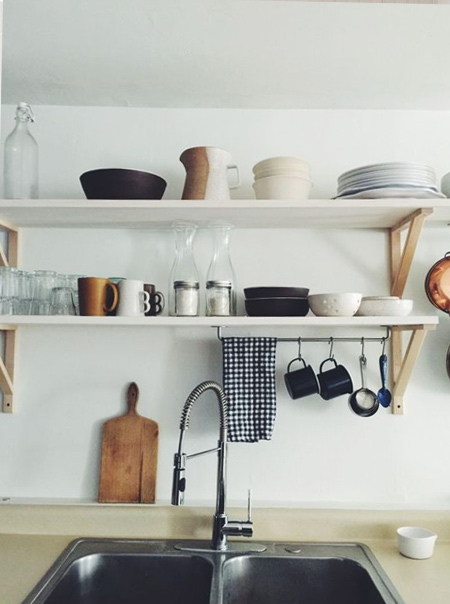
You can use a simple shelf bracket to install shelves in any room in a home, from kitchen and bathroom storage, shelves or display purposes, or practical shelves for a closet.
pinterest.com/pin/55028426672831571/
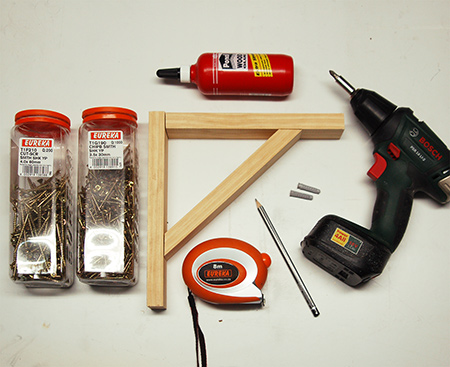
YOU WILL NEED:
22 x 44mm pine cut to sizes:
- 250mm length for back
- 228mm length for top
- 238mm length for support - with 45-degree mitres both end
Wood glue
3.5 x 30mm screws [3]
4 x 60mm screws [2]
Fischer SX6 wall plugs [2]
120-grit sandpaper
TOOLS:
Drill / Driver or Combi Drill plus assorted bits
Jigsaw, mitre saw or table saw
Tape measure and pencil
Buy everything you need for this project at Builders Warehouse.
HERE'S HOW:
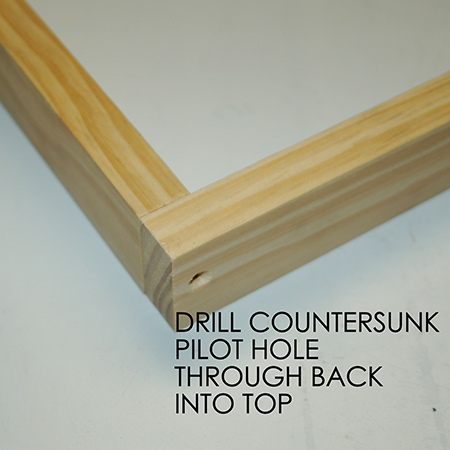
1. Attach the back to the top using wood glue and 3,5 x 30mm smooth shank screws. Drill a countersunk pilot hole beforehand to ensure the screw head sits just below the surface of the wood.
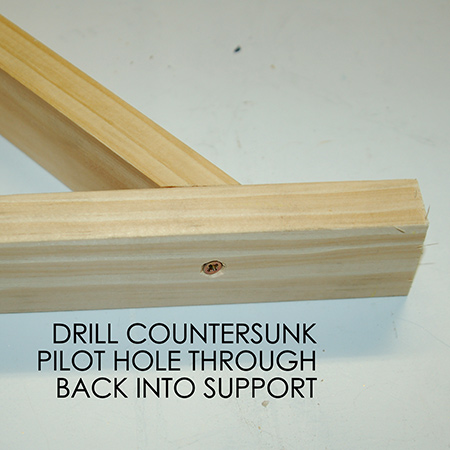
2. Position the support between the top and back, making sure it is flush, before drilling a countersunk pilot hole and driving in a 3,5 x 30mm screw.
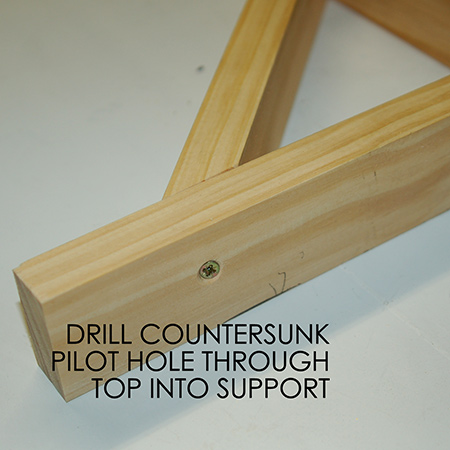
3. Finally, secure the top of the support to the top section in the same way.
FINISHING
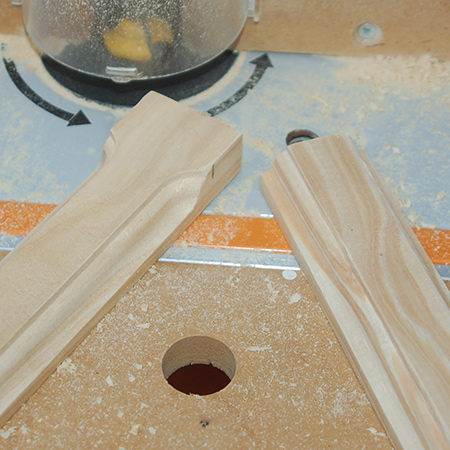
If you own a Router or Dremel Trio you can use this to add decorative edging to your pine.
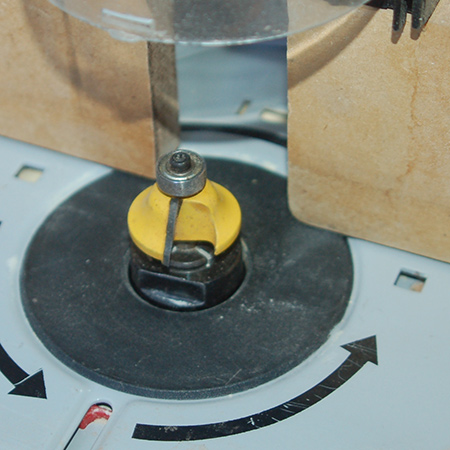
GOOD TO KNOW: Have some scrap pieces of wood on hand to try out different bits to see which works best for your decorative shelf brackets.
Decorative Shelf Designs
You'll love to see these amazing decorative shelf designs and use them to add some spicing in your rooms, visit Architectureideas.
pinterest.com/pin/520588038149338157/
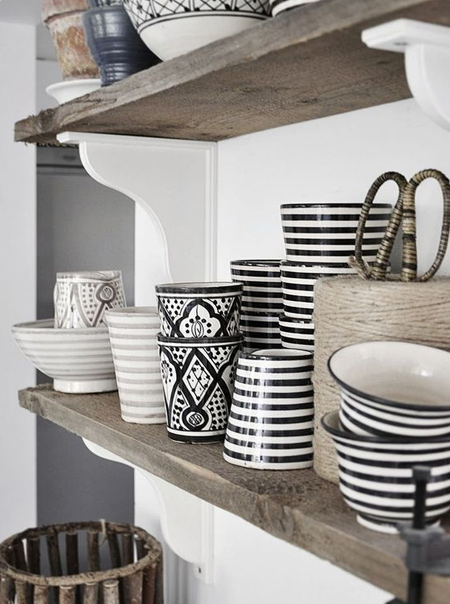
ABOVE: Plain or decorative, making your own shelf brackets not only saves you money - you can choose your own design and paint as desired.
pinterest.com/pin/375980268861638172/
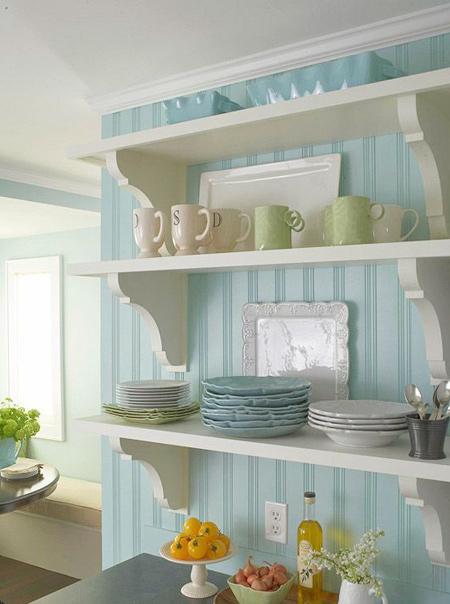
ABOVE and BELOW: There are so many wonderful designs to choose from for making your own shelf brackets.
pinterest.com/pin/149181806382023999/
BELOW: Double-up... Glue together two pieces of pine or board to make a chunky shelf bracket.
pinterest.com/pin/6825836907670729/