
Quick Project: DIY Privacy Screen
This privacy screen is a quick and easy project using supplies that you will find at any hardware store.
12/05/2018
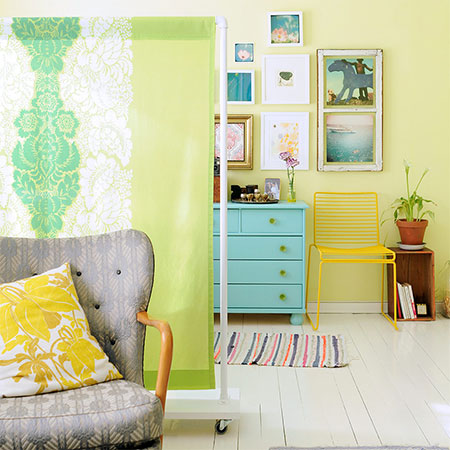
You should be able to knock up this privacy screen in an hour and then all that's left to do is sew on your choice of fabric. Use this privacy screen to divide up or section off an area in the home.
YOU WILL NEED:
Piece of pine about 300mm wide and 1500mm long
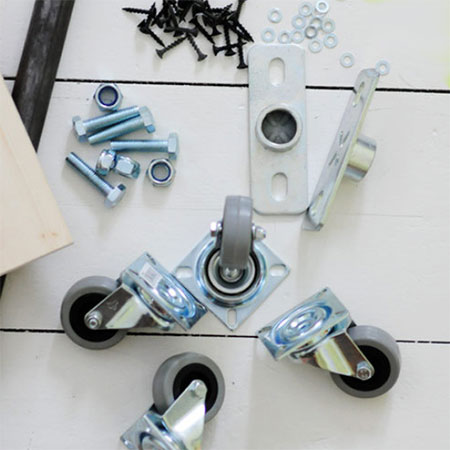
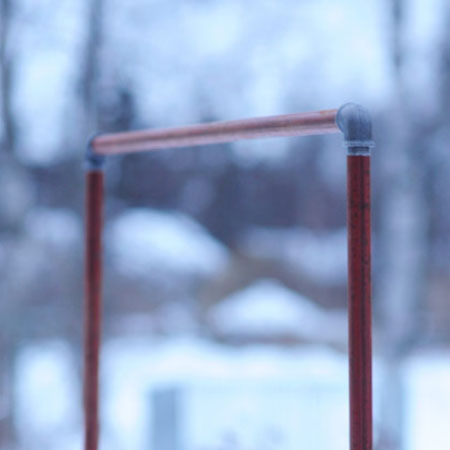
Pipes, PVC - or copper - or galvanised steel - [2] 145mm high for the sides and [2] 130mm for the top and weight
Elbows for the pipes [2]
Pipe brackets [2]
Bolts, nuts and washers [4]
Castor wheels [4]
Paint to finish
TOOLS:
Drill / Driver plus assorted bits
Orbital sander plus 180-grit sanding pads
Tape measure and pencil
HERE'S HOW:
1. Assemble your choice of pipes to make the frame. If you are using PVC, use Tangit to secure the elbows onto the ends. If using copper pipe, use an all-purpose adhesive - or if you're using steel pipes, screw on the fittings.
2. Sand the bottom and paint the shelf before assembly and then screw on the pipe brackets at the ends of the board. Measure the top length of the pipes once assembled and transfer this onto the shelf.
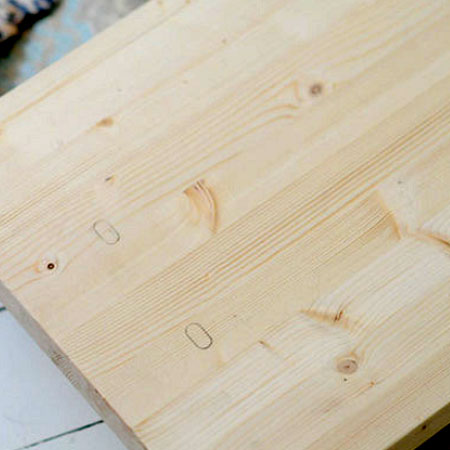
3. Screw the castor wheels onto the underside of the shelf. Put them close to the edge - about 20mm - to offer balance once assembled.
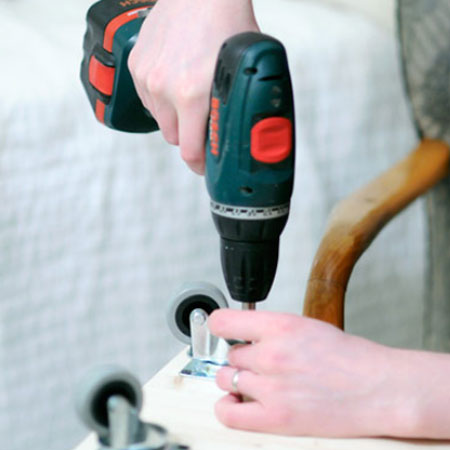
4. One of the shorter lengths of pipe was added to the underside of the shelf for weight. This was attached with [2] brackets. If you find that the finished assembly is top heavy, you may need to add extra weight to the base if using copper or PVC pipe.
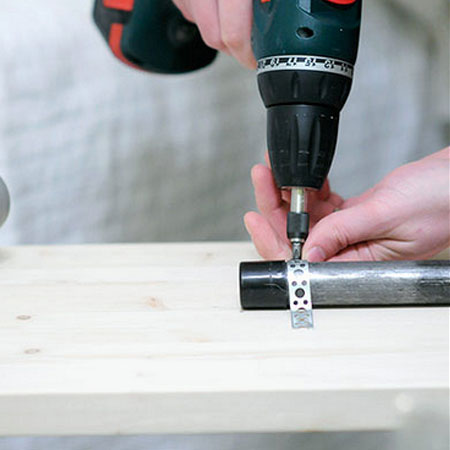
5. Bolt or screw the pipe brackets onto the top of the shelf. For this steel pipe the nuts were pushed through and screwed underneath.
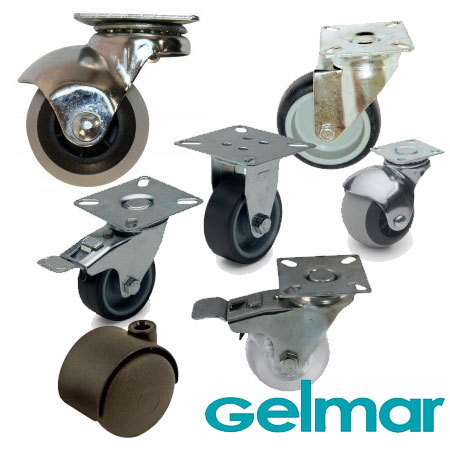
GOOD TO KNOW: Gelmar offer a range of chrome pipe (19 and 25mm dia.) and fittings that can be substituted for the products shown here.

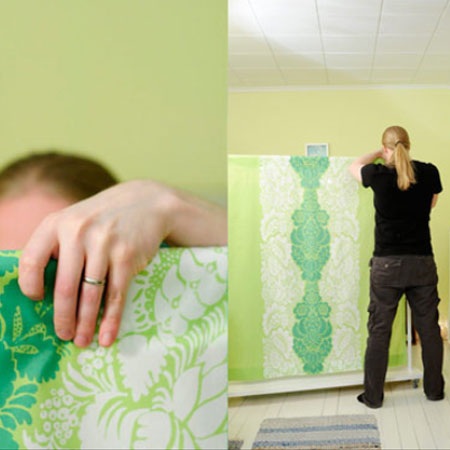
Now all that's left to do is to wrap your fabric over the frame and hand sew a seam along the top.
GOOD TO KNOW: If you use an airy or lightweight fabric, include a hem that allows you to add some steel washers to pull the fabric taut.
You can also use these instructions to make a clothes rod. But it's not designed to hold heavier items.

www.kootutmurut.com