Choose and use a pockethole jig
If you own a Kreg Pockethole Jig but haven't yet put it to use, we offer a few tips and tricks for using this amazing tool to best advantage and for professional jointing of projects.
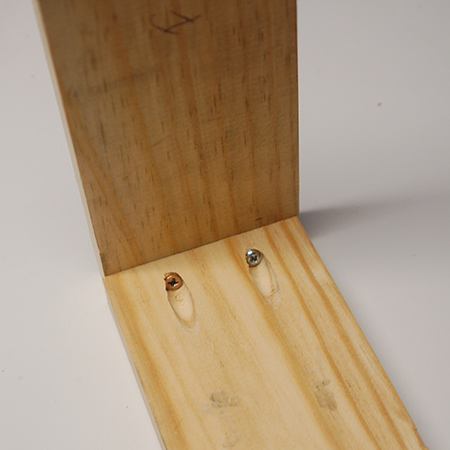
For the home DIY enthusiast who likes to make his or her own furniture or decor accessory projects, a Kreg Pockethole Jig is the perfect tool when you are using pine, or other type of timber, and don't want screws to be visible. With a Kreg Pockethole Jig to can create strong joints that are placed at the back, or under, most designs to be hidden from sight. Visit our DIY Section for plenty of project ideas using a Kreg Pockethole Jig.
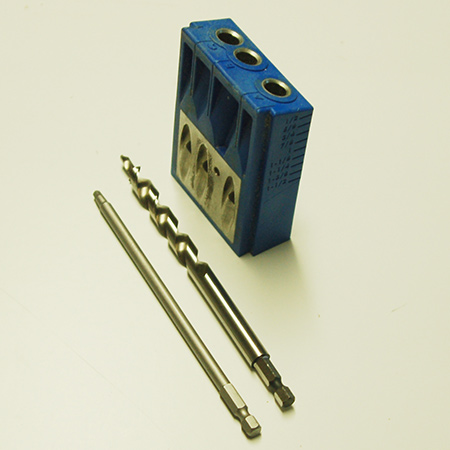
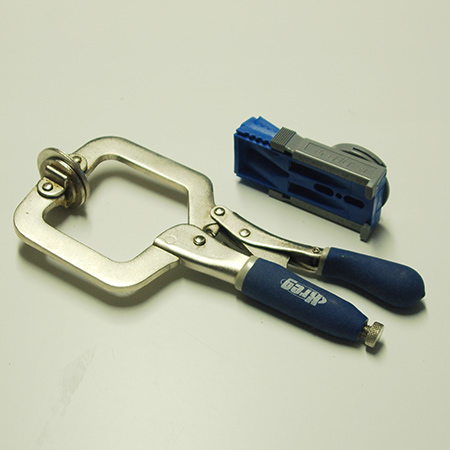
The main components in any Kreg Kit is the drill guide, the unique drill bit, and long-shafted bit. The jig is designed in such a way as to allow angled holes to be drilled into timber or board, while the unique drill tip bores out a pilot hole for the screw.
There are various Kreg Pockethole Kits that you can buy, from the K3 basic system to the K4 and K5 kits, allowing you to select a pockethole jig that fits your budget. Some kits come complete with the locking clamps and with other kits these are bought separately.
Read the instruction manual
Too many people tend to overlook the importance of reading the instruction manual that comes with the tool or kit, yet this offers valuable information for using the tool to best advantage. Once you take the pockethole jig out of the case, take the time to carefully read the instruction manual to know how to use a pockethole jig for various jointing methods.
From a personal point of view, I use a Kreg Jig Master System first launched about 5 years ago, and now retails at around R3414.00, that contains the clamping system, drill guide, drill bit, screwdriver bit, clamp, and dust collector.
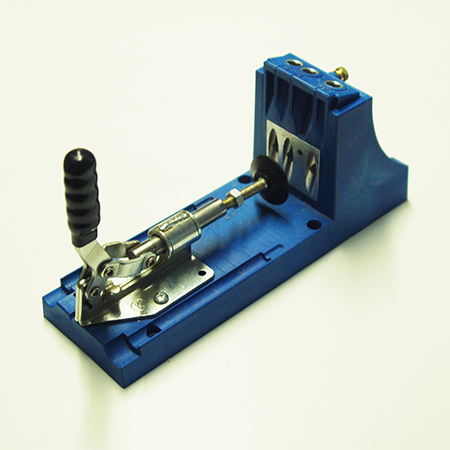
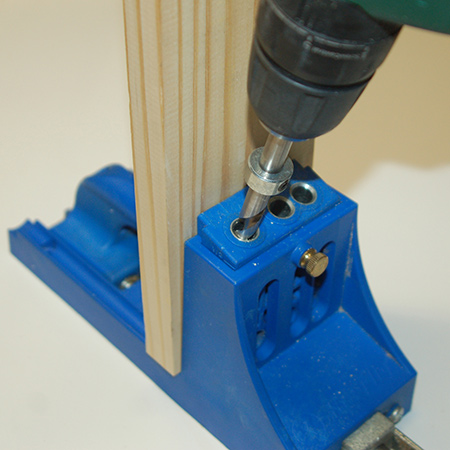
The drill guide (shown below) can be removed from the clamping system and used in conjunction with the clamp for larger projects that won't fit in the clamping system.
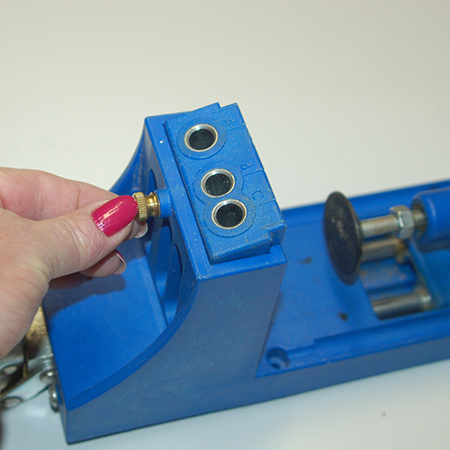
While the drill guide can be used on its own in conjunction with the adjustable clamps, the clamping system makes it easy to adjust the clamping space for wood of various thicknesses.
Make sure it's straight
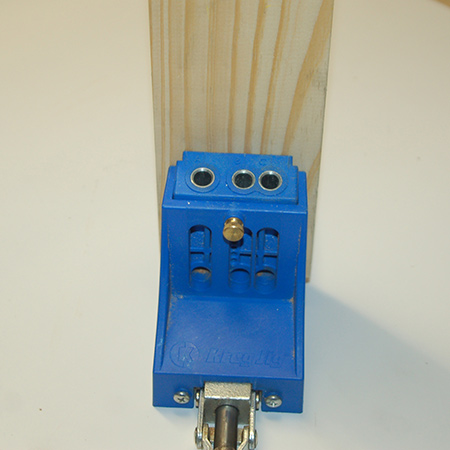
When drilling pocketholes in the end of a piece of timber of board, remove any debris from the clamping system so that the piece sits firmly on top of the clamping system base. Align the piece so that it is lined up where you want to drill holes.
GOOD TO KNOW
Cut pieces straight to have a join that is completely flush at the edges.
Drill the right depth
You want to drill a hole that is just deep enough to allow the pockethole screw to be seated just below the surface of the timber or board. Here in South Africa, most DIY enthusiasts use pine for projects due to its affordability and availability. Unfortunately, pine is a softwood and can easily split if the drilled hole is too deep.
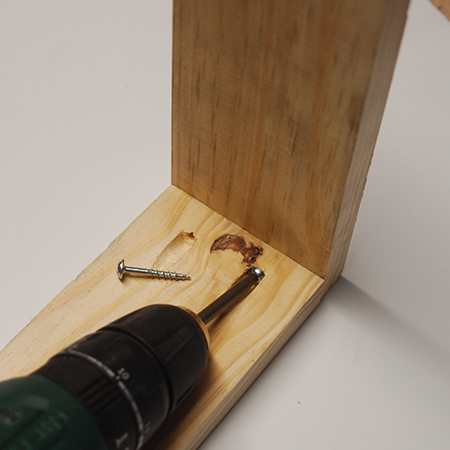
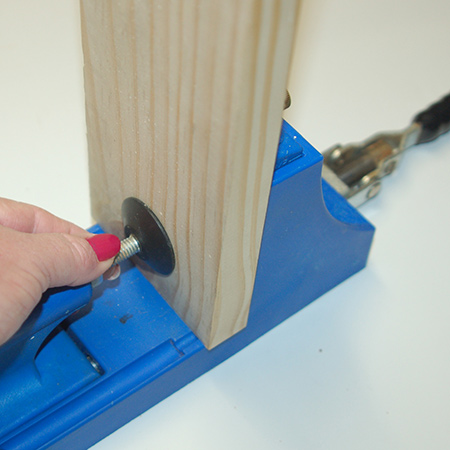
BELOW: Have some scrap pine on hand to check how deep you can drill pocketholes without splitting the pine edge.
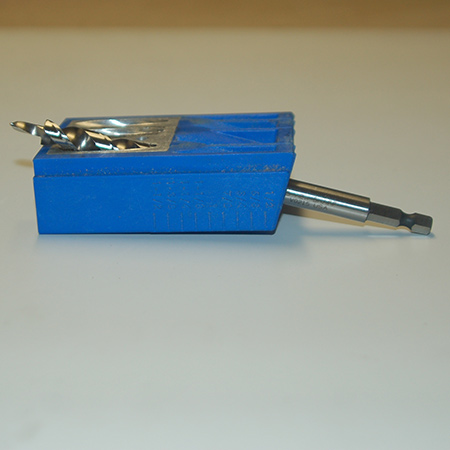
BELOW: To set the depth for drilling holes, use the guide and allen key the lock in place on the bit.
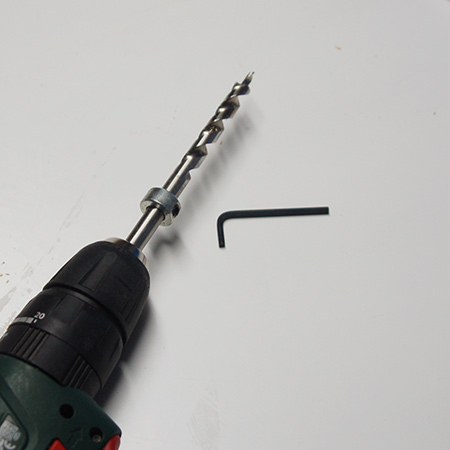
The guide prevents you from drilling too deep, which is important when using pine that can easily split. Have a couple of pieces of scrap pine on hand to test for the correct depth and then lock the guide in place for repeat drilling.
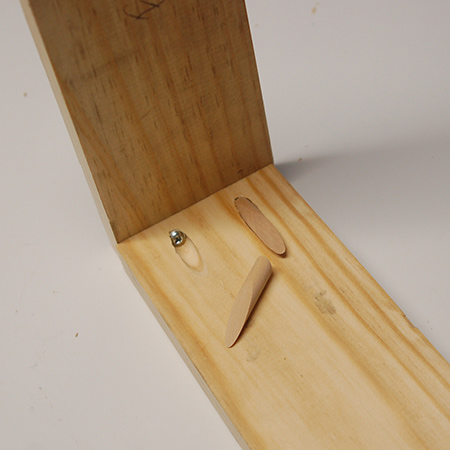
To finish off your assembled project you have the option to disguise holes with plugs. These can be bought, or you can make your own using pine dowels. The plugs are glued in place, left to dry overnight and then sanded down flush with the surface. This gives any project a truly professional finish. You will find instructions here for making your own pockethole plugs.
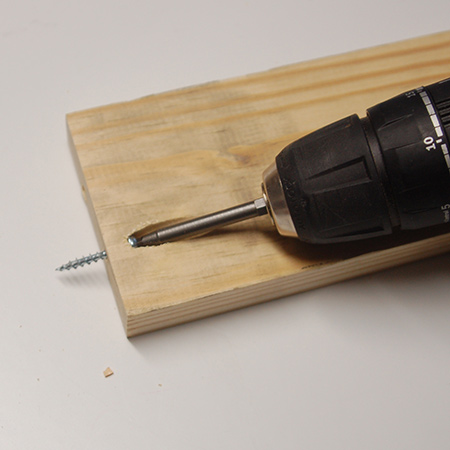
A query I often receive is whether or not you have to use pockethole screws for projects. While Kreg recommends the use of pockethole screws, these aren't always available when you need them, and I have often used smooth shank chipboard screws as a substitute.
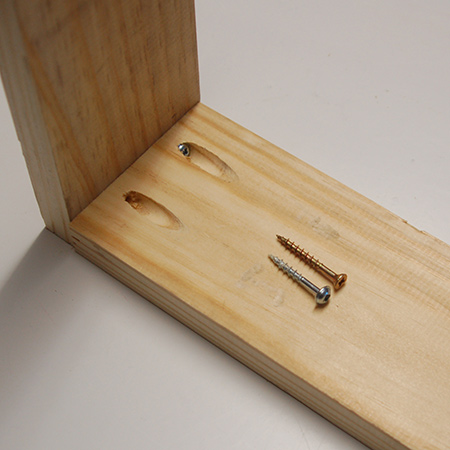
The thread on a chipboard screw is coarse and great when using soft pine, and the head of the screw also sits just below the surface, which is important if you plan on using a plug to disguise the hole once your project is assembled. Again, if in any doubt try out on a piece of scrap wood before you work on the actual project. However, just a note on using chipboard screws. THe head of the screw is not similar in design to that of a Kreg pockethole screw, which features large flat heads designed to seat firmly in the bottom of the pockethole. This dramatically improves overall joint strength and prevents the wood from splitting. Kreg pockethole screws also have a self-drilling tip so as to prevent splitting on the joint.
Vermont Sales has announced that the prices of pockethole screws are down from a few months back and are now available in really nice re-usable plastic containers. These plastic containers will stack / nest into each other and are designed to fit in the new Kreg storage cases that are on the way. Additionally, Kreg also have Zink screws designed for indoor use, Blue-Kote, for damp or wet environments, and Stainless for very wet ,maritime and corrosive applications. Visit www.VermontSales.co.za for more detail on the Kreg range.