Quick Tip: Trim with an electric planer
Most DIY enthusiasts give little thought to buying a planer, but when you own one you discover how valuable this power tool can be, especially if you make your own furniture.
When most people think of a planer, they think of the manual woodworking variety. Treasured by carpenters and woodworkers, a planer is used to trim rough planks and edges down. Nowadays we have electric planers that make trimming and removing rough wood so much easier. You can use an electric planer for a variety of tasks. I have used it for trimming doors to fit, for removing excess timber or board. Find more tips on using a power planer here.
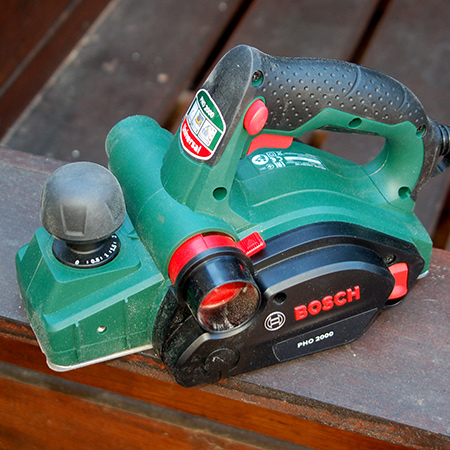
The Bosch PHO 2000 electric planer is definitely a step up from the old model. It offers high surface quality and consistent material removal – even for the most demanding jobs. It's also powerful enough to make planing considerably easier and faster. As a result, you can effortlessly achieve absolutely flat surfaces and precisely chamfered corners.
Safety First
When using any power tools that grind our remove large areas of surface timber or board, protect your eyes with safety glasses.
When using tools that have moving parts to cut, grind or sand, after turning the tool off place the cutting, grinding or sanding edge on its side to prevent damage to yourself and your work surfaces.
Trimming excess timber or board
I recently made a drawer unit, but somehow made the drawers slightly taller than they should have been. I always tell readers and DIY Divas that it should be standard practice to measure twice and cut one, but still managed to make a boo boo!
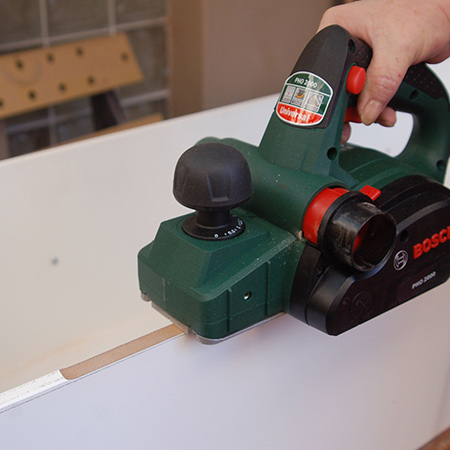
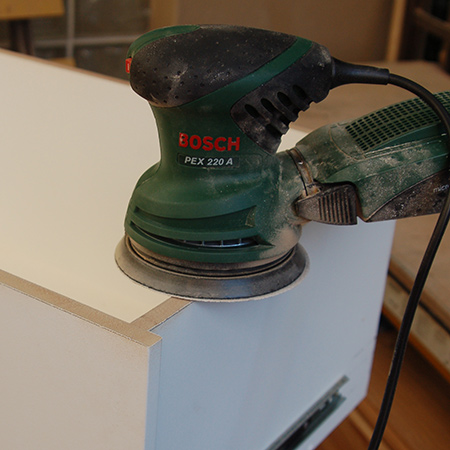
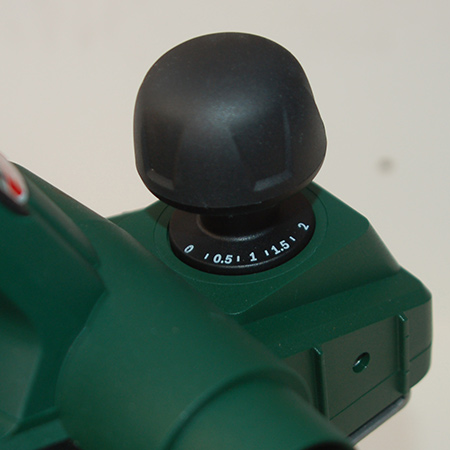
Since there is a 2mm difference that needs to be removed, using a sander would take forever and make a lot of mess. A power planer, on the other hand, provides a quick and easy way to remove excess timber or board, and trims up to 2mm.
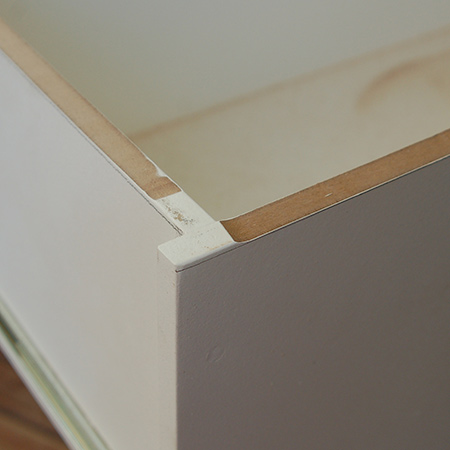
However, when planing surfaces where two opposing sections join together you have to be careful. If you plane over the joined sections you could end up ripping the edge of the timber or board on the opposing join. For this reason it is better to stop before you reach the join, as shown below.
After removing excess with a planer, use 60- or 80-grit sanding pads to remove the material on top of joins. After that, you can sand the entire planed edge with 120- or 180-grit sandpaper.