Make a Pedestal Table
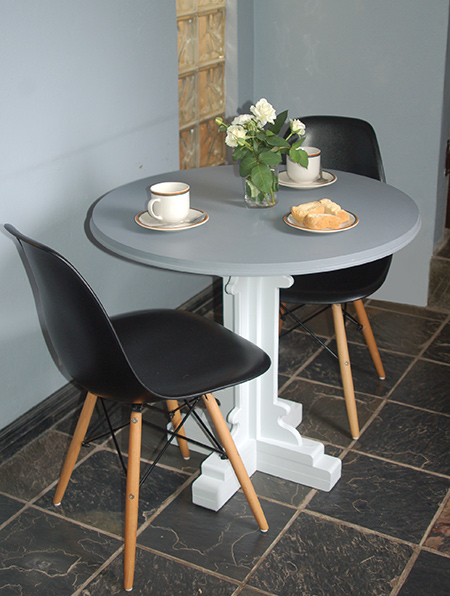
Here's how to make a pedestal dining table or side table using pine and supawood that you can buy at your local Builders Warehouse. Finishing it off in shades of grey with Prominent Paints Premium Satin Silk.
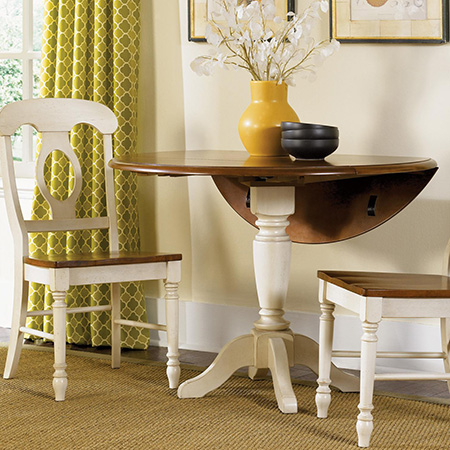
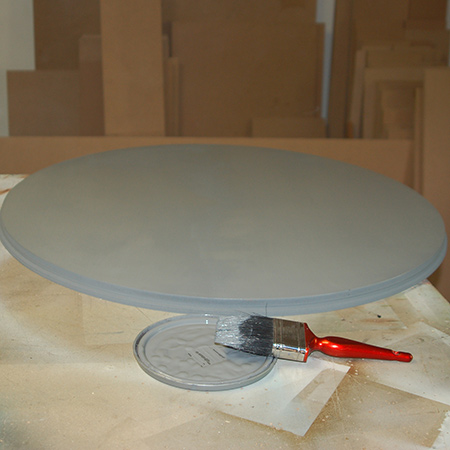
The base for the table is made using pine and you can modify the design to fit in with your style of decor. We chose a chunky leg style with a bit of flair, but you can add as much or as little detail as you want. The pedestal table is painted in shades of grey - a light grey on the base and dark grey on the top - in Prominent Paints Premium Satin Silk.

YOU WILL NEED:
1 of 800mm diameter 12/16mm supawood - tabletop base
1 of 796mm diameter 12/16mm supawood - tabletop top
1 of 67 x 67 x 550 pine - upright
4 of 22 x 120 x 500 pine - upright panels
3 of 32 x 67 x 500mm pine - base large
6 of 32 x 67 x 217mm pine - base large
2 of 32 x 67 x 400mm pine - base small
4 of 32 x 67 x 167mm pine - base small
Ponal wood glue
Prominent Paints UltraPrime primer
Prominent Paints Premium Satin Silk, light and dark grey
Steel angle braces [4] and screws
TOOLS:
Drill / Driver plus assorted bits
Jigsaw plus clean-cut blade
Orbital sander plus 120- and 240-grit sanding pads
Kreg pockethole jig
Quick clamps
Paintbrush
Tape measure and pencil
OPTIONAL: Dremel Trio or Router and decorative bit and Tork Craft Biscuit Joiner
Buy everything you need for this project at Builders Warehouse.
HERE'S HOW:
Preparation:
Cut all the pieces to size, or have them cut at Builders.
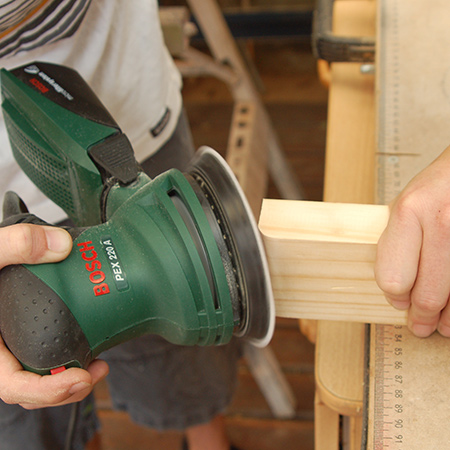
1. Use a sander to round off the edges that will form the top and base of the pedestal. Sand away any rough edges on all pieces.
![2. Draw your design onto the [4] leg pieces and cut out with a jigsaw and clean-cut blade. Sand smooth.](../2017/feb/181.jpg)
2. Draw your design onto the [4] leg pieces and cut out with a jigsaw and clean-cut blade. Sand smooth.
GOOD TO KNOW
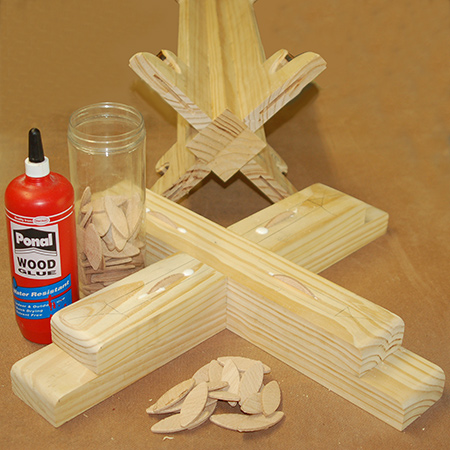
To assemble the pieces for the pedestal use wood glue in conjunction with pockethole screws.
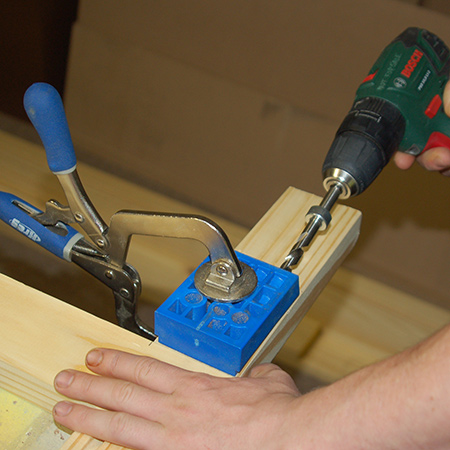
3. With a Kreg Pockethole Jig you can easily join the cross pieces together for the base and the top. If you don't own a Kreg Pockethole Jig, apply wood glue and clamp overnight.
4. Stack the individual assembled cross pieces together for the base and top. The base has three layers and the top only two layers.
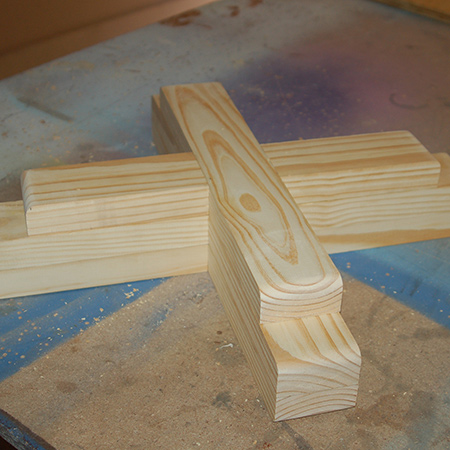
5. Glue the pedestal sides onto the centre upright. Clamp and leave overnight.
GOOD TO KNOW
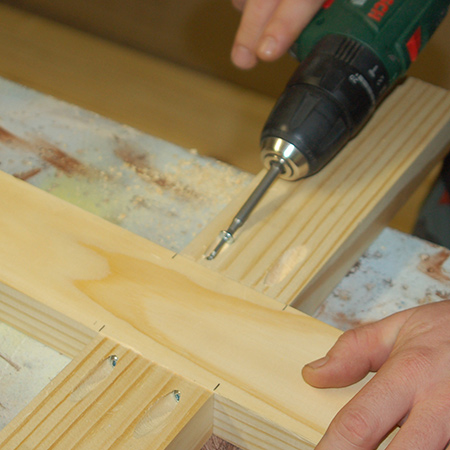
Before gluing the base together, if you will not be using a Tork Craft Biscuit Joiner secure the centre upright (with attached sides) to the first level top and bottom cross pieces using screws. Then glue the individual levels onto this.
OPTIONAL
Add a decorative finish to the pedestal sides with a router. I still use my Dremel Trio to do this and still can't believe that this is no longer available!

6. Sand all the finished sections for a smooth finish.
7. If you are not following Step 6 above, you can use a Biscuit Joiner and biscuits to attach the centre upright (with attached sides) to the top and bottom section. Make matching holes in the top and bottom of the centre upright and in the top/base sections to be attached.

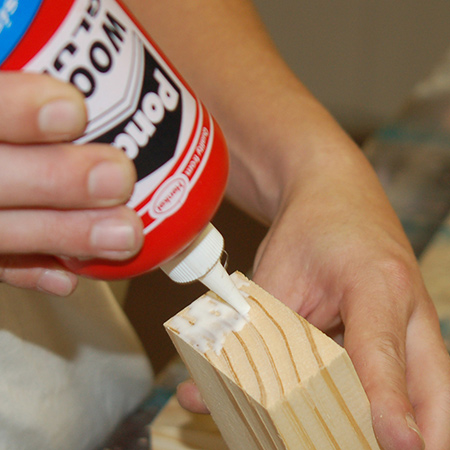
8. Fill cut holes with Ponal wood glue, insert biscuits and clamp together overnight. If you don't have long enough clamps, place something heavy on top of the glued pieces.
GOOD TO KNOW
Ponal wood glue is runnier than other glues, and easily absorbed into the biscuits to allow them to swell properly.
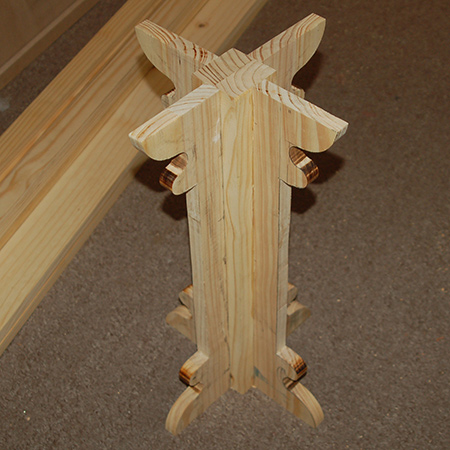
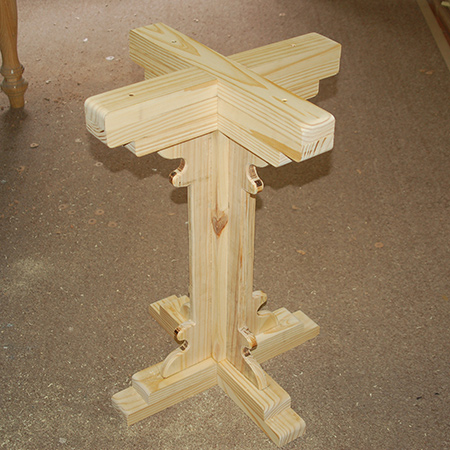
BELOW: How the finished pedestal leg should look once glued together.
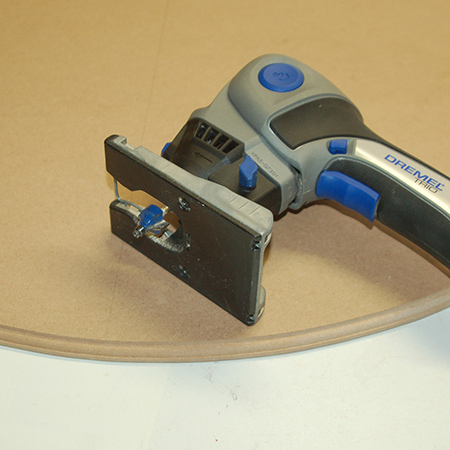
9. Cut the [2] circular pieces for the top.
10. Use a router to add a decorative edge to the larger circular piece and sand the edges of both pieces smooth.
11. Apply wood glue to the larger, bottom piece.
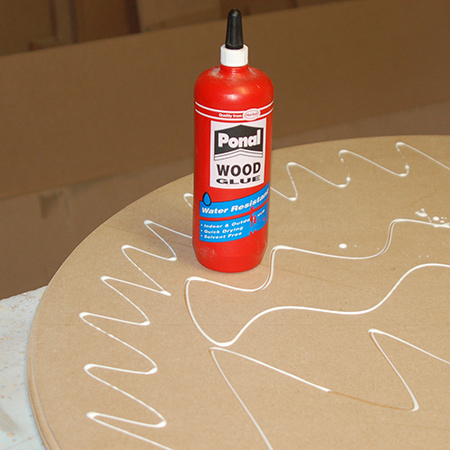
12. Place the smaller top piece on the bottom piece and clamp together for an hour or two.

The Tork Craft 6pc Spring Clamp Set is ideal for all your smaller clamping projects, and you will find this at your local Builders or hardware store.

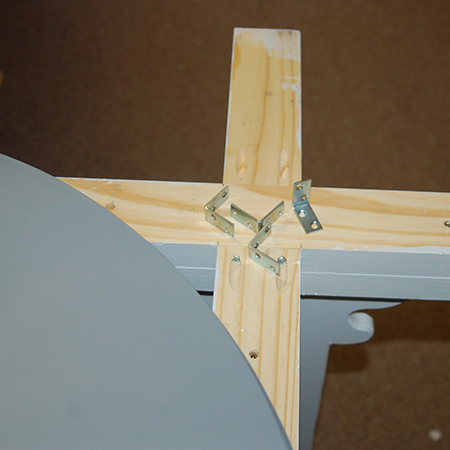
13. Attach the tabletop to the base with steel angle braces and screws.
Finishing:
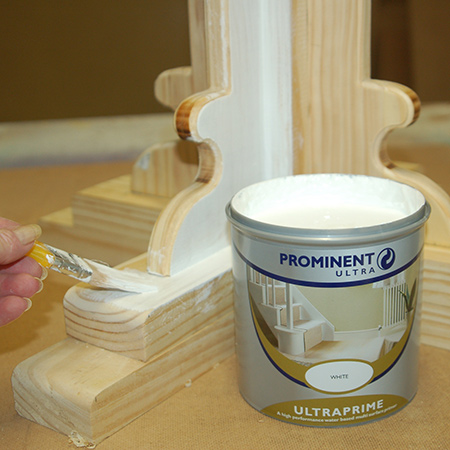
For the perfect finish I applied Prominent Paint UltraPrime Primer to the wood using a paintbrush. This quality primer blocks and seals the wood in preparation for painting. This product is lead free and low VOC and provides good adhesion to a variety of surfaces, including wood, and is quick drying. Apply [2] coats in total, with sufficient drying time between coats.
![The pedestal was painted with [2] coats of Prominent Paints Premium Satin Silk in a light grey colour. This paint is low VOC and non-yellowing, as well as waterbased for easy application and cleaning. Prominent Paints Premium Satin Silk is hardwearing, and washable and does not chalk on exterior exposure.](../2017/feb/192.jpg)
The pedestal was painted with [2] coats of Prominent Paints Premium Satin Silk in a light grey colour. This paint is low VOC and non-yellowing, as well as waterbased for easy application and cleaning. Prominent Paints Premium Satin Silk is hardwearing, and washable and does not chalk on exterior exposure.
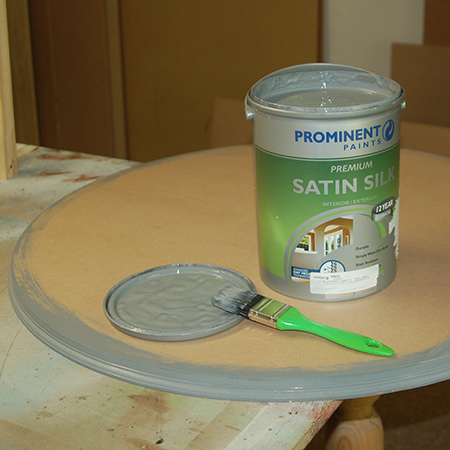
Start the tabletop by painting the edge.
Another pedestal table idea:
CLICK HERE FOR ALTERNATIVE INSTRUCTIONS FOR A PEDESTAL TABLE