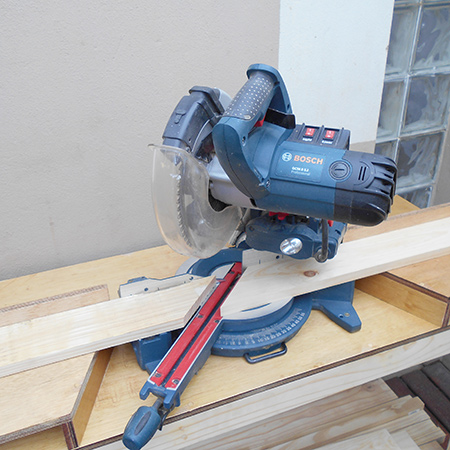
DIY mobile workbench for mitre saw
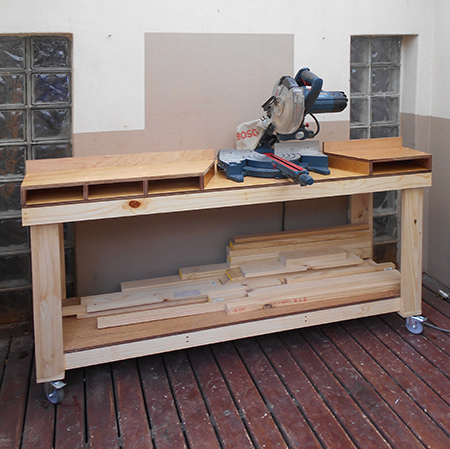
This workbench for a mitre saw allows you to cut long lengths with ease and be able to move the saw around should you need to. Buy everything you need at your local Builders and make your own workbench.
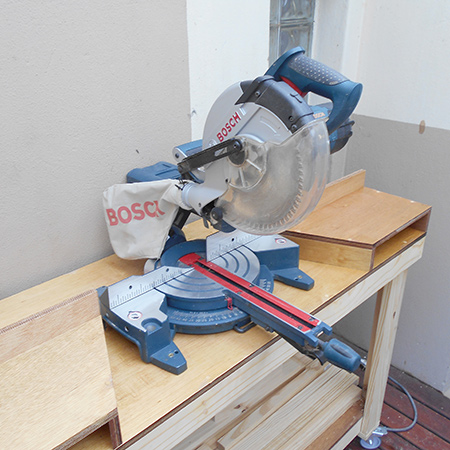
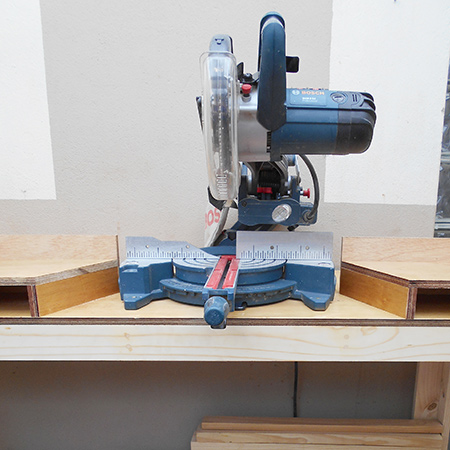
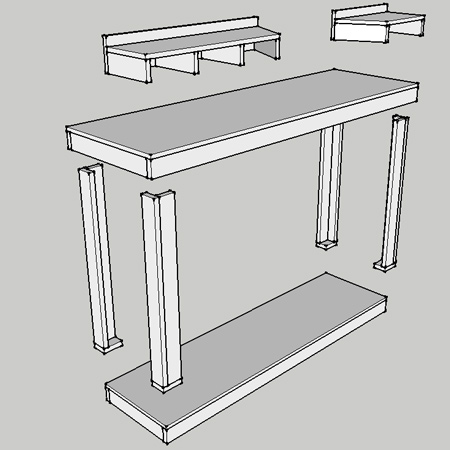
I saw this workbench on pinterest and thought it would be a great project for my cutting shop. The top of the workbench is fitted with storage cubbies that are the exact same height as the plate for my mitre saw, which means you can cut long lengths of timber or board with ease.
The workbench also has lockable castor wheels, so I can move it around for even longer lengths that need to be cut down to size.
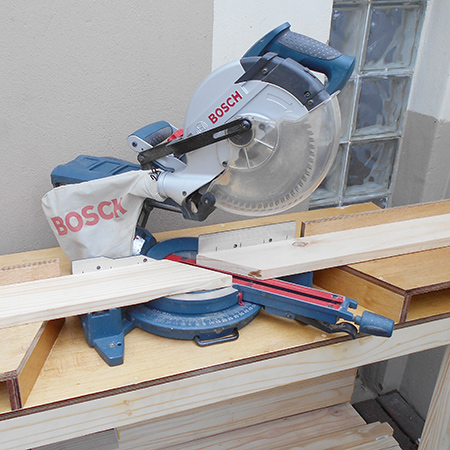
The storage cubbies on either side of the mitre saw are angled to allow for cutting 45-degree angles in either direction, again not having to worry about supporting longer lengths, such as when cutting cornice or crown moulding.
YOU WILL NEED:
Note: The pine used in this project is 22mm thick. Any variation in thickness will need to be amended for the side aprons / supports.
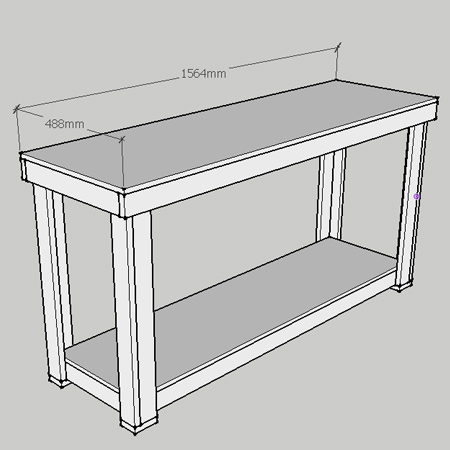
1 of 488 x 1564mm 16mm plywood - top
1 of 400 x 1476mm 16mm plywood - shelf
2 of 67 x 1564mm pine - top front / back apron
4 of 67 x 444mm pine - top side aprons / supports
2 of 67 x 1476mm pine - shelf front / back apron
4 of 67 x 356mm - shelf side apron / supports
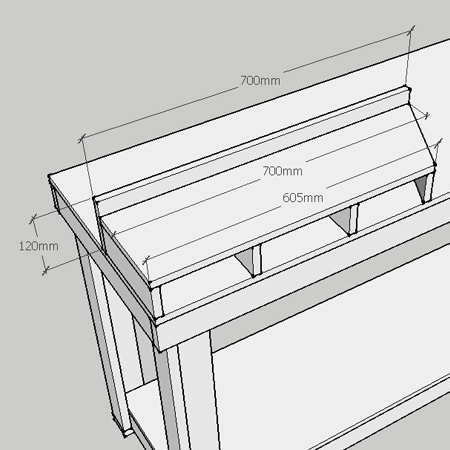
1 of 120 x 700mm 16mm plywood - large cubby back
1 of 200 x 700mm 16mm plywood - large cubby top
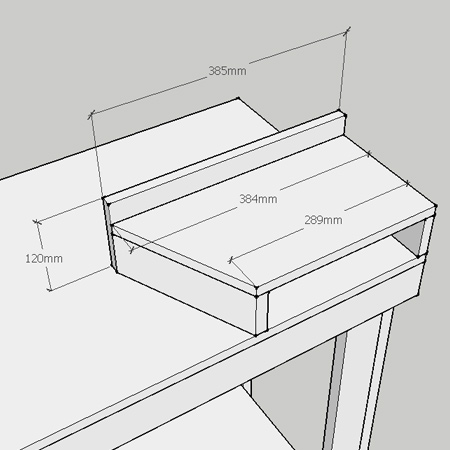
1 of 120 x 384mm 16mm plywood - small cubby back
1 of 200 x 384mm 16mm plywood - small cubby top
6 of 16mm plywood cut to size - large / small cubby supports
8 of 67 x 750mm pine - legs
4 of 67 x 89mm pine - leg base
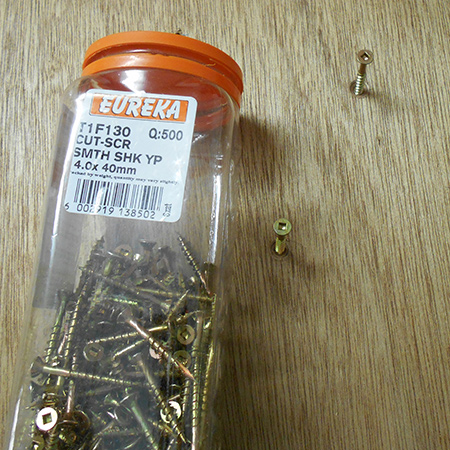
4 x 60mm smooth shank screws
4 x 40mm smooth shank screws
4 locking caster wheels
120-grit sandpaper
Wood filler
Sealer and paintbrush
Fine steel wool
TOOLS:
Drill / Driver plus assorted bits
Mitre saw or mitre box and backsaw
Find everything you need for this project at your local Builders Warehouse.
HERE'S HOW:
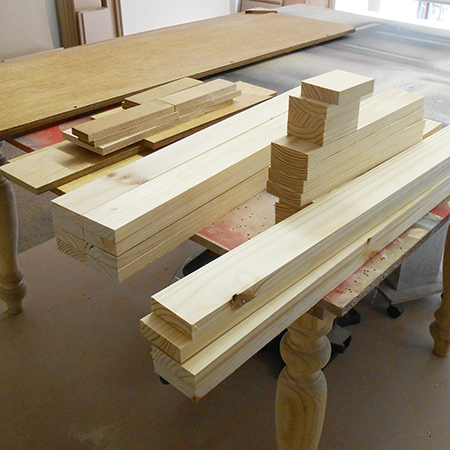
1. You can have all the timber and board cut to size at your local Builders, or cut all the sections to size before assembly. Sand rough edges with 120-grit sandpaper.
GOOD TO KNOW:
It's important to pre-drill
pilot holes and countersink these for all the
pieces.
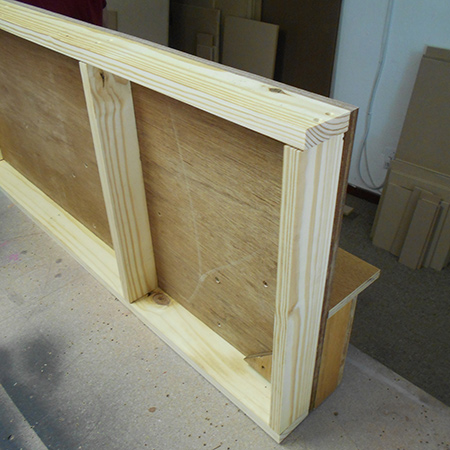
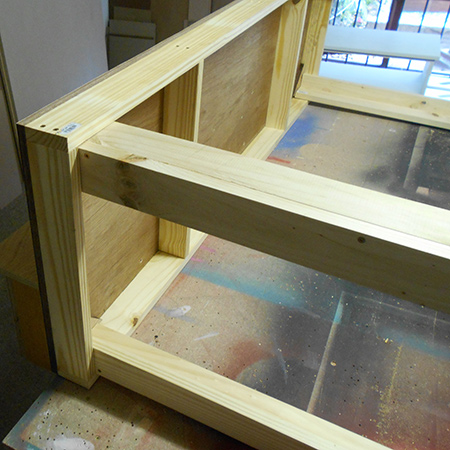
2. Starting with the shelf section, secure the side aprons and supports to the underside of the shelf using 4 x 60mm screws. The aprons and supports are secured 22mm in from the front and back of the shelf, and flush with the edge.
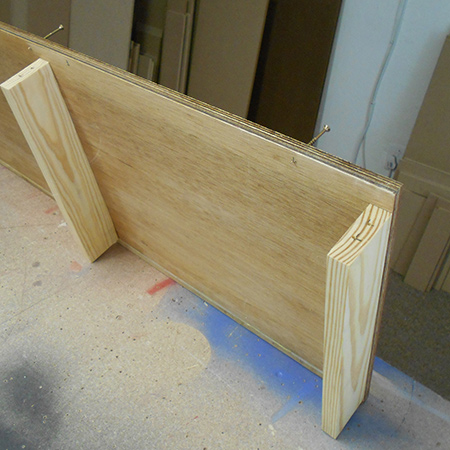
3. Mount the front and back aprons flush with the edge of the shelf edges.
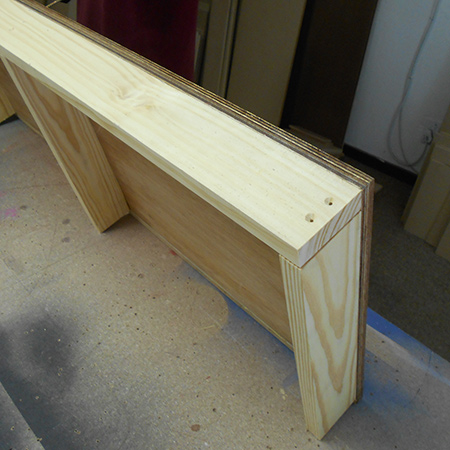

4. Assemble the storage cubbies using 4 x 40mm screws through the top and into the supports.
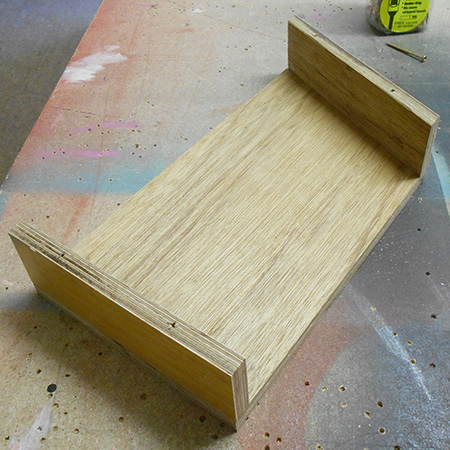
5. Secure the cubbie backs to the top edge.
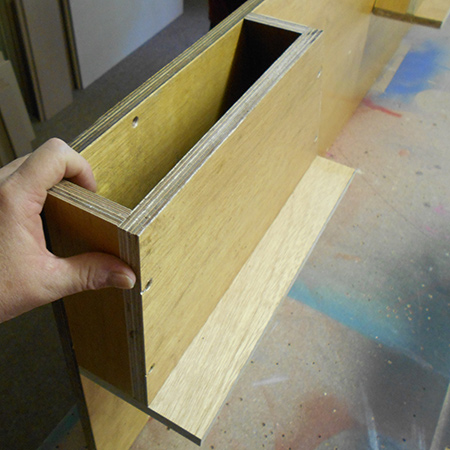
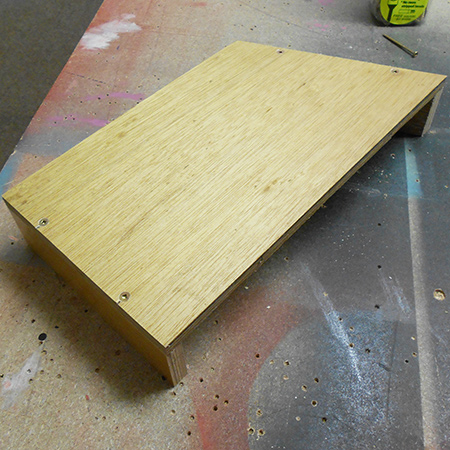
6. The storage cubbies are then secured to the top by using 4 x 40mm screws through the underside of the top.
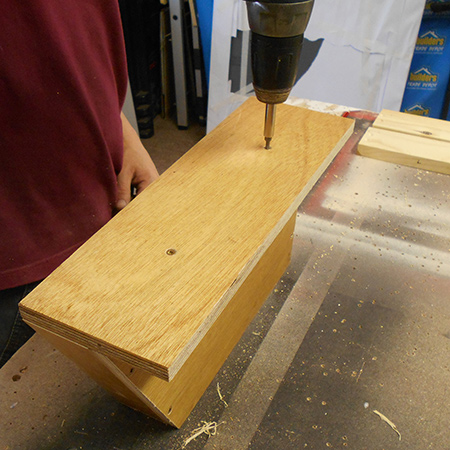
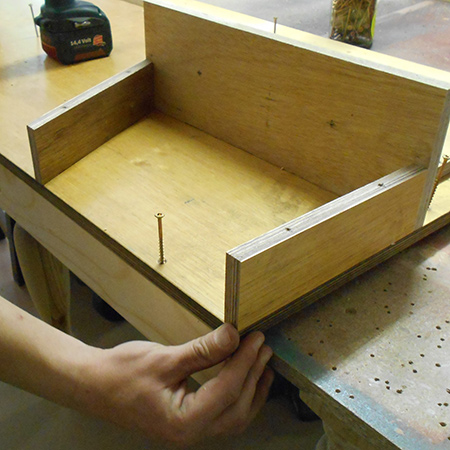
7. In order to secure the front apron you need to remove the cubby back and top to allow 4 x 60mm screws to be driven through the top and long the length of the front apron. Once done, the cubby top and back can be secured back in place.
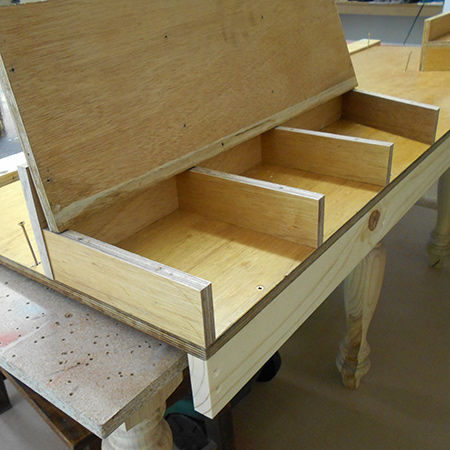
8. Continue by adding the side aprons, supports and back sections to the top.
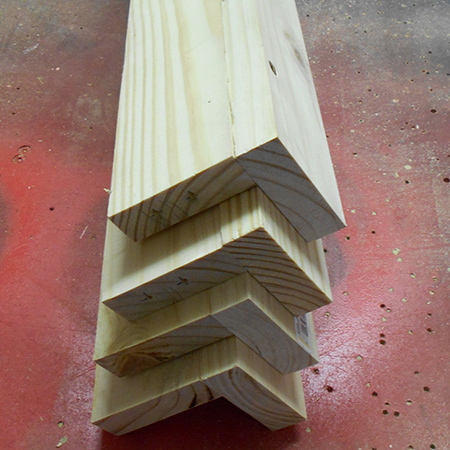
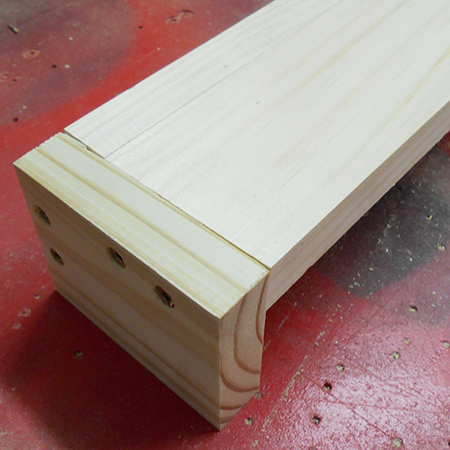
9. Assemble the legs using a simple butt joint - one leg section over the other. Use three 4 x 60mm screws to join the two sections together.
10. Add a leg base to the bottom of each leg.
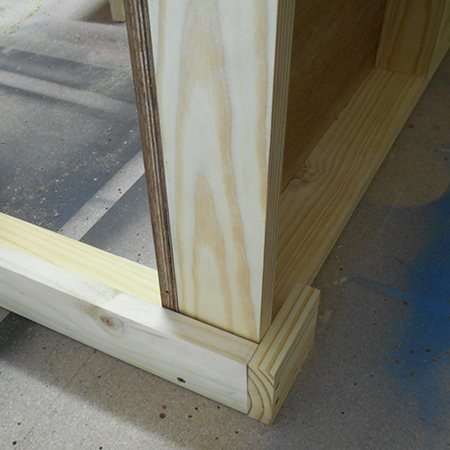
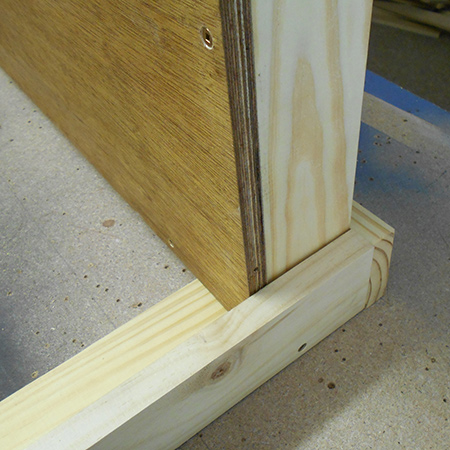
11. Position the shelf section at the bottom of two legs as shown below. Use 4 x 40mm screws on the inside to secure the shelf section to the legs. Drive the screws in at a slight downwards angle for added support.
12. Place the top section over the end of each leg and secure in the same way.
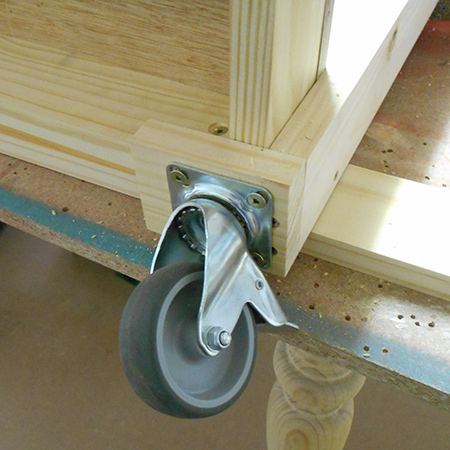
13. Use 20mm screws to secure the caster wheels to the leg bases. If the screw head is small, add a washer to ensure that the screw head does not slip through the slot in the caster wheel.
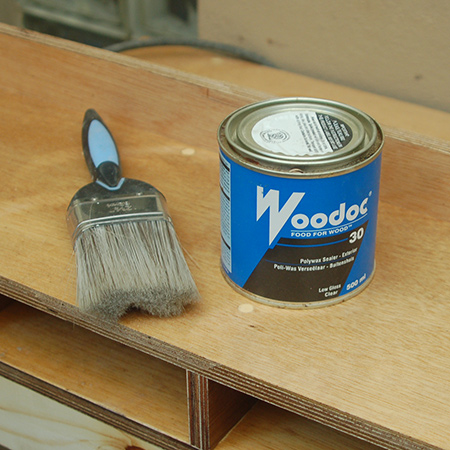
14. Apply Woodoc 30 polywax sealer to the entire workbench according to the instructions. Three coats are required in total, with a rubbing down with steel wool after the first coat.
115. Use suitable screws to secure your mitre saw to the workbench.