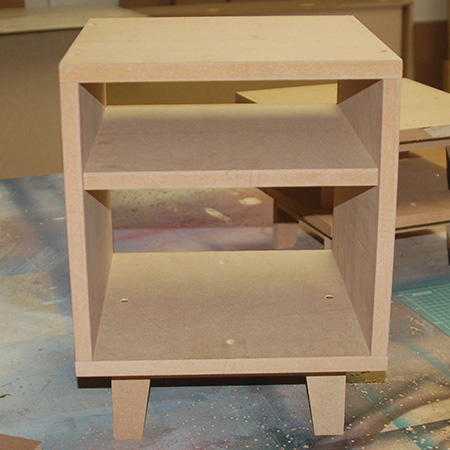
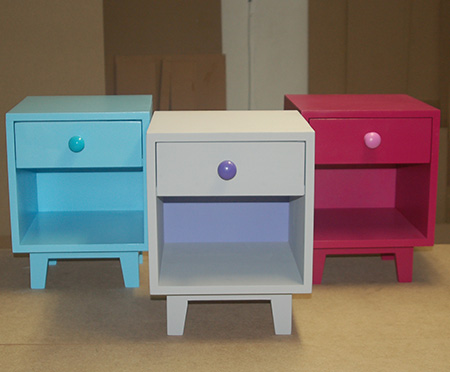
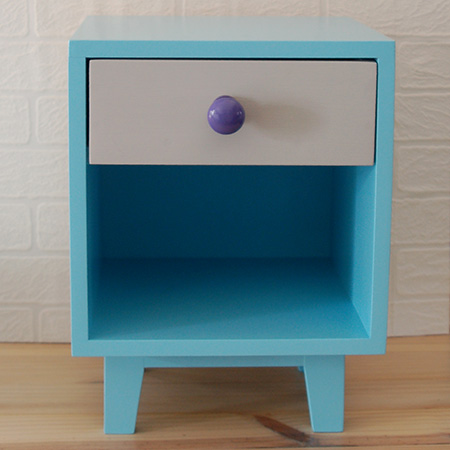
Mini Bedside Cabinets for tiny tots!
Just the perfect size for a toddler's bedroom, you can make a Mini Mees mini bedside cabinet and paint it in your choice of Rust-Oleum 2X colour, or use Rust-Oleum Chalked Ultra Matte Paint.
13/08/2017
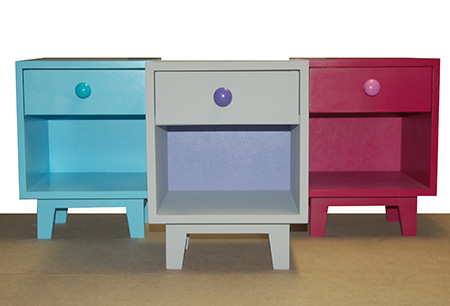
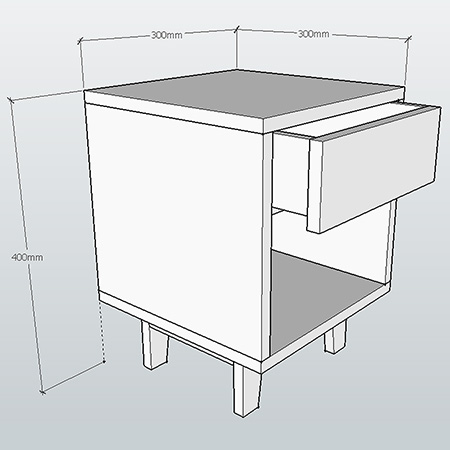
With a total height of 40cm, the Tiny Tots Bedside Cabinet is the perfect height for a toddler's bedroom.
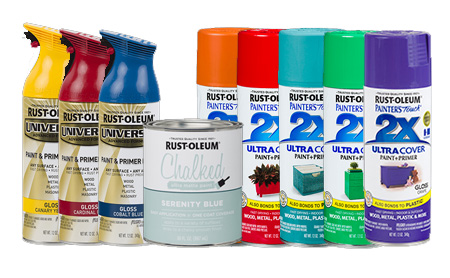
You can paint them in any colour using Rust-Oleum 2X spray paint, Rust-Oleum Universal spray paint, or use Rust-Oleum Chalked Ultra Matte for a chalk paint finish. Find the full range of Rust-Oleum products at Builders Warehouse..
YOU WILL NEED:
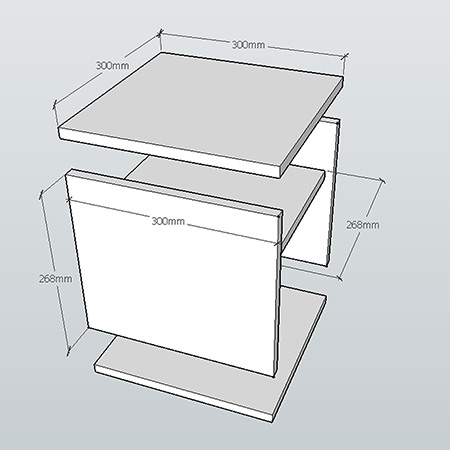
2 of 300 x 300mm 16mm supawood - top/bottom
2 of 268 x 300mm 16mm supawood - sides
1 of 268 x 286mm 16mm supawood - shelf
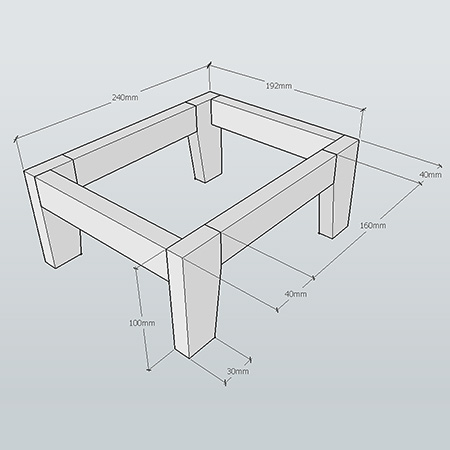
4 of 30 x 160mm 16mm supawood - front/back/sides base assembly
4 of 40 x 100mm 16mm supawood - feet
1 of 98 x 264mm 16mm supawood - drawer front
2 of 82 x 272mm 12mm supawood - drawer sides
1 of 82 x 264mm 12mm supawood - drawer back
1 of 240 x 272mm 12mm supawood - drawer base
1 of 290 x 290mm 3mm supawood/masonite/hardboard - back
Wood glue
Wood filler
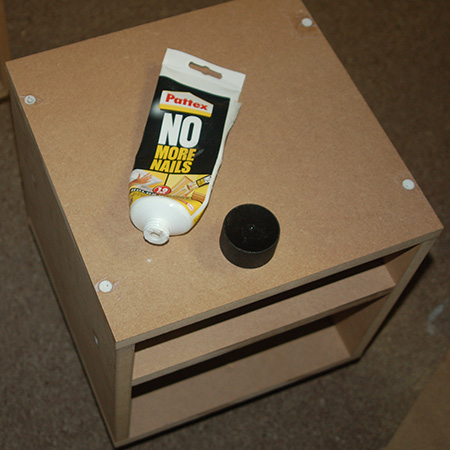
Pattex No More Nails adhesive
4 x 35mm screws [20]
Choice of paint to finish
Your choice of handle or knob
TOOLS:
Drill/Driver plus assorted bits
Orbital Sander plus 120- and 240-grit sanding pads
Jigsaw or mitre saw
Bosch Tacker or hammer and small panel pins
Tape measure and pencil
HERE'S HOW:
Preparation:
Before you start to assemble, cut the legs at an angle. Measure and mark 30mm from the edge at the bottom of each leg, and measure and mark 30mm down from the top. Draw a line from the bottom to the top mark and cut this away with a mitre saw or jigsaw.

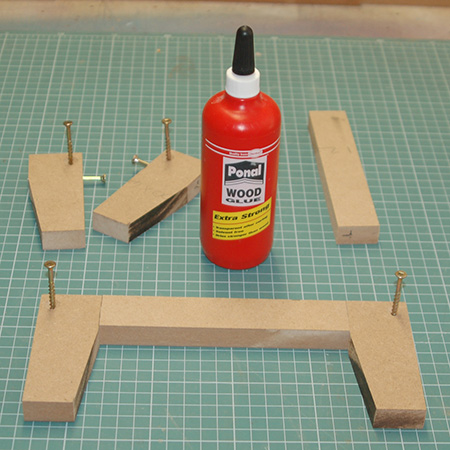
1. The front back and sides are joined to the legs with wood glue and screws.
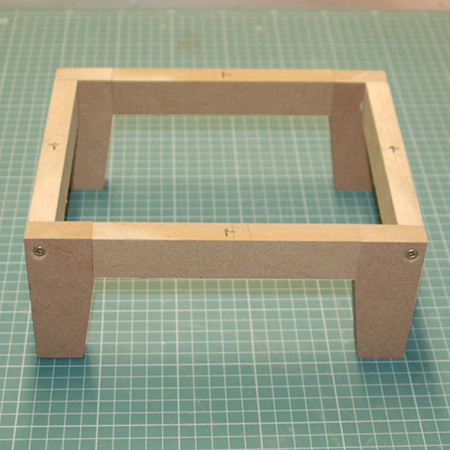
BELOW: Completed base assembly.
2. Before attaching the base assembly to the bottom, drill countersunk pilot holes through the bottom on two sides, for securing to the side sections. Drill the holes 50mm in from the front/back edge and 8mm in from the side edge. Secure the base assembly to the bottom by drilling countersunk pilot holes through the top side and join with screws.

3. Measure and mark 84mm and 92mm down from the top on the sides (front and back). Use this as a guide for securing the shelf with screws. Drill countersunk pilot holes through the sides at 92mm and secure with screws.
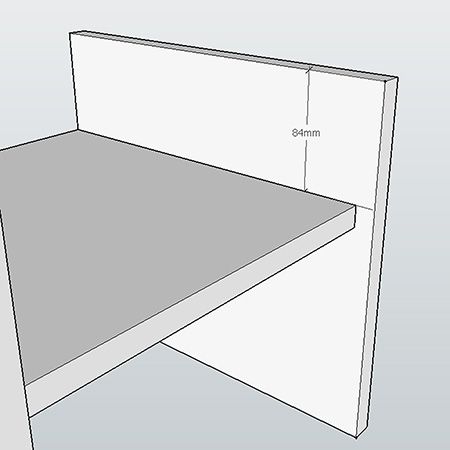
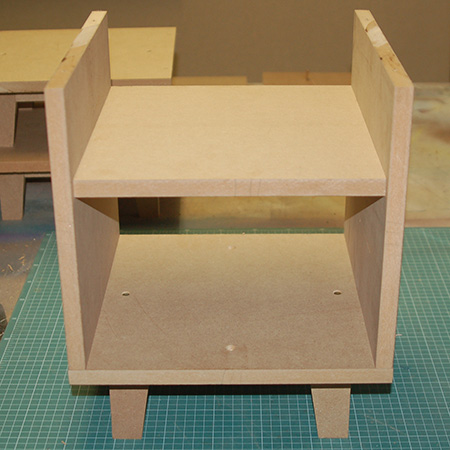
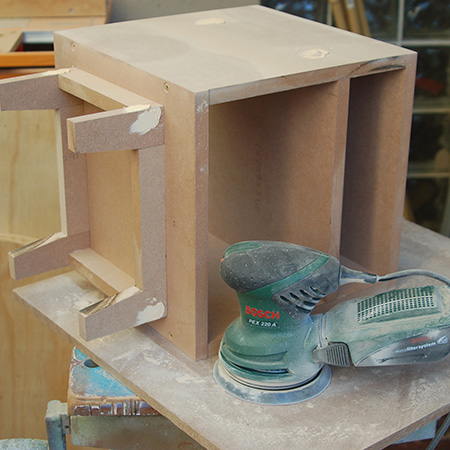
BELOW: Completed side/shelf assembly.
4. Secure the base to the side/shelf assembly with screws through the previously drilled and countersunk holes in the bottom section.
5. Attach the top with countersunk pilot holes.
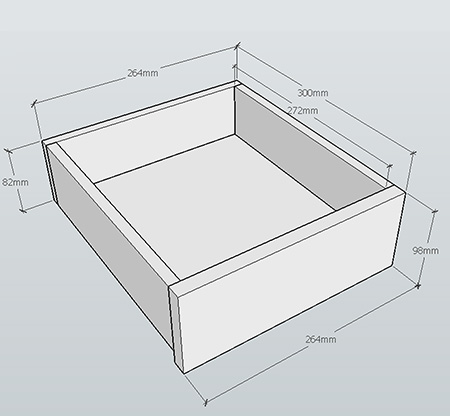
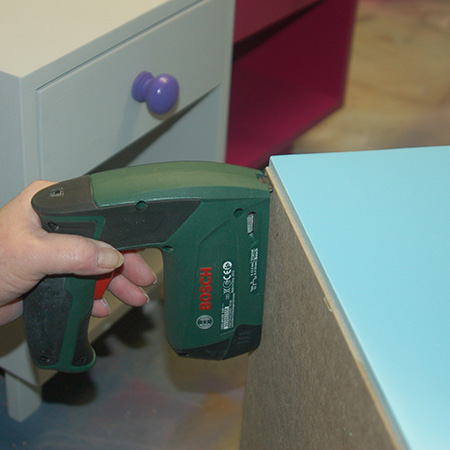
6. Assemble the drawer by securing the sides and back onto the base. Add the drawer front and secure through the sides and base. All holes should be countersunk.
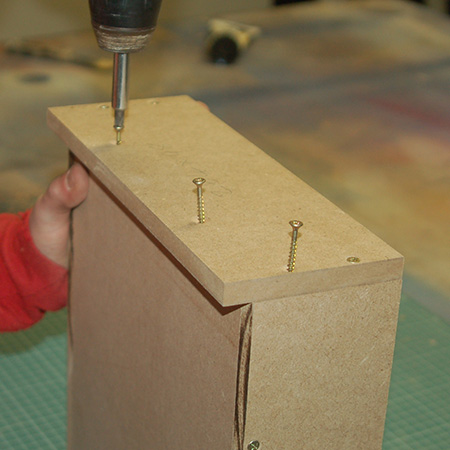
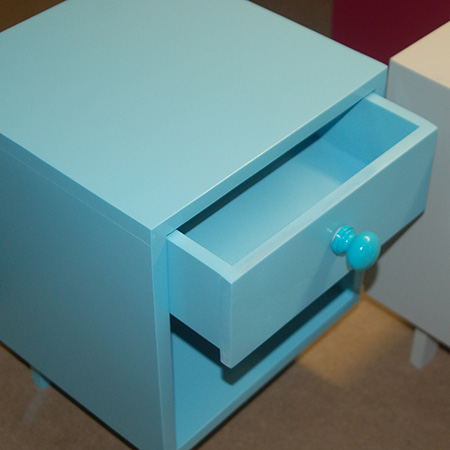
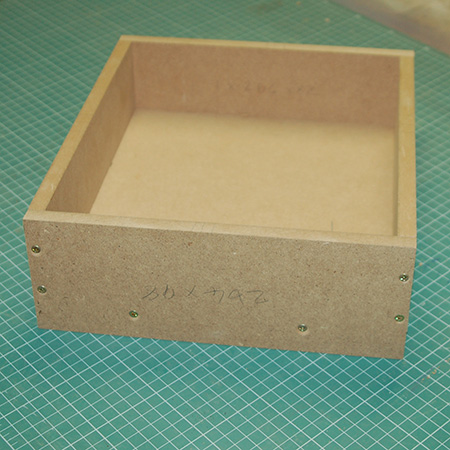
BELOW: Completed drawer.
7. Fill all holes with a small quantity of No More Nails over the screw heads. Let this dry and then cover with wood filler. Leave to dry.
GOOD TO KNOW
Covering screws with a small amount of No More Nails adhesive before applying wood filler reduces cracking.
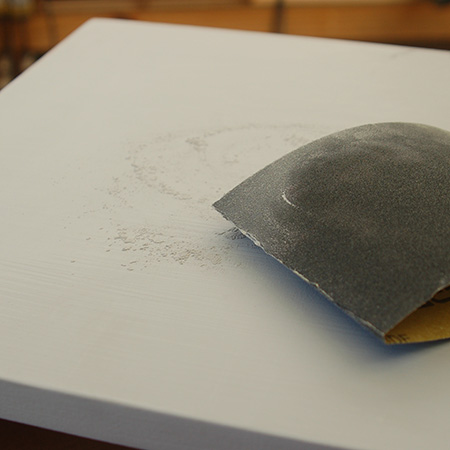
8. Sand all edges and wood filler with 120- and then 240-grit sandpaper and wipe clean.
9. If you plan on painting the cabinet with Rust-Oleum spray paint, apply a primer to the edges to reduce absorption. Sand smooth to remove any brush strokes.
10. Finish with Rust-Oleum 2X, Universal or Rust-Oleum Chalked Ultra Matte paint in your choice of colour. The full range of Rust-Oleum products is available at Builders Warehouse countrywide, or get in touch with www.spraymate.co.za to find your nearest retail outlet.
11. Add a handle or knob of your choice to the drawer front.
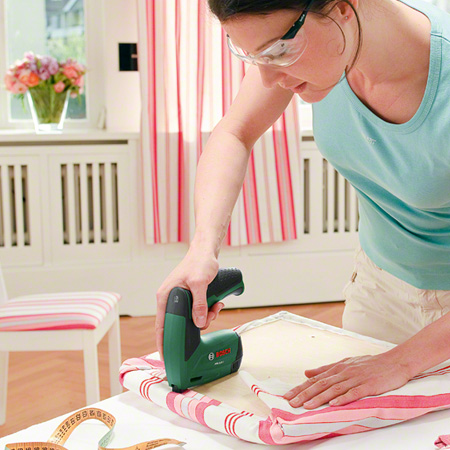
12. Secure the back with a Bosch Tacker and staples, or use a hammer and panel pins. Remember to angle the panel pins when hammering in to a better hold the backing in place.
If you love doing upholstery projects then the Bosch Tacker is a must-have tool. The lightweight, cordless staple gun takes all the strain and hard work out of upholstery. We use the Bosch Tacker at all our DIY Divas upholstery workshops and the ladies have found it easy to use.