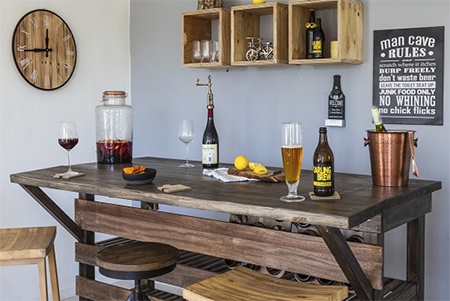
Make a mobile bar
You can buy a pine workbench at your local Builders and turn it into a Man Cave Mobile Bar in a weekend. We show you how...
YOU WILL NEED:
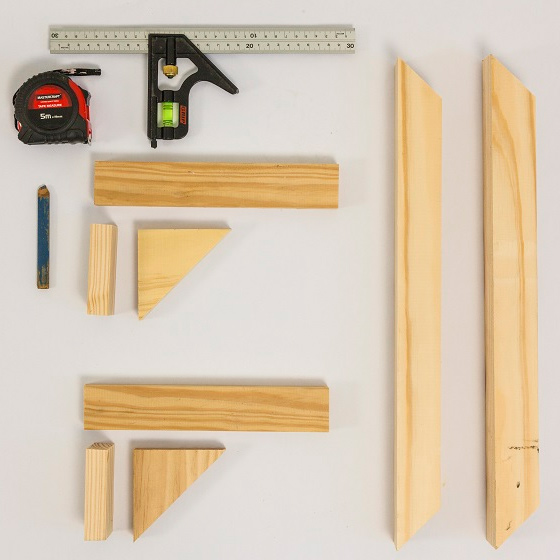
1 of 1800 x 30 x 300mm pine plank or two 1800 x 16 x 305mm laminated pine shelving
2 of 90 x 21 x 90 mm pine - mitre cut at 45 degrees
2 of 44 x 21mm pine cut to 120mm
2 of 44 x 21mm pine cut to 250mm
2 of 44 x 44 x 400mm pine mitre cut at 45 degrees
3 of 10 x 90mm Meranti cut to 1720mm
1 of 10 x 143mm Meranti cut to 1720mm
Wood glue
Eureka 4 x 40mm cut screws
4 of castors (2 with lock) and screws
Woodoc Stain, Ebony
Woodoc 20 Polyurethane Sealer
TOOLS:
Drill / Driver plus assorted bits
Mitre saw or mitre box and saw
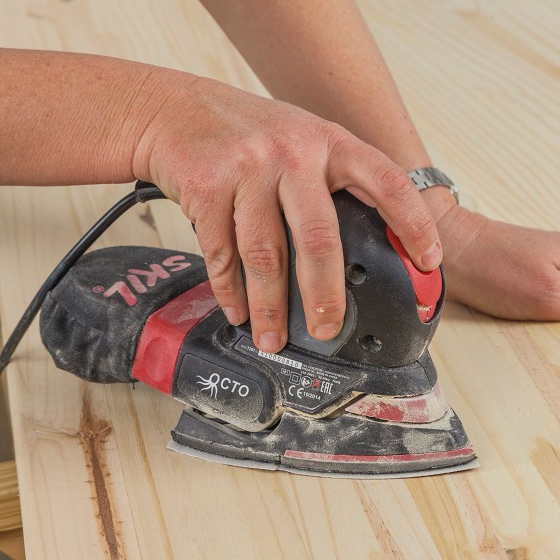
Orbital sander plus 120- and 240-grit sanding pads
Quick clamps or G-clamps
Paintbrush or sponge
Tape measure and pencil
OPTIONAL: Router
Buy everything you need for this project at Builders Warehouse.
HERE'S HOW:
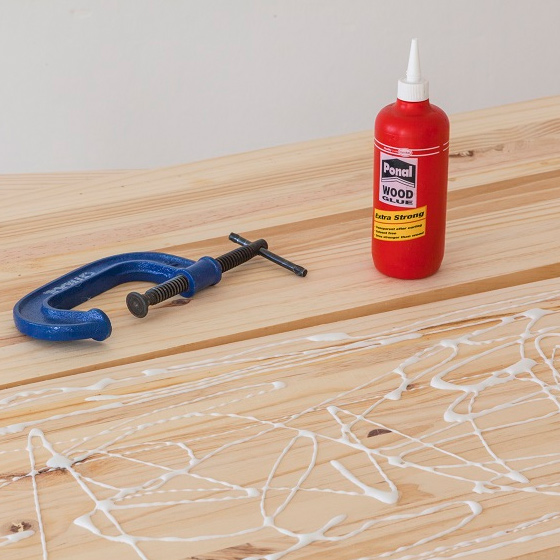
1. If using pine shelving you need to laminate these together. Use wood glue and clamp overnight.
GOOD TO KNOW: Wipe away any excess glue with a damp cloth as this will spoil the stain finish.
2. Make [2] supporting brackets. Glue and screw the short piece to the long one and then glue and screw your mitre-cut inset. Leave overnight.
![2. Make [2] supporting brackets. Glue and screw the short piece to the long one and then glue and screw your mitre-cut inset. Leave overnight.](../2017/may/231.jpg)
3. Flip the workbench onto its side and measure and mark at 61mm and 113mm. Drill [2] pilot holes at the marks as a guide for attaching the brackets.
![3. Flip the workbench onto its side and measure and mark at 61mm and 113mm. Drill [2] pilot holes at the marks as a guide for attaching the brackets.](../2017/may/232.jpg)
4. Secure [2] brackets to the outer edge of the workbench. It’s handy to use the wall as a support when working on your own.
GOOD TO KNOW: Always glue first then screw to ensure a strong bond.
![4. Secure [2] brackets to the outer edge of the workbench. It’s handy to use the wall as a support when working on your own.](../2017/may/233.jpg)
5. Sand all the pieces with 120-grit sanding pads, rounding off the edges and corners. If you have a router, you can give the front edge a fancy finish.
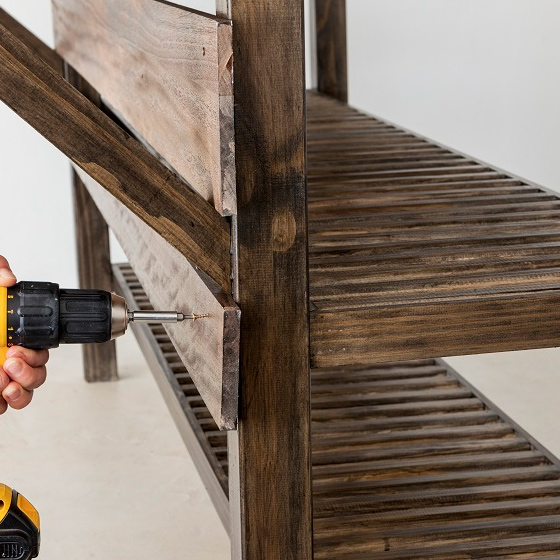
6. For the support struts, use a mitre saw to cut [2] lengths of 44 x 44mm pine to 400mm at 45-degree angles (400mm on the short sides). To ensure both are exactly the same length. Use your first piece as a template for the second.
GOOD TO KNOW: When using a mitre saw, make sure you place the edge of the blade on your line in exactly the same place each time for an accurate cut.
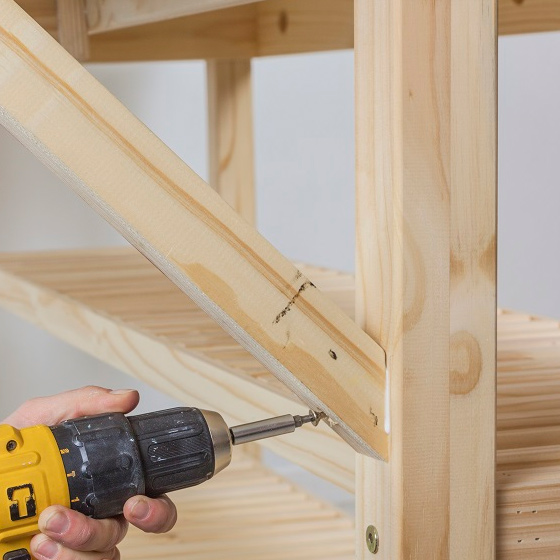
7. Place the top extension on the brackets and screw from the underside. Then attach your struts, leaving the lower attachment for last to allow for minor adjustments. If you’re using [2] laminated shelves as your top, they may be slightly thicker than the actual workbench. Use 3mm Masonite spacers underneath when you attach the counter to the brackets to make allowance for any difference in thickness.
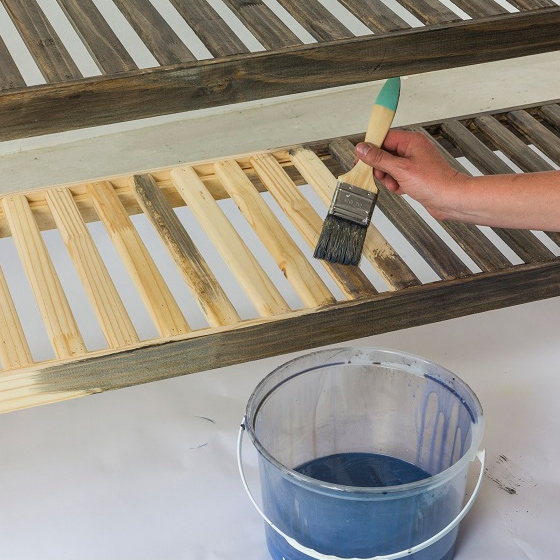
8. Add Ebony stain to the Woodoc 20 sealer and mix well.
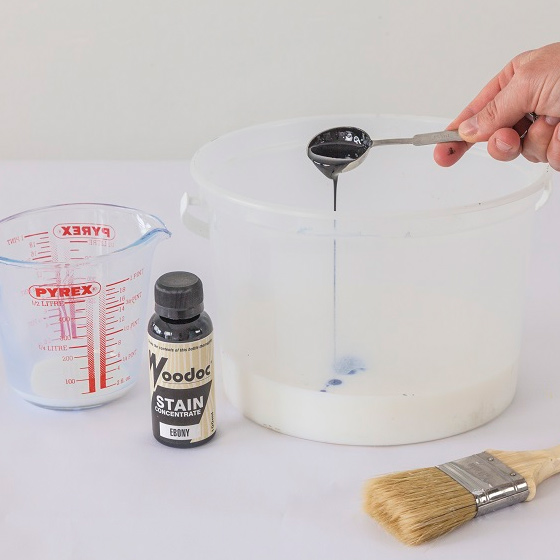
9. Follow the instructions on the can to apply the stain-sealer, using either a paintbrush or sponge applicator. Allow sufficient drying time between coats.
10. Secure the Meranti planks to the front of the bar. Place the wide one between the strut and the top of the bar. Attach the narrower ones immediately below the strut and then at 70mm intervals. Drill pilot holes first to help prevent the wood from splitting.
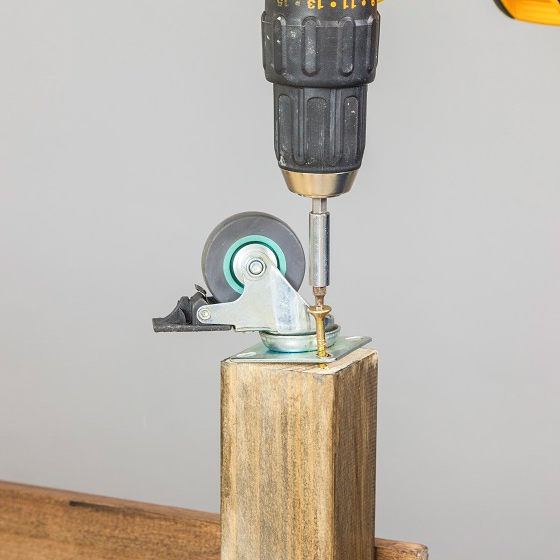
11. Flip the bar upside down and attach the castors to the bottom of the legs. Use locking castors on the front legs to ensure stability.