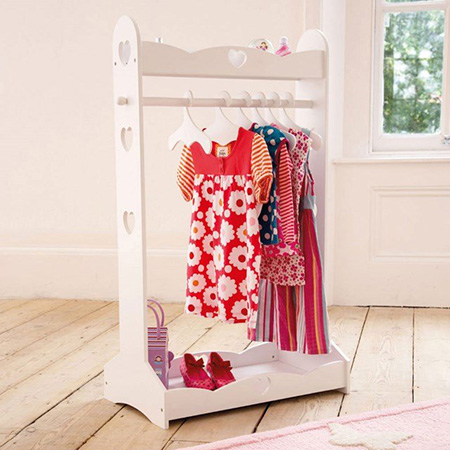
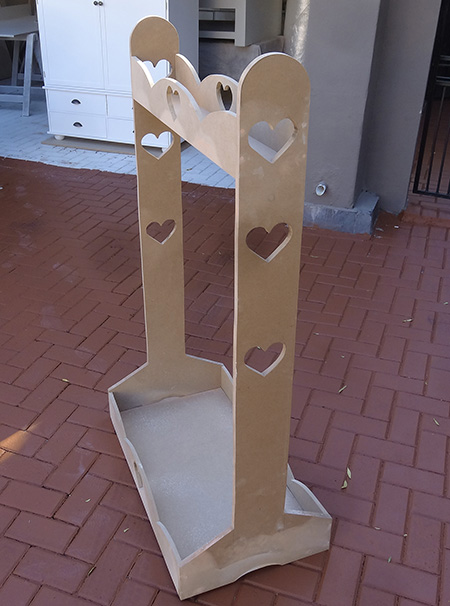
Clothing rail with heart cut outs
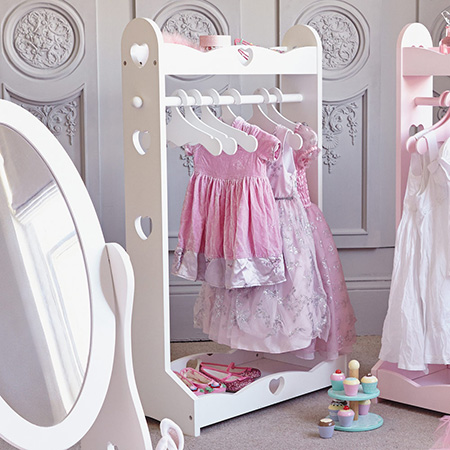
This adorable clothing rail with heart cut outs would add a finishing touch to any little girl's bedroom and is the perfect accessory if you daughter loves to play dress-up.
Made using 16mm MDF (supawood), you can paint the finished clothing rail in your choice of colour, either using acrylic paint and a Bosch PFS spray gun, or using Rust-Oleum 2X spray paint.
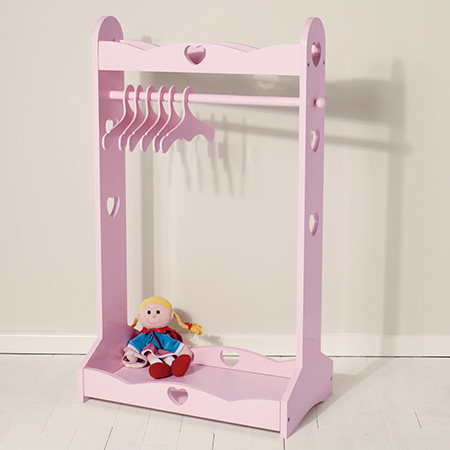
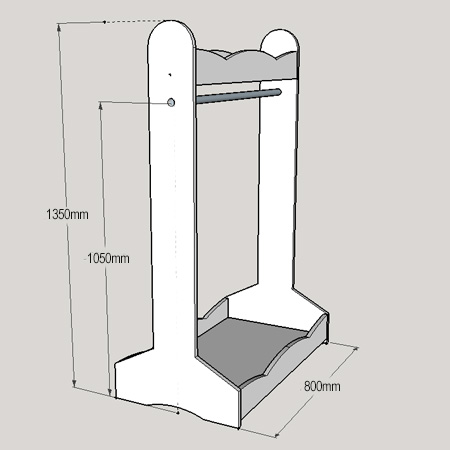
The clothes rail measures 1200mm high x 800mm wide x 450mm deep (at base) and takes up very little space. You can cut your own coat hangers for the clothes rail from 6 or 9mm MDF, or buy a small sheet of 3mm thick masonite and glue two of these together with the smooth side facing out.
YOU WILL NEED:
2 of 16mm MDF 450 x 1350mm - sides
4 of 16mm MDF 100 x 768mm - shelf front / back
1 of 16mm MDF 418 x 768mm - lower shelf base
1 of 16mm MDF 118 x 768mm - upper shelf base
1 of 25mm dowel 800mm length
Wood glue
Wood filler
Rust-Oleum 2X spray paint (if spray painting)
TOOLS:
Drill / Driver plus assorted bits
Countersink bit
Jigsaw plus clean-cut blade
Bosch PFS spray gun (if using acrylic paint)
Orbital sander plus 120- and 240-grit sanding pads
Tapa measure and pencil
Find all the tools, materials and supplies you need for this project at your local Builders.
HERE'S HOW:
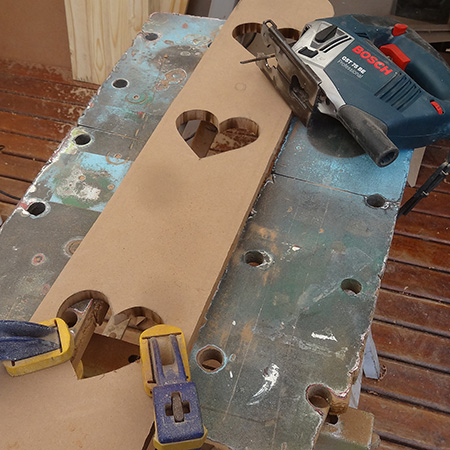
1. Draw out the outline for the sides and add the detail on the shelf fronts / backs and hearts on the side sections.
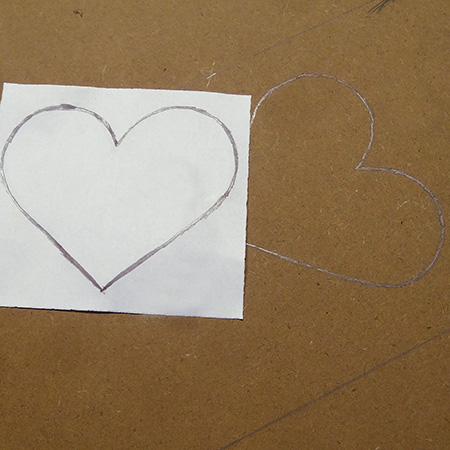
2. Cut out the side sections with a jigsaw.
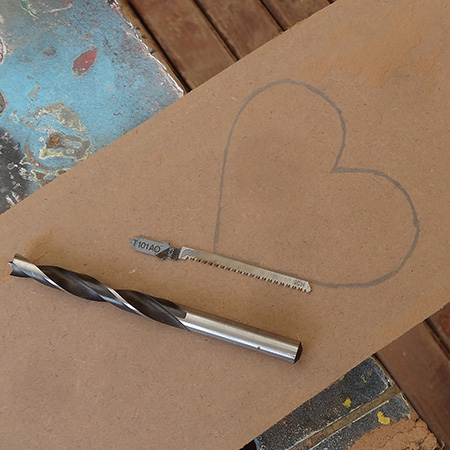
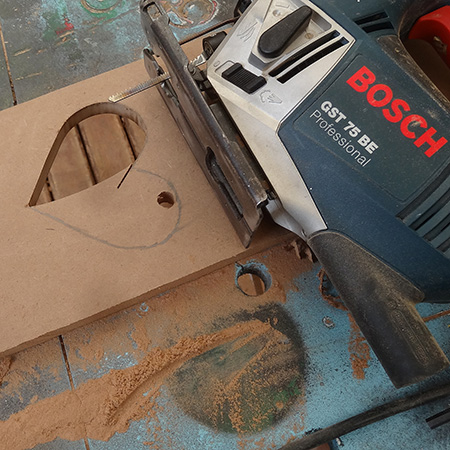
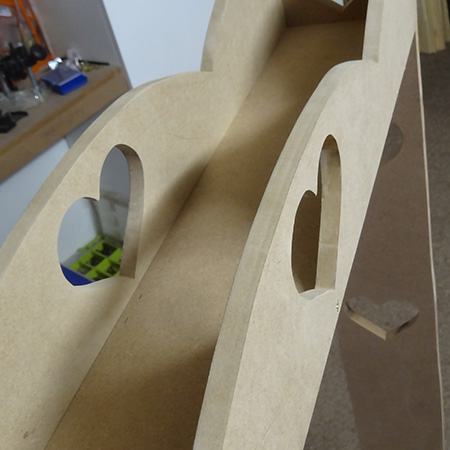
3. Use an 8mm wood bit to drill holes where the heart cut outs will be. Clamp these pieces to a workbench and cut out the heart shapes with a jigsaw.
4. Cut out the details on the sides and the shelves. Draw one section, cut this out and use as a template to cut the remaining sides.

5. Use a 25mm spade bit or MAD bit to drill a hole 1050m up from the bottom of the sides to insert the dowel clothing rail. I totally forgot to do this at this point and ended up drilling the hole right at the end of the project!
6. Assemble the shelf sections by screwing the sides onto the base.
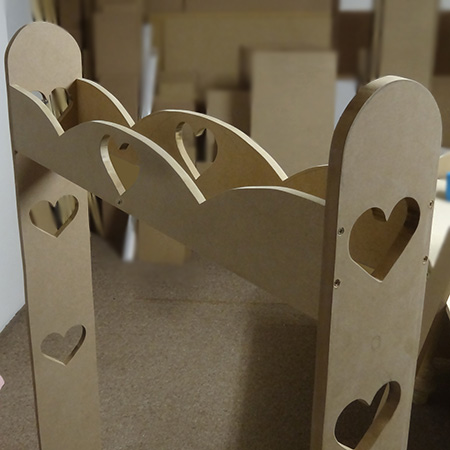
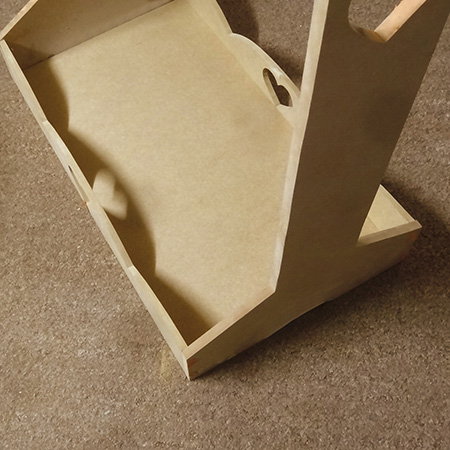
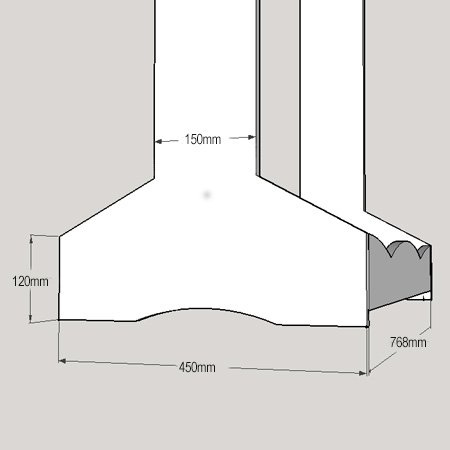
7. The completed shelves can then be mounted onto the sides. The base of the lower shelf is 20mm up from the bottom of the sides, and the top shelf is mounted with the base 1100mm from the bottom of the sides.
8. Fill all the holes with wood filler and let this dry before sanding smooth. Sand all the cut edges with 120- and then 240-grit sandpaper.
Note: Please ignore the fact that I forgot to drill holes and add the dowel rail - this should be done as per step 4 above. To finish off glue a couple of pine knobs onto the ends of the dowel.

Finishing
After sanding and wiping clean you are ready to paint. For this project we used a Bosch PFS spray gun and Prominent Ultra Matt. We used Prominent Ultra Matt because it is easy to sand if you want to distress the piece and then apply a coat of Woodoc antique wax. If you don't want to distress and finish with antique wax you can paint with Prominent Ultra Sheen for a durable, washable finish.