
Make this DIY Drinks Table for the garden
Whether you are relaxing in the garden or setting up for a picnic in the park, this DIY drinks table is just the thing to hold your drinks and glasses or even your snacks.
23/03/2020
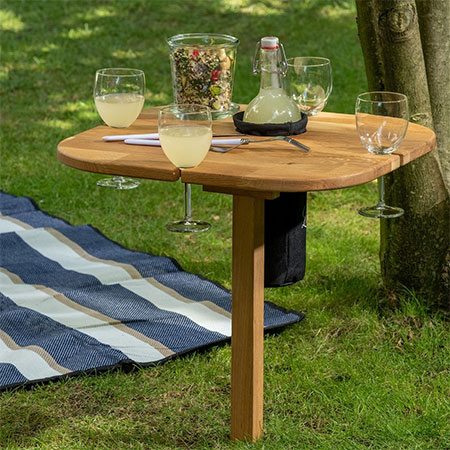
Portable and easy to carry around, this DIY drinks table is perfect for setting up in the garden, or for when you go out for a picnic. You can make the drinks about using PAR pine for an affordable option, or fork out for meranti or saligna for a more durable alternative.
YOU WILL NEED:
1 of 19/22 x 480 x 480mm pine, meranti or saligna - top
1 of 44 x 44 x 430mm - leg
2 of 44 x 44 x 95mm pine, meranti or saligna - support
1 of 32 x 32 x 115mm - latch to hold leg in position
Steel rod 8 x 315mm
Carriage bolt with nut 7 x 130mm
Cut screw 3.5 x 40mm
Circular template
Choice of sealer or exterior varnish to finish
TOOLS:
Drill / Driver plus assorted bits
30mm Forstner, MAD or spade bit
Jigsaw plus clean-cut blade
Orbital sander plus 80- and 18-grit sanding pads
G-Clamps
Compass
Wrench
Tape measure and pencil
HERE'S HOW:
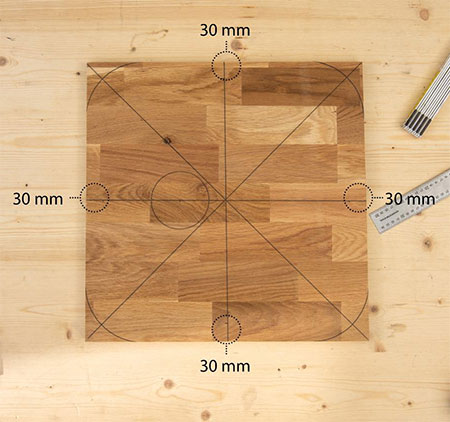
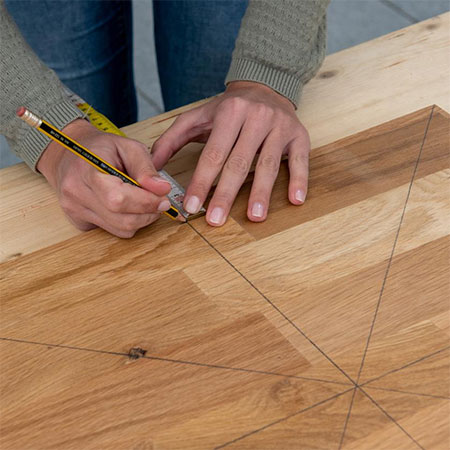
In the steps below, you will be marking and cutting out for the table top for the drinks table. Using the diagram above, mark all the measurements for cutting.
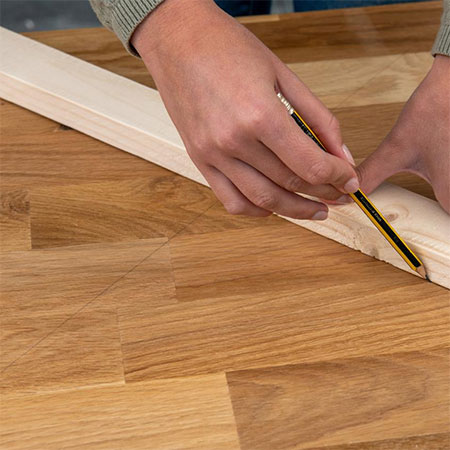
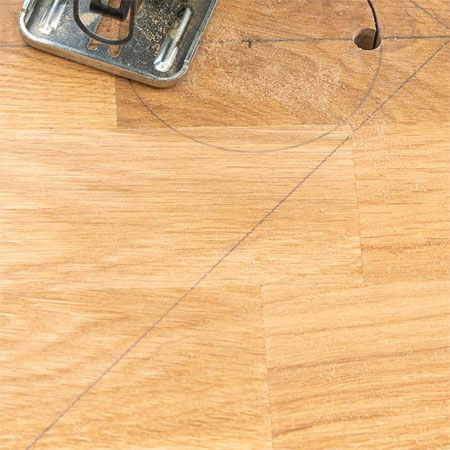
1. Use a straightedge to draw the diagonals (from corner-to-corner). Measure accurately to ensure perfect cutting.
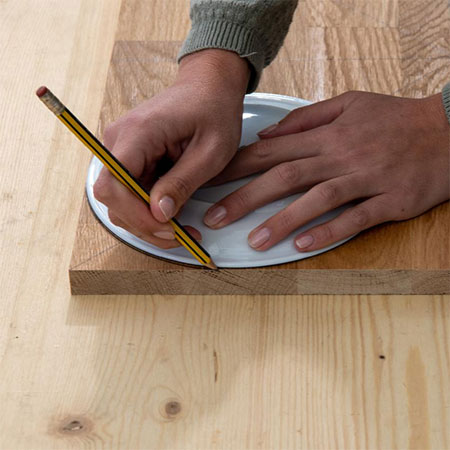
2. A circular template such as a plate or lid will help mark the curved corners of the table top. The corners can then be cut with a jigsaw.
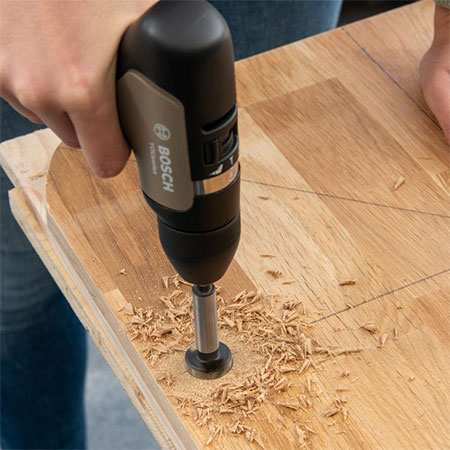
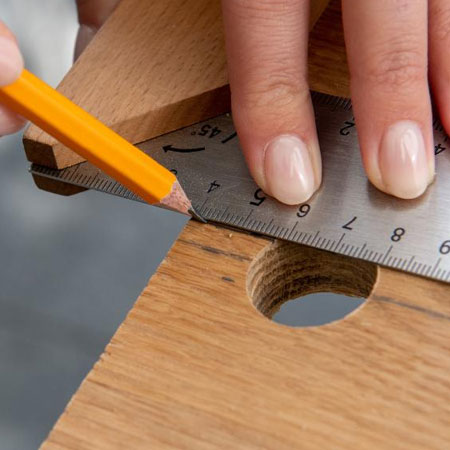
3. Use a 30mm Forstner, MAD or spade bit to drill the holes that will hold your drink glasses. These holes are 20mm in from the edge of the table top.
4. Mark straight lines from the 39mm diameter holes to the edge of the board and cut out a slot with your jigsaw. The slots should be just wide enough for you to slot your wine glasses in place.
5. Use a compass to mark out the larger circles, drill a 10mm diameter hole and then cut out the shapes with your jigsaw.
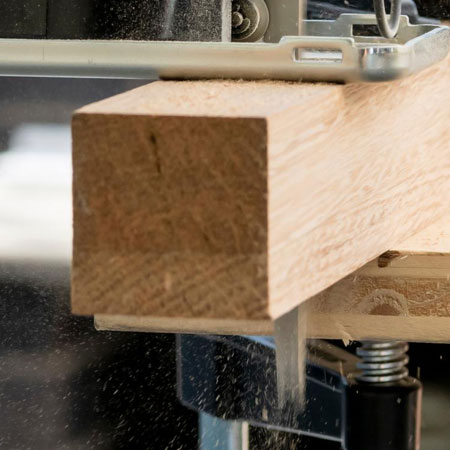
6. Sand all the cut edges. Start with 80-grit sanding pads to remove any uneven edges and smooth with 180-grit sanding pads.

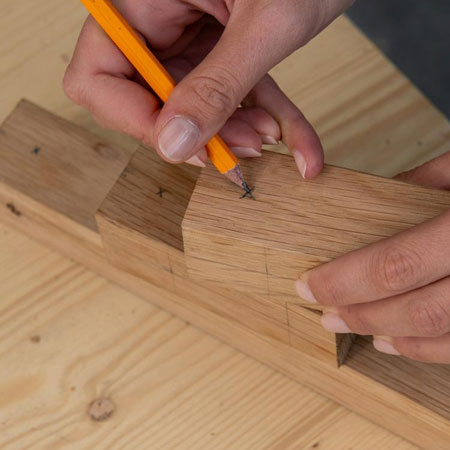
7. Cut all the 44 x 44mm pine to length, if not already done.
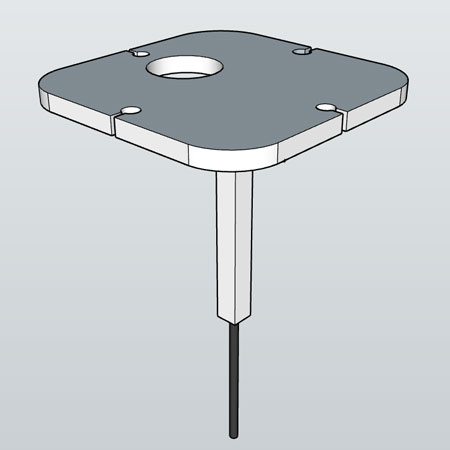
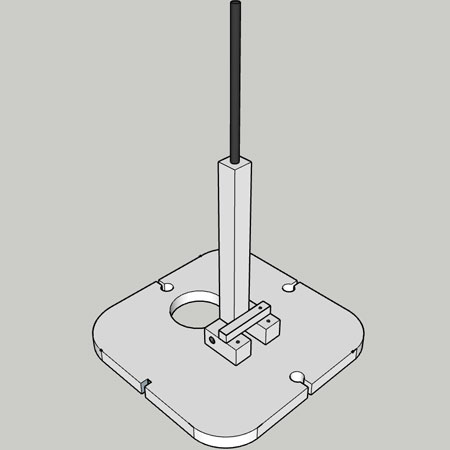
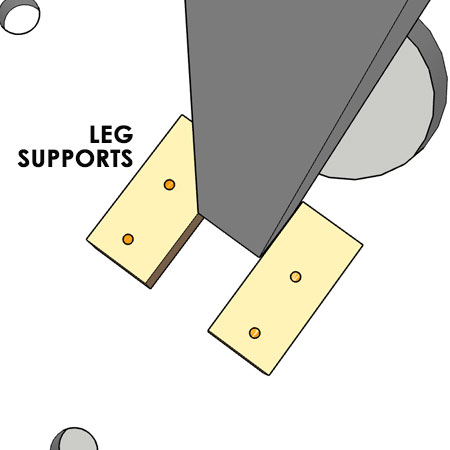
LEG & SUPPORT ASSEMBLY
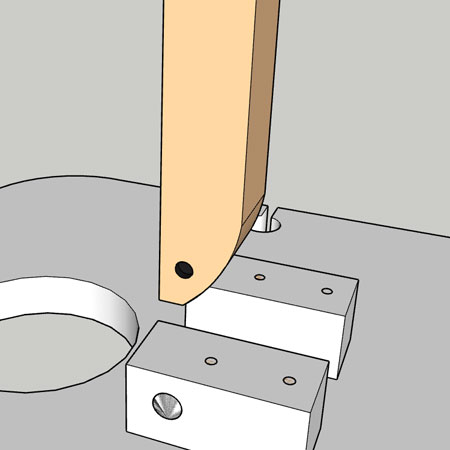
8. Mark in the centre of each of the leg and leg supports and drill holes for the carriage bolt.
9. Mark 22mm in from one end and 22mm down from the top of the leg and cut off the corner section. Sand this into a rounded corner to make it easy for the leg to sit flat when folded up. Note: Once the table is assembled; test that the leg sits fairly flat, or sand off to make a more rounded corner until it does.
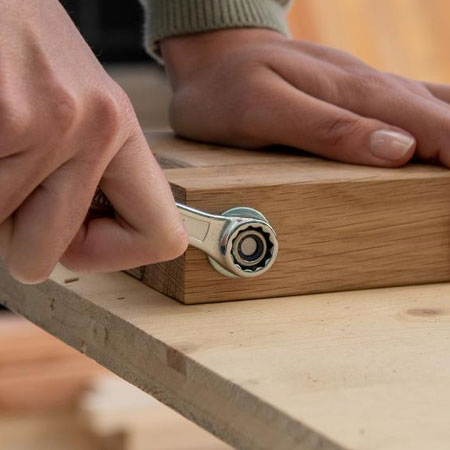
10. Insert the carriage bolt through the support, leg and remaining support and tightly secure.
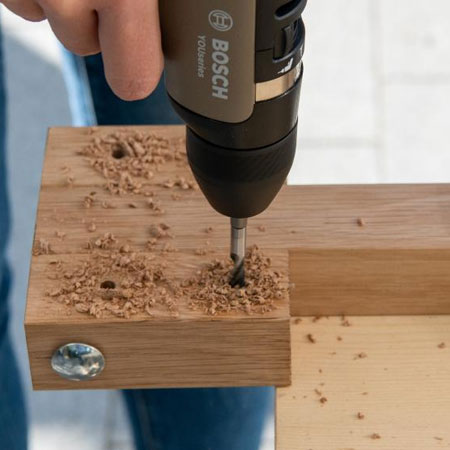
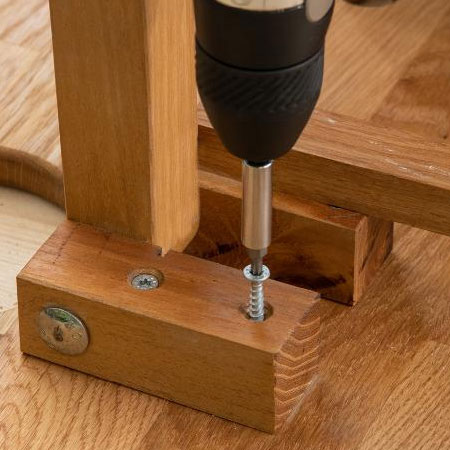
11. Drill pilot holes for mounting the leg assembly to the underside of the top, taking into consideration the location of the carriage bolt and the latch that will be added in Step 14. Countersink the pilot holes that the screws will not sit above the surface of the wood and interfere with the latch.
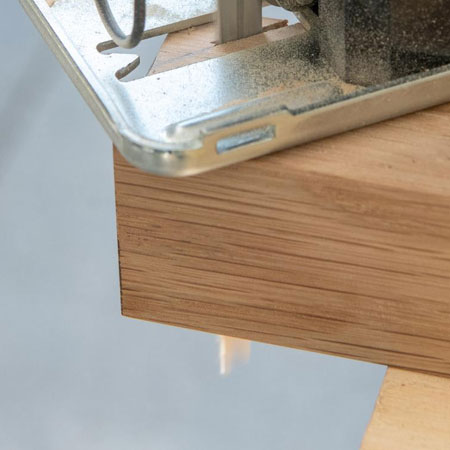
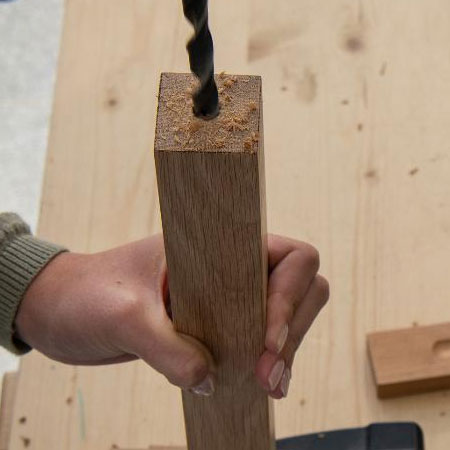
12. Use an 8mm wood bit to drill a hole in the base of the leg for mounting the metal rod. Drill to a depth of 50mm and then insert the rod. Tap with a rubber mallet or hammer to make sure the rod is firmly in place.
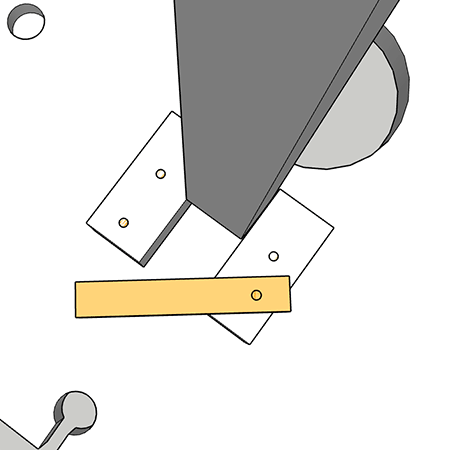
13. The last step is to attach the latch that will hold the leg in place when set in the upright position. Use a single screw on one side so that the latch can be opened and closed.
all about diy