Make decorative cabinet doors for kitchen cupboards
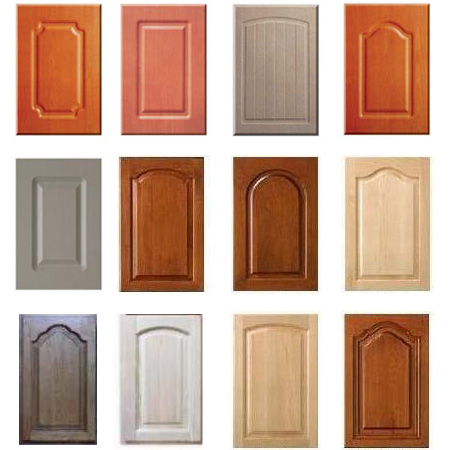
Being able to use a router to make decorative kitchen cabinet doors allows you to replace old cabinet doors with do-it-yourself doors in any size or design.
A brand new Bosch router will cost your around R1350 if you buy online. That's probably what you would pay to have 3 small doors made up for you, or to buy ready made doors. Investing in a router not only means that you can affordably revamp your kitchen by fitting new decorative doors, but can do so many other projects as well.
In this article I show you how you can make your own decorative kitchen cupboard - or other - doors easily and quickly using a Bosch POF 1200 AE router, Pro Tech plunge router bit* and 16mm MDF that you can buy at your local Builders.
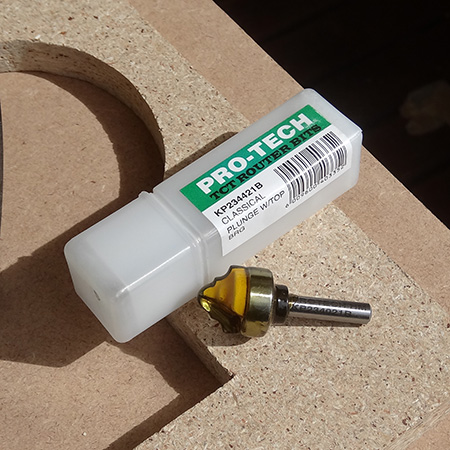
*While I use Tork Craft routing bits for general timber projects, when you are routing MDF these bits soon blunt, as MDF is a dense and hard board product. If you are going to be making quite a few cabinet doors it's worthwhile spending a bit more and buying a router bit that won't blunt after a couple of doors. Pro-Tech bits are quality bits known and used by cabinetmakers for almost 30 years. You should find Pro-Tech bits at your local Builders store.
MAKE A TEMPLATE
When making your own cabinet doors with a decorative design that is repeated on all the doors you need a template. For this project I used a scrap piece of 16mm particleboard. You can use particle board, plywood or MDF to make your template, but the board should not be thinner than 8mm or thicker than 16mm.
Ideally the template should be the same size as the door, so that you can line up the template perfectly every time you use it. My template is smaller simply because it's a piece of scrap board that I had lying around.
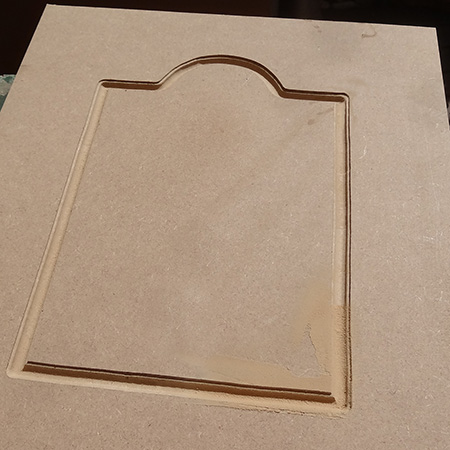
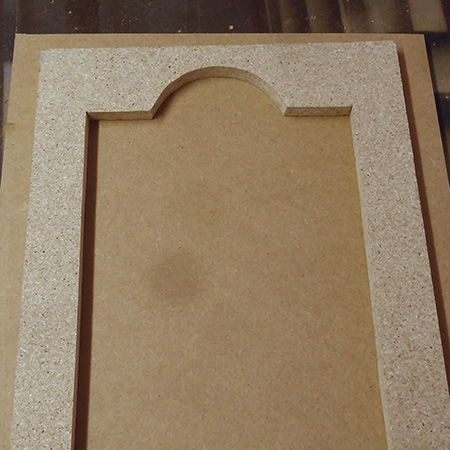
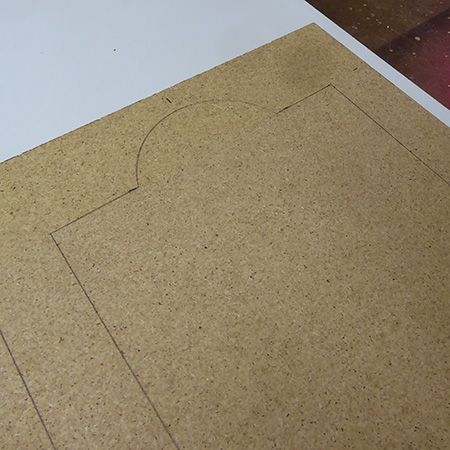
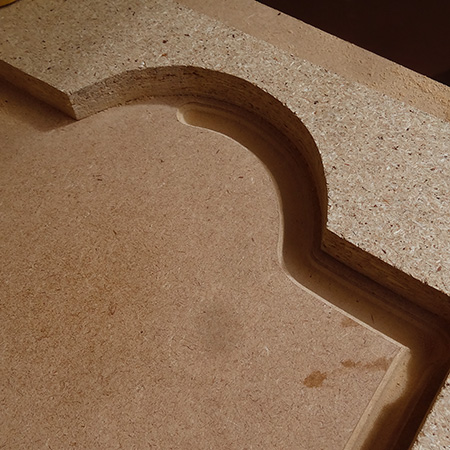
Measure and mark to draw your design for cutting out the template. We decided to put a curve at the top of our template to show you how easy it is to do almost any type of decorative design for cupboard or cabinet doors.
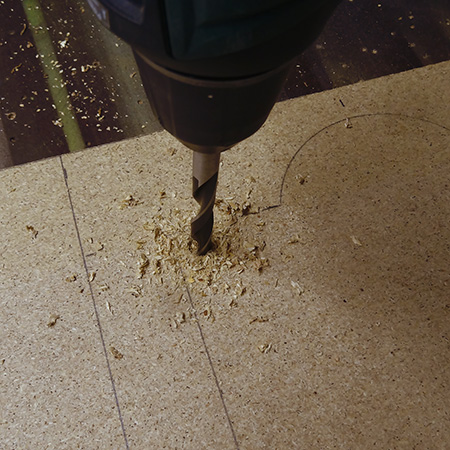
You will need to drill a few holes inside the area to be cut out to allow you to cut out with a jigsaw. Once cut, use 120-grit sandpaper to smooth any rough edges. It's important that the template be perfect, as this transfers the design onto the cabinet or cupboard door.
If you have not used a router before, acquaint yourself with the instruction manual before you start. Although I have used a router before, I haven't done plunge routing or made a decorative door like the one shown here.
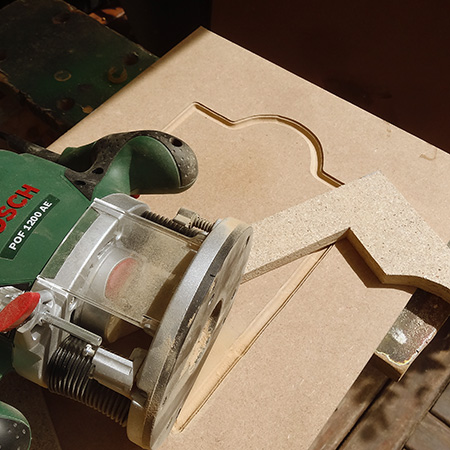
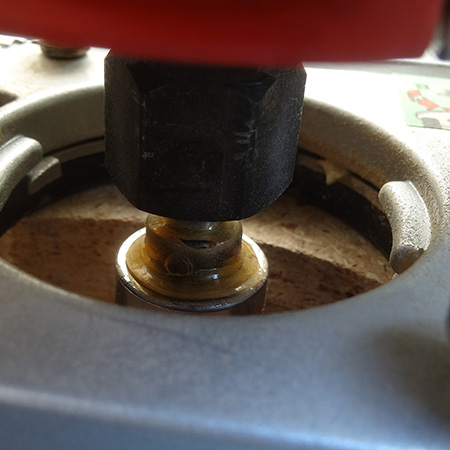
Set the rim of the fixed bearing at the top of the bit to the height of the template. The template acts as a guide for the fixed bearing so make sure that it follows the template.
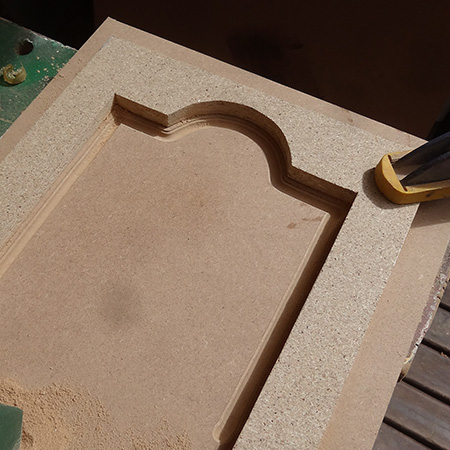
You will be working from right to left around the template, so place a couple of clamps at opposite corners to hold the template and door firmly to a workbench. You can move the clamps as you cut around the template.
I started in the curved area at the top of the door and worked my way around to the side in one go. At this point I needed to stop and re-position the clamps in order to continue round the bottom and up the other side to the starting point.
Not bad for a first attempt. My advice is to have some scrap board to practice with before you start on the actual doors. That way you get a feel for using the router and can also make any height adjustments for the router bit.