
Build a basic children's bed
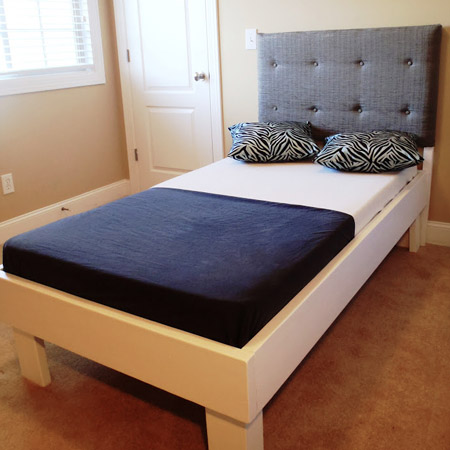
Here's an easy children's bed you can make in a day - in fact you can make two beds in a day! Made using PAR pine and then painted, these basic beds are easy enough to make.
01/04/2018
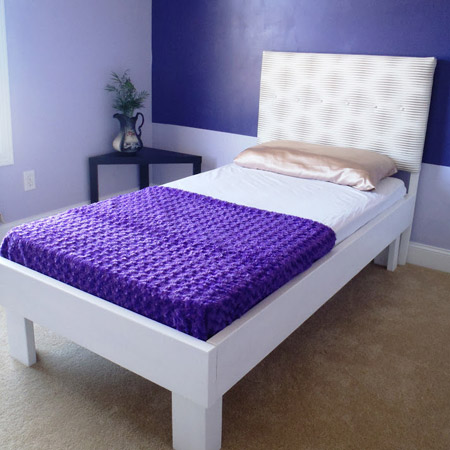
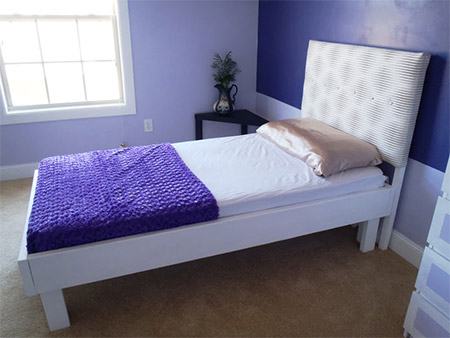
The two beds shown below can easily be assembled in a day. They are built using PAR pine that you will find at any Builders Warehouse and then painted with white acrylic paint.
The bed base consists of 22 x 44mm pine slats that are slotted onto the frame, and can be easily replaced if the need arises.
The instructions below are to make a basic bed using 19/22mm thick x 220mm PAR pine. If you want to make a chunky version of this bed, replace this with 32 x 220mm PAR pine. The total width of the inside of the bed frame is 940mm. While a standard single mattress is 920mm wide, we allowed extra to allow for making the bed and tucking the bedding down the sides. The height of the bed from the floor is 450mm, but you can adjust this if necessary.
YOU WILL NEED:
2 of 19/22 x 220 x 1900mm lengths of PAR pine - sides (buy 2.4 metre lengths)
2 of 19/22 x 220 x 984mm lengths of PAR pine - top / bottom
2 of 44 x 44 x 1715mm PAR pine - base rails
13 of 19 x 69 x 940mm PAR pine - slats (buy 2.4 metre lengths)
13 of 19 x 69 x 44mm PAR pine - slat spacers - cut from offcuts
2 of 32 x 94 x 1800mm PAR pine cut to:
- 8 of 450mm lengths - legs (adjust this if you want a different height)
8mm dowels and dowel centres (OR biscuit joiner OR pocket hole jig)
Ponal Wood glue
55mm and 45mm cut screws
TOOLS:
Drill / Driver plus assorted bits
Orbital Sander plus 120- and 240-grit sanding pads
Rubber mallet
Tape measure and pencil
HERE'S HOW:
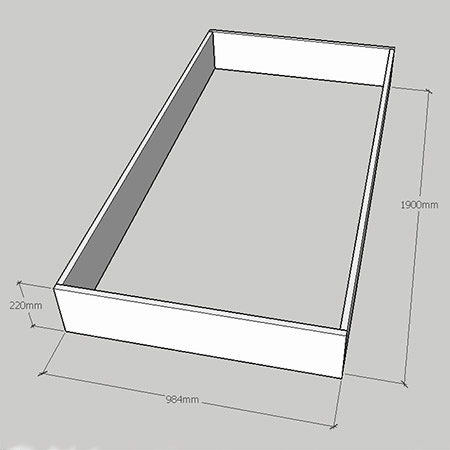
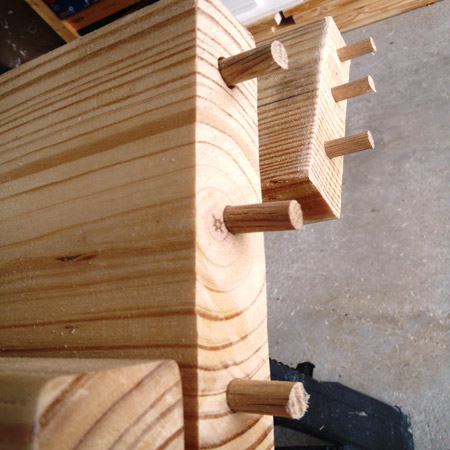
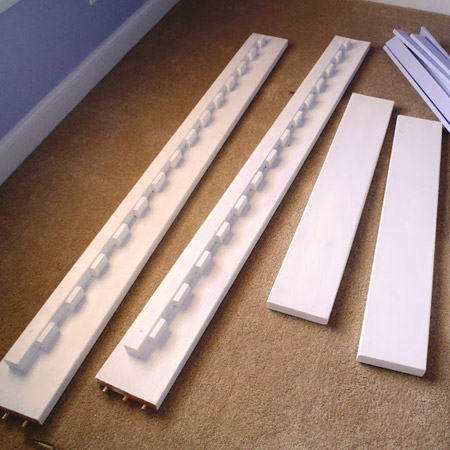
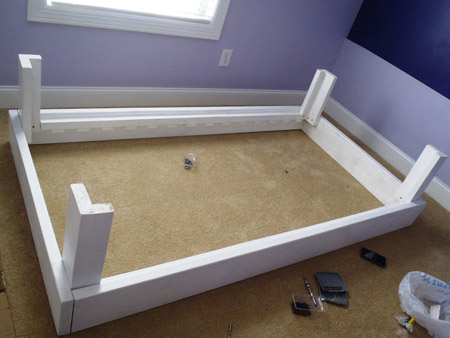
The components that make up the frame consist of sides, top and bottom. These are joined together using dowels, but you can substitute with biscuit joints or pocket holes, whichever you prefer. The idea is to have no visible screws on the outside of the bed frame.
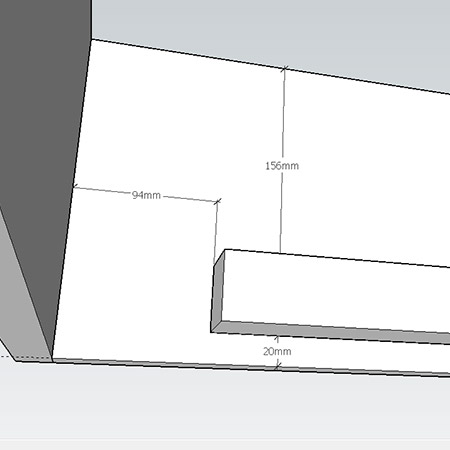
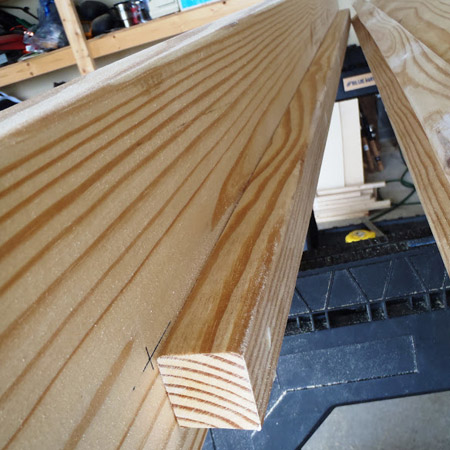
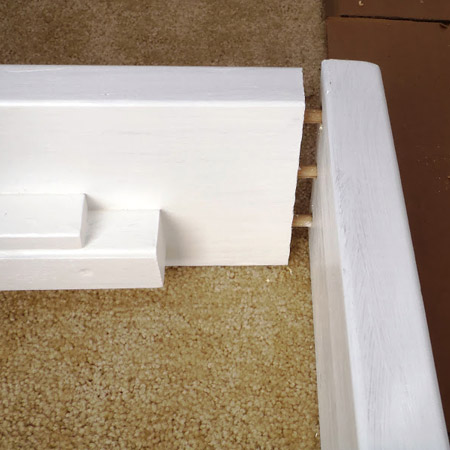
2. Before assembly, mount the base rails onto the sides using wood glue and screws. Drive 55mm screws through the base support into the side sections. See the diagram above for placing the base rails along the sides.
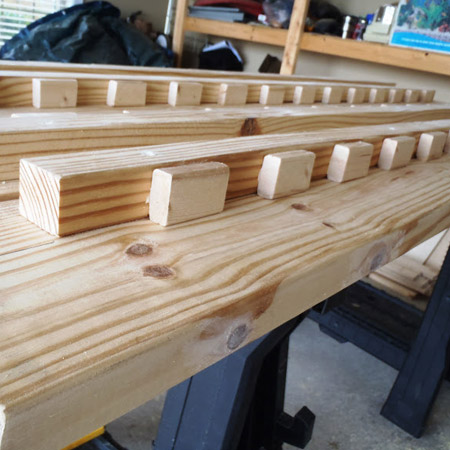
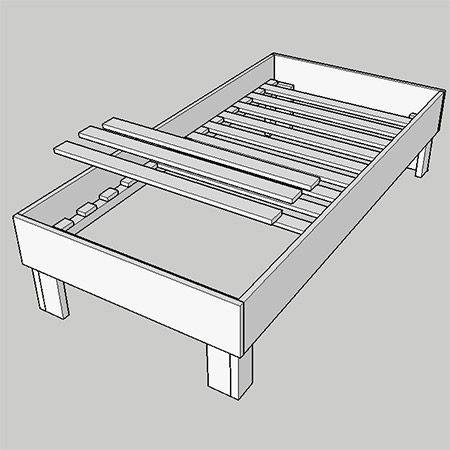
3. Once the base supports are fixed, glue down the slat spacers. These are spaced 70mm apart and will hold the slats in place once fitted.

GOOD TO KNOW: What's nice about this design is - with kids being kids there is a possibility of slats being broken and this design allows for easy replacement if this does happen.
4. If you are painting the bed, do this before you assemble. Take the time to round-off all the sharp edges with a sander and 120-grit sanding pads and then smooth with 240-grit sanding pads.
5. With the painting or staining done it's time to assemble the bed frame using wood glue. Use Ponal wood glue to join the dowel sections together and tap with a rubber mallet to firmly join the pieces together.
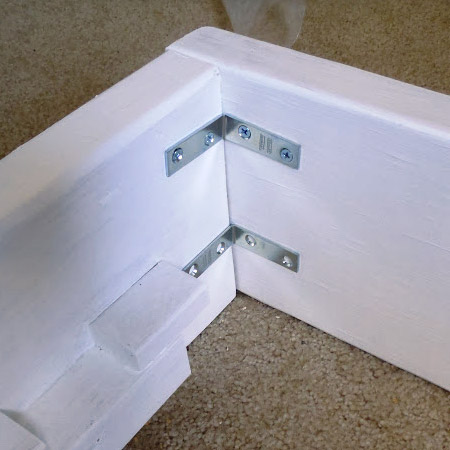
GOOD TO KNOW: Should the frame require additional stability, use corner braces to secure the frame.
6. Assemble the legs using wood glue and clamp together overnight. This can be done the day before so the legs are ready when you want to assemble the bed.
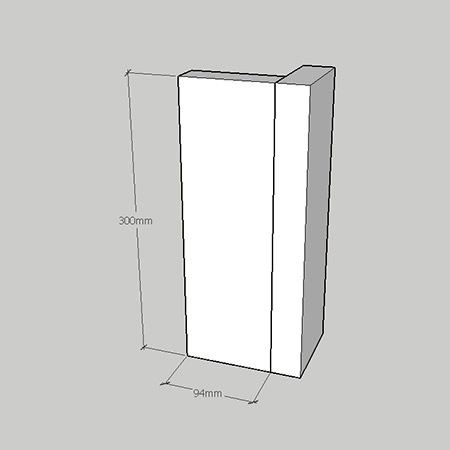
7. Secure the legs to the bed frame with wood glue and 45mm cut screws. The top of the legs are flush with the top of the base rails. Use 2 screws in each leg section - 4 screws per leg assembly in total.
8. Now all that's left to do is add the slats and the bed is finished.
lazylizonless.blogspot.com