
Wall mounted bedside light and table
Pop into your local Builders Warehouse for laminated pine to make this wall mounted bedside light and table combination.
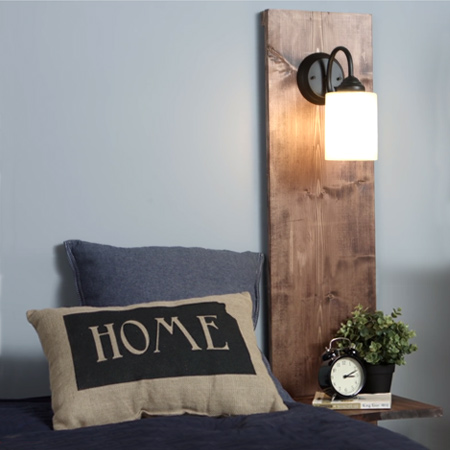
Nowadays you don’t have to spend a fortune on decorating projects. With a few basic tools and supplies you can make a variety of DIY furniture projects and accessories for a home. In this project we show you how easy it is to make a wall mounted bedside table, complete with lighting.
YOU WILL NEED:
Laminated pine, 305 x 1800mm
Shelf bracket and screws
Woodoc Gel Stain and Woodoc 5 or 10
Light fitting
Ripcord (long enough to reach power outlet), on/off clicker switch and plug
Wire connector
Keyhole brackets [2] and 16mm screws
TOOLS:
Drill / Driver plus assorted bits
25mm spade bit
Screwdriver
Jigsaw, circular saw or mitre saw
Carpenter's square
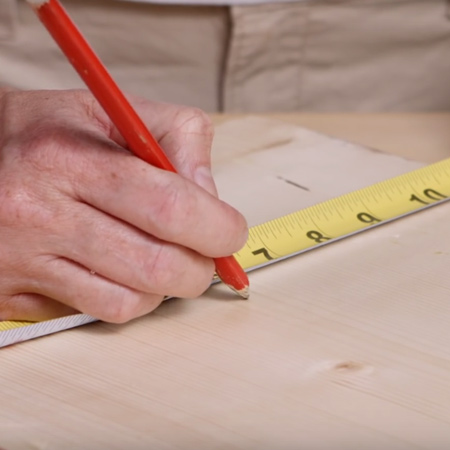
Tape measure and pencil
Lint-free cloth or sponge
Buy everything you need for this project at your local Builders Warehouse.
HERE'S HOW:
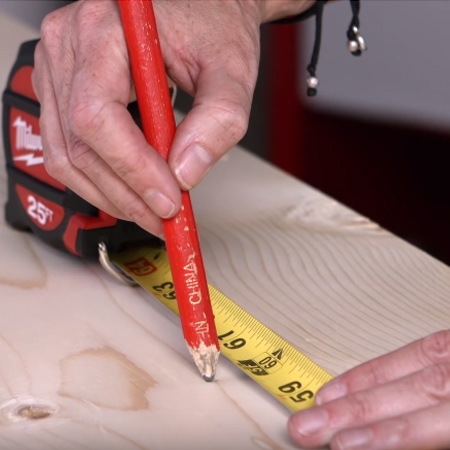
1. Measure and cut 250mm off of one end of the board to serve as the table section. This is large enough to provide space for your bedside clock and a book or two. Also cut [2] 50mm wide strips to mount at the top and bottom as battens.
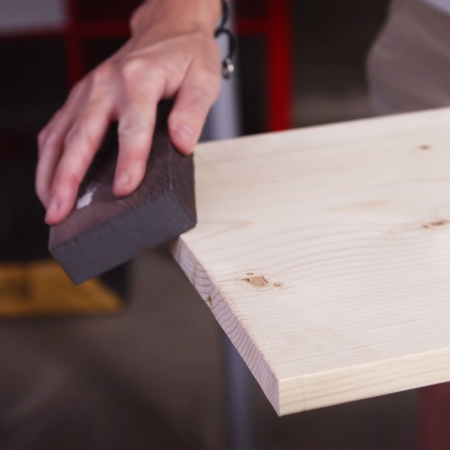
2. Before assembly, apply Woodoc Gel Stain using a cloth or sponge before applying Woodoc 5 or Woodoc 10 interior sealer, Follow the instructions on the can for proper application.

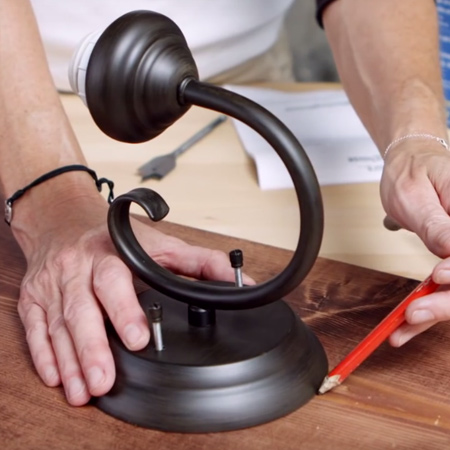
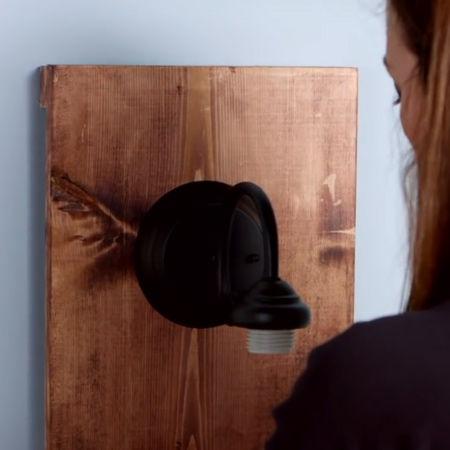
3. Place your lighting fixture on the board and lightly mark the position with a pencil, making sure it is perfectly centred.
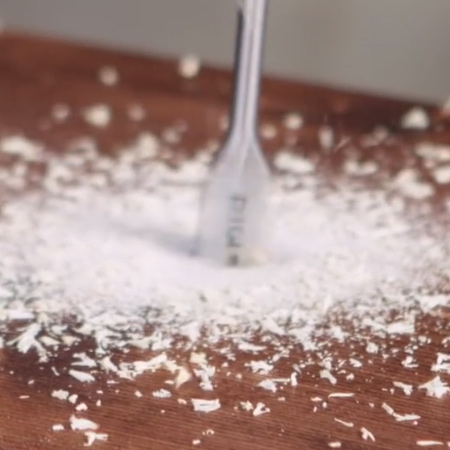
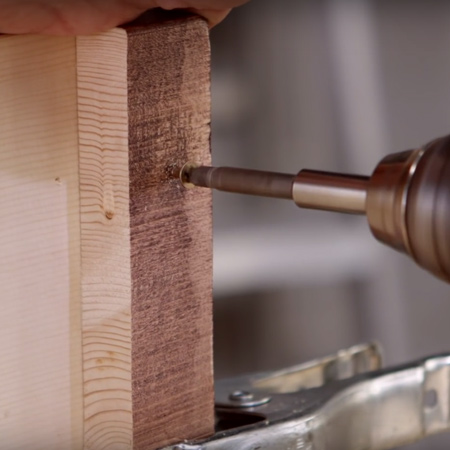
4. Use a 25mm spade bit to drill a hole through the board for threading the electrical wiring through the back of the board - out of sight.
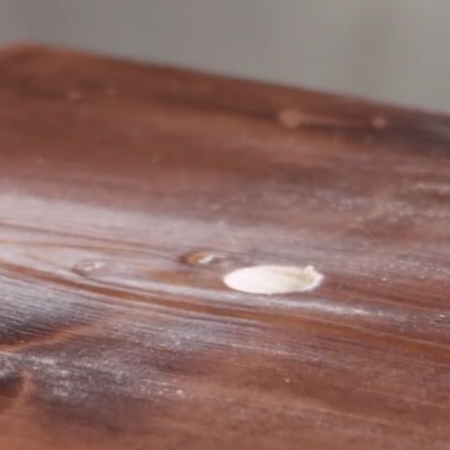
5. Thread the electrical wires from the lamp through to the back of the board.
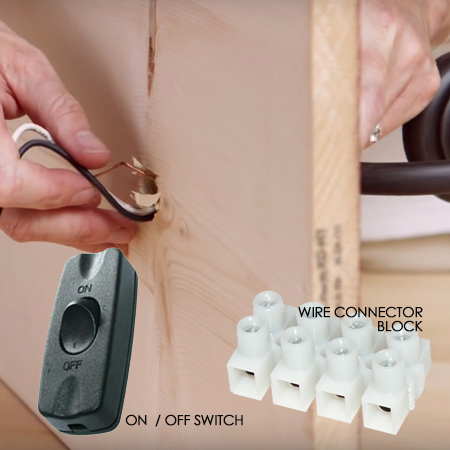
6. Use a connector block to join the wires from the light fitting to the ripcord. Add an on/off clicker so that it is conveniently located next to the bed, and finally add the plug.
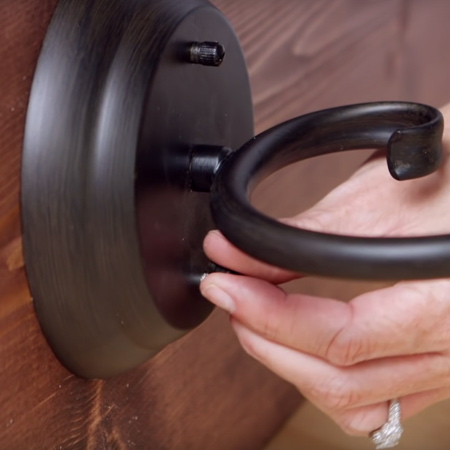
7. Secure the lamp to the board using the fitting supplied.
8. To attach the table section, place the board at the desired height and mark with a pencil.
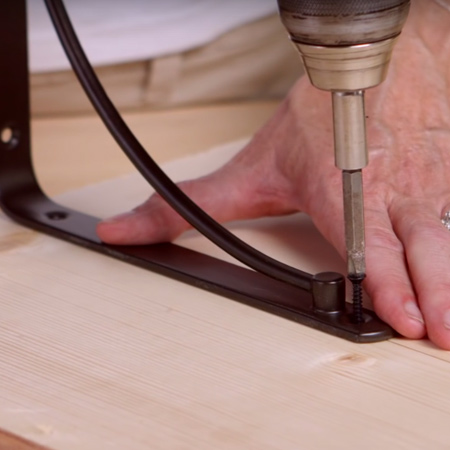
9. Screw the shelf bracket to the underside of the table section.
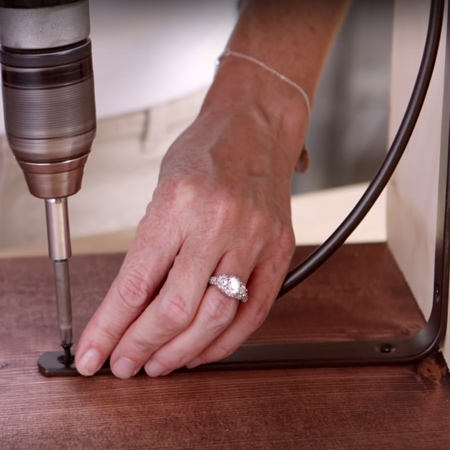
10. Mark and secure the shelf bracket to the board at the desired height.
11. Finally, mount the battens at the top and bottom to hold the board away from the wall.
12. Mount the board to the wall using keyhole brackets attached to the top batten at the back of the board. Drill into the wall and using wall plugs and screws, leaving enough screw head visible to slip the keyhole brackets over them.
waterstruevalue.com