
Create a faux stone wall
Painting a wall to look like stones is easier than you might think. Starting off with small projects will provide you with the experience necessary to be able to tackle larger projects in your home.
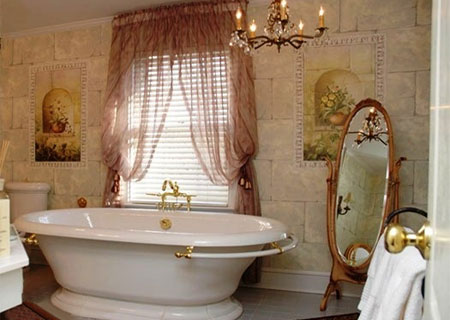
mathersmithdesigns.com
The first thing you want to choose is your grout colour. This is the colour of the lines between the stones. This colour will also be the base for your stones. You will also want to choose your glaze colour.
It is usually best to choose a darker shade of the base colour for your glaze coat. And this is easy because in most cases this colour will be on the same card you choose your base colour from at the paint store. Here you can go several shades darker for a more dramatic look or just a couple for a more subtle look.
YOU WILL NEED:
Paintbrush
Paint tray and roller
2cm wide masking tape
Acrylic PVA - base colour
Acrylic PVA - top colour (to mix with glaze)
Scumble glaze
Mixing container
Sea sponge
Mutton cloth
Small artist's paintbrush
HERE'S HOW:
Step 1
Using a paintbrush and roller, paint the walls a solid coat with the base colour.
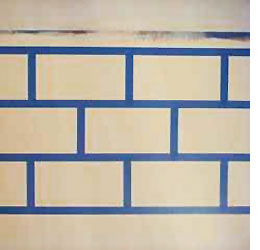
Step 2
Now you need to decide how wide you want your grout lines to be. In the supplies list we suggested 2cm masking tape and this provides a realistic look. After the base coat dries completely, you can line off the joints with your tape. Again this pattern is up to you. You can always copy how real brick or stone walls are stacked.
GOOD TO KNOW
Choose the size of each block according to the room it is in. Smaller stones for smaller rooms and larger stones for larger rooms.

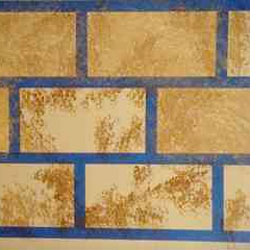
Step 3
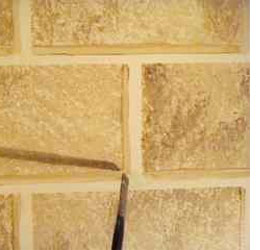
With the tape applied you can mix the glaze colour. The best mix is 5 parts glaze to 1 part paint, but you can add more paint to darken, or less to lighten. Start sponging on the glaze one stone at a time to keep the job manageable. Turn the sponge as you dab around the edge of the blocks. Try not to be repetitive on each stone - vary the pattern as you work to create texture and a unique look for each stone.
Step 4
To soften the effect, pat the same area with a scrunched up piece of mutton cloth. Just patting it a little will soften the pattern of the glaze. This will give you the nice shading and depth of stone. When you've finished the room with these techniques, its now time to remove the tape.
decorative-faux-painting.com
Optional finishing
As a final option, you might want to thin the glaze mixture a little more with water and go back over the "grout" lines very lightly. It does not have to be solid or perfect but it does require patience and that's why we say it's just optional. This last step will make the lines not as stark or bold, and it will deepen the edges of the stone even more.