
How to paint furniture
Painting furniture is a hot trend at the moment, and I don't see this changing anytime soon. As we look for ways to reuse, repurpose and recycle, being able to makeover or modernise old furniture is just one way to transform dated pieces and save them from the trash heap.
You don't need any special talents to be able to paint furniture, just a can or two of matt or low-sheen acrylic PVA, some Woodoc antique wax or clear acrylic sealer - and painting tools and supplies.
designmegillah.com
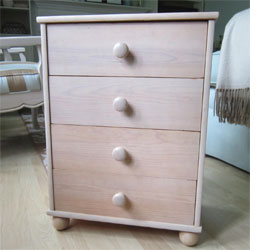
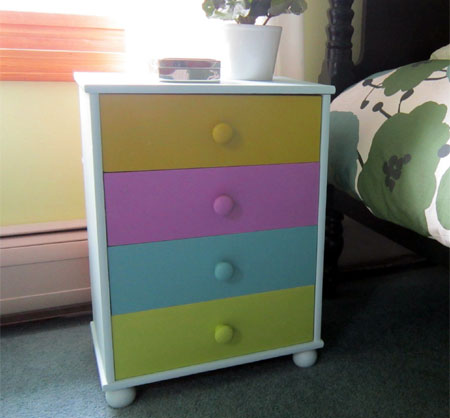
Rita at Design Megillah had this small nightstand for years. Since it's small, it was perfect for a child's room. Left is what the nightstand looked like pre-paint job. After priming, she simply painted the base and each drawer the chosen colour.
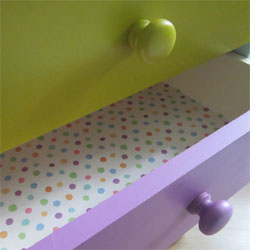
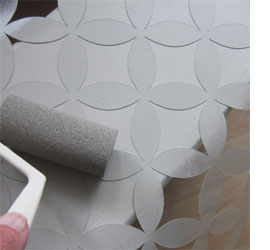
A few sheets of colourful polka dot shelf lining paper finish off the inside of the drawers. Another quick and easy way to dress up drawers is to use self-adhesive contact paper, or colourful wrapping or scrapbooking paper and then apply a couple of coats of clear acrylic sealer (Mod Podge) for protection.
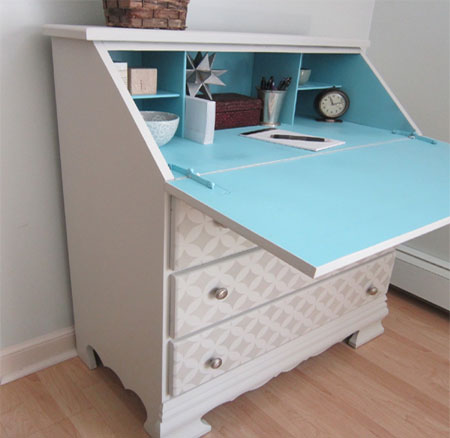

Although stencilling has been around for years it seems that in the last few it has become very hot because of the choice of beautiful stencils now available. Ritar was anxious to try a stenciling project, and when a drop-leaf desk came up on an online site she snapped up the bargain, knowing it was the perfect opportunity. Left is how it looked before...
After a light sanding, she taped the areas that were not being painted and sprayed the inside with blue spray paint. This was much faster than using a brush or roller and the spray paint provided a nice hard finish which will wear well.
The rest of the desk was primed with a white primer, followed by a soft grey. Now for the fun part--stencilling! Rita ordered her stenciles from Cutting Edge Stencils - an overseas online site, but you can easily shop around for local stencils - or make your own. I love how the inside of the desk is a little surprise when it's opened and the blue colour appears.
finedivingchicago.com
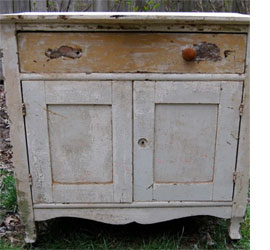
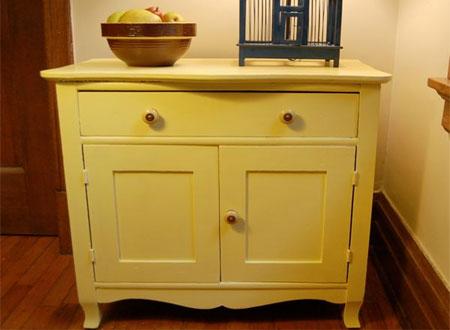
Diane Durkes at Fine Diving decided that this cupboard deserved a second lease on life. It was in well-used but sturdy shape and had a girl-next-door friendliness about it - plain and pretty. She started by stripping the layers of paint from the chest. White, then green, then a caramel colour – each layer was like a history lesson about the life of the former users. While purists would value this original finish, it held onto years of grime, so time for a fresh start.
After sanding the chest, she brushed on two coats of primer, then a butter yellow semi-gloss. Cool turquoise, celery green and a medium bright pink were also colours that came to mind for this small piece. When the paint had cured for a few days - very important! - sheI gave the chest a final coat of water-based polyurethane to protect the painted finish from chipping and the chest is ready for a sunny new life.
picklee.com
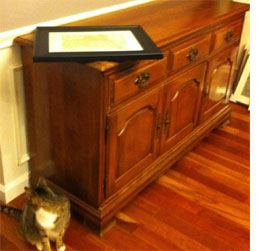
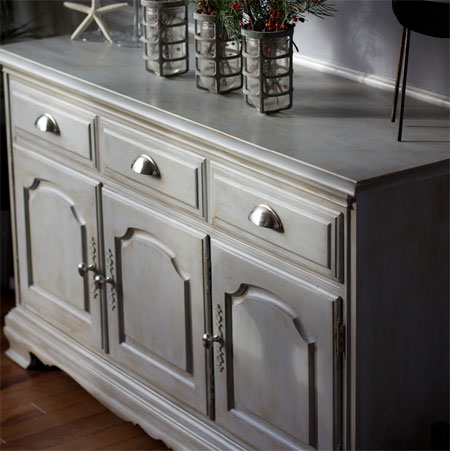
Jordan at Picklee searched high and low for a new dining room buffet- and failing miserably to find something of great quality that was unique, beautiful, and affordable. She ended up purchasing a horrific buffet straight out of the 80′s. Although ugly at first sight, this buffet was thick and solid, and had great lines, and Jordan had a vision! Her inspiration for the finished product came from pieces she has seen at Ballard Designs, Pottery Barn and Restoration Hardware. In one day, using matt acrylic in a light grey, Woodoc antique wax, and some new hardware, she gave this buffet a new life and saved hundreds of Rands!