
Give old furniture a new look
With its solid framework, all this old dresser needed was a bit of sanding, some fresh paint, and new cabinet hardware. With a little elbow grease an old cabinet was given a new lease on life.
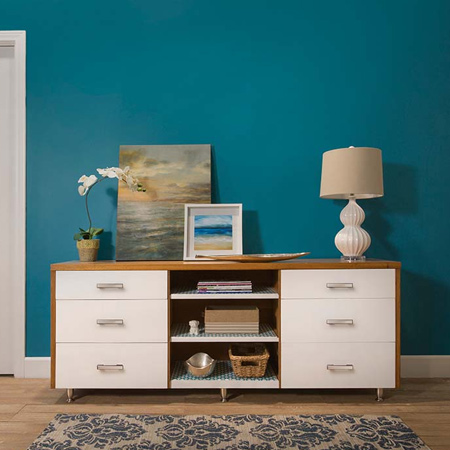
With its solid framework, all this old dresser needed was a bit of sanding, some fresh paint, and new cabinet hardware. Here's how to use a little elbow grease to give an old cabinet a new lease on life and repurpose furniture for a home.
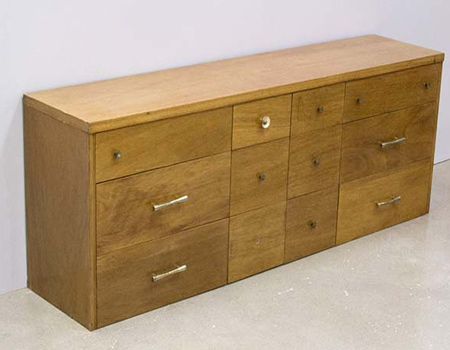
When shopping for secondhand furniture it is important to check that the basic framework is still in good condition. If the structure is damaged it can be expensive and time consuming to perform the necessary repairs. Rather look for pieces that only require cosmetic repairs, such as those that can be fixed with a little sanding and a coat or two of paint.
Modify
For this dresser the centre drawers were removed to provide shelf space and give the dated design a more modern outlook. When doing any modifications to furniture you need to take a look inside to determine what needs be removed. In this case the frames for the centre drawers were popped out using a rubber mallet.

Prime
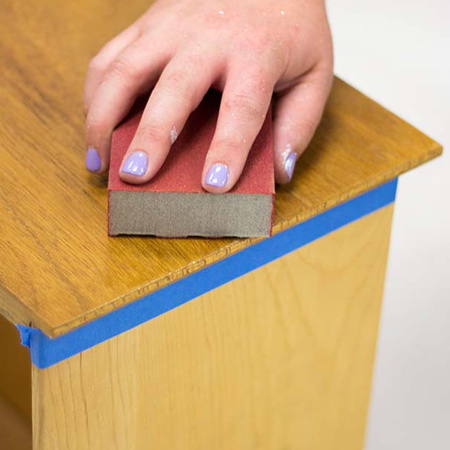
Use masking tape to protect any areas that you do not want to get paint on. We chose to paint only the front of the drawers, so we applied the masking tape to the sides.
Use a sanding block and 120-grit sandpaper, or a medium sanding sponge, to lightly sand the front of the drawers. To ensure a good bond between the surface and paint it isn't necessary to remove all the old paint or varnish, but rather to provide an even surface for the paint to adhere to.
GOOD TO KNOW: On furniture that has oiled or waxed over the years, use steel wool and mineral turpentine to clean the finish. Oily residue will prevent the paint from bonding properly and result in paint not bonding properly.
Paint
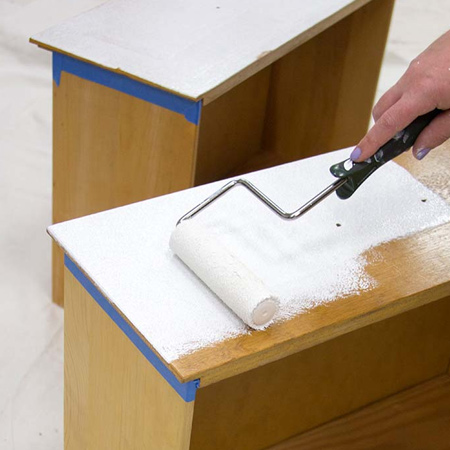
Use a foam roller to apply an even coat of paint. The paint you choose will depend on the final finish you want. For this type of project Prominent Paints Premium Sheen provides a durable finish that is easy to keep clean. The crisp white contrasts with the refinished oak veneer of the frame.
GOOD TO KNOW: A small foam roller is perfect for painting the front of the drawers, and a paintbrush or foam brush can be used for smaller areas like the sides of the drawer fronts and the front edge of the dresser shelves.
Finishing
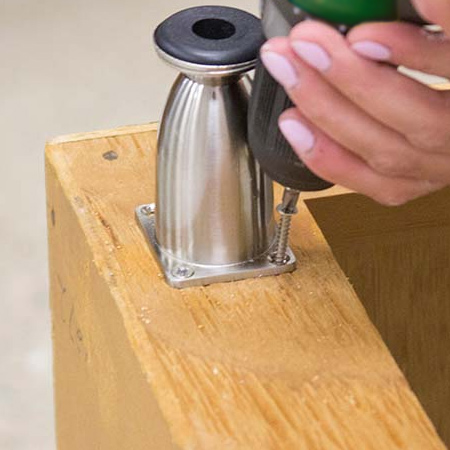
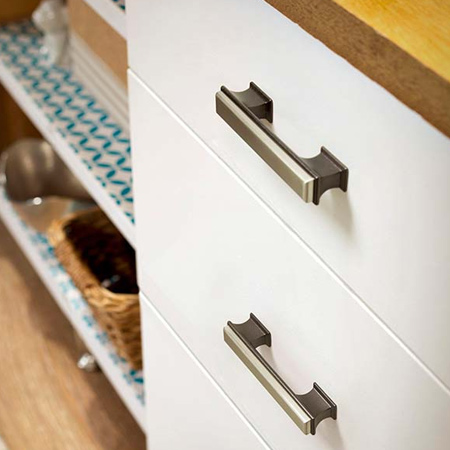
Pop into your local Builders Warehouse and you will find a selection of knobs, handles, legs and feet. For this project the brushed nickel finish for the handles and legs give a classic feel.
GOOD TO KNOW: If your handles or knobs are not the same size as the old ones, you will need to fill in the holes with wood filler and drill new holes to fit your particular hardware.
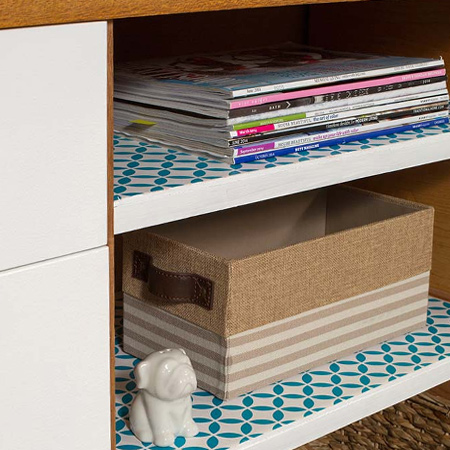
Finish off shelves with Contact self-adhesive vinyl. Measure and cut the vinyl to fit each shelf. Measure each shelf because the dimensions could be slightly different for each one. Start by applying the corners at one end of the drawer and smooth the self-adhesive vinyl down with the palm of your hand. As you work from your top corners, continue to peel back the adhesive towards you while sticking the drawer liner to the desired area. Alternatively, paint the shelves if you prefer.
GOOD TO KNOW: If the opportunity presents itself, try to apply the self-adhesive vinyl to the shelves prior to installing these in the cabinet. It is easier to apply the vinyl in this way.
homedepot.com