
Here Are 4 Decorating Problems You Will Want To Avoid
Before you open that can of paint and grab your paintbrushes, you might want to check that you don't have any of these problems before you start.
03/09/2020
For a professional paint finish when decorating a home, you need to make sure to do the proper preparation before you begin. There are several problems that you may already have that will affect the finished project, so before you open that can of paint, make sure you have none of these.
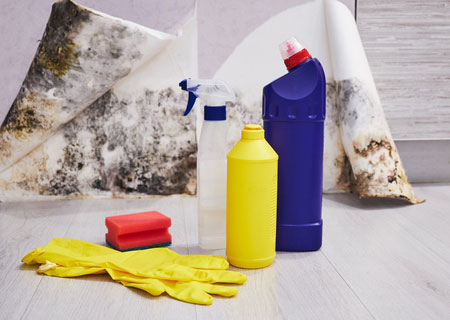
1. SIGNS OF DAMP OR MOULD ON WALLS
Many homes, and particularly older homes have signs of damp in bathrooms, laundry rooms and even kitchen. If you simply try to paint over these problems, you are going to be spending more money to fix up your home later on down the line.
The good news is that both damp and mould can easily be dealt with and chances are you can stop mould growing immediately.
HERE'S HOW:
To deal with mould, scrub problem areas with white spirit vinegar (80%) water clean water (20%). You will want to ensure that areas are completely saturated and then leave to react for about 4 hours. After that, you can rinse thoroughly with clean water and dab dry with an old towel or rags.
To deal with damp, scrape off the paint from affected areas and apply a damp proofing product. Follow the manufacturer's recommended guidelines for proper application and you shouldn't have any more problems.

2. REPAIR CRACKS, DENTS AND DINGS IN WALLS
Where there are noticeable cracks in walls, holes left by picture hangers or dings and dents along the corners of walls, it is important that you repair these before you begin painting.
HERE'S HOW:
For both cracks and small holes in walls, you can use an interior crack filler to fix these up. For areas where there are deep holes, chips or dents in the walls, particularly around corners, you can use a 2-part epoxy filler to repair these. Sand filler once dry or cured and wipe away any dust.
Keep any repairs neat so that they match the existing wall finish and won't be visible after being painted over.

3. APPLY PAINT NEATLY
One would automatically assume that there is only one way to paint, right? Painting is more than slapping a coat of paint on the wall, especially if you want a decorated space that looks professionally done. First, you need to use the right paint roller for the type of paint you are using and the finish on the walls you are painting. If walls are smooth, you can use a low-nap or fairly flat paint roller, since it doesn't need to get into any textured areas. On textured walls, you need a paint roller with a high-nap or a fluffy roller that can apply paint over a textured surface.
Using a paint tray lets you remove any excess paint that will run or drip on the wall.
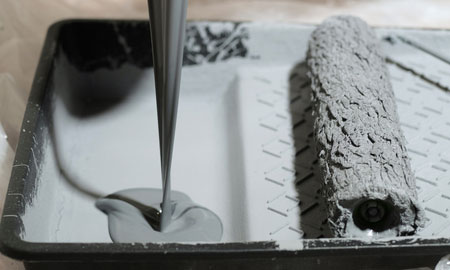
Once you are using the correct paint roller the next thing to consider is the application process. A paint tray is designed in such a way that is has a slope that leads into the paint holder and the slope usually has knobbles or a finish that helps to remove excess paint. After dipping the paint roller in the paint holder, the idea is to run the paint roller over the slop to remove excess paint. This prevents a build-up of paint on the wall.
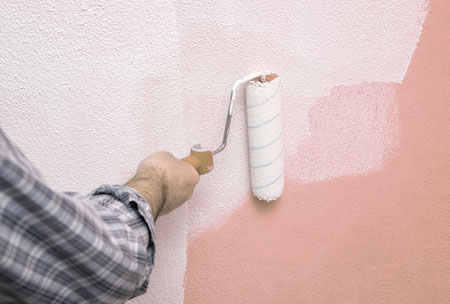
The next, and most important consideration, is to make sure you blend in the rows or paint as you apply. As you finish one area, used the roller to blend the outside areas of the paint applied so that it is ready for the next application. This will ensure you have a smooth finish free of roller marks, areas of paint build-up, runs or drips.
Splurge on quality paint rollers, as these won't shed fluff onto the painted finish.

4. CUTTING IN ON EDGES AND TRIM
We mention using a quality paint roller for applying paint to large surface areas, but using quality paintbrushes is just as important. Paintbrushes with synthetic bristle are best for use with water-based paints and tend to leave behind fewer brush strokes. You can also buy paintbrushes with angled bristles that make it easy to cut-in or paint around edges and trim for a neat finish. You will find more information and advice on decorating topics courtesy of dulux.co.za.
Use the tips above when tackling your next decorating project and you will have a painted finish that adds to the look of a home.