
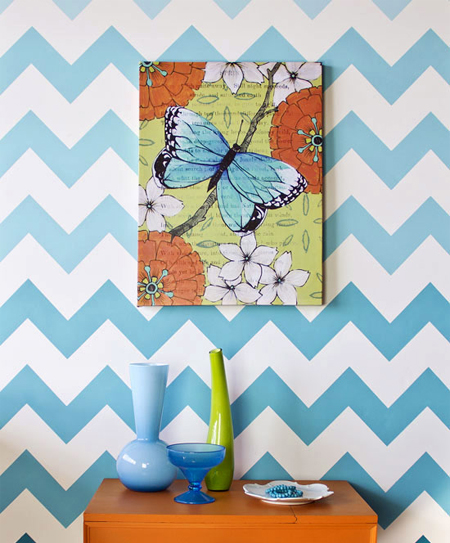
Ombré wall stencil design
Ombré - French for shading - is a hot trend around the world. Grab a can of Plascon Double Velvet in teal blue (or your choice of colour) and white to mix up a wall of pattern and colour for your home. Make or buy an Ombré wall stencil and get started...
royaldesignstudio.com
YOU WILL NEED:
Stencil - or
make your own
Plascon Double Velvet - choice of main colour and white to tint
Foam paint roller (optional: 3 extra foam paint rollers)
4 paint trays
Spirit level
Sprayable adhesive
Newspaper
Kitchen paper towels
HERE'S HOW:
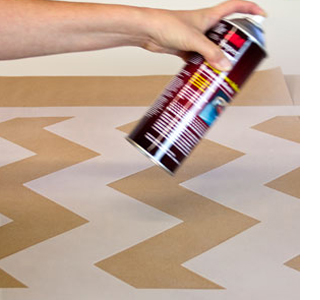
1. Get started
You can buy a chevron stencil here, or you can make your own using acetate sheet. On the back of your stencil spray with adhesive. Work in a ventilated space and be sure to protect surrounding areas from over spray
with newspaper. Hold the can about 25cm away from the stencil and just give it a light, even misting. Allow the adhesive to sit on the stencil for a minute or so before affixing to the wall.
GOOD TO KNOW
Once finished, soak your stencil in warm, soap water to remove the adhesive.
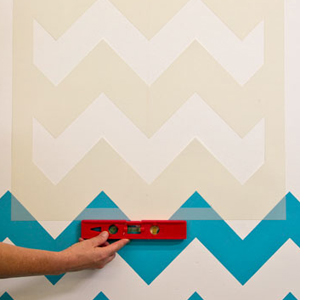
2. Affix the stencil
Position your stencil on the wall and use a spirit level to check. Make sure the stencil is properly aligned and get it nice and smooth and flat on the wall before you start painting.
3. Mix paint
The colour fades from dark to light from top to bottom and side to side. You will need a tin of solid paint colour - plus white paint - and 4 paint trays. In one paint tray place the solid colour and add white paint to the other 3 paint trays in increasing amounts for the shaded effect. You can either use the same paint roller and wash between uses, or save time and have an additional paint roller for each tray.
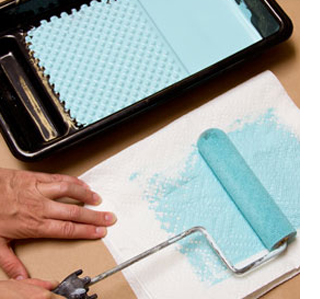
4. Load the paint roller
Load a foam roller evenly with paint in a paint tray. Remove excess paint by rolling over a stack of paper towels or absorbent paper. It's important to have the paint evenly loaded on the roller and not have too much paint, which will naturally seep under the stencil.
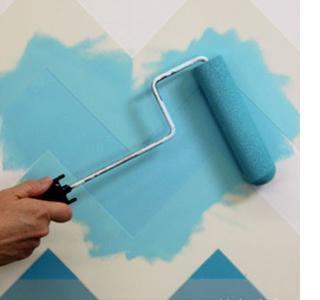
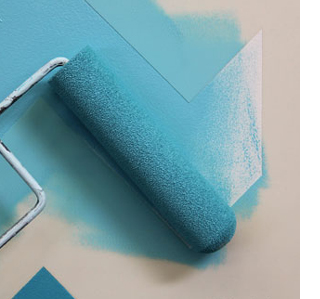
5. Paint over stencil
Apply even, steady - not-to-heavy pressure - on the roller as you roll over the surface of the stencil. Go slow at first to get used to how much paint and pressure you need to get a great stencil print.
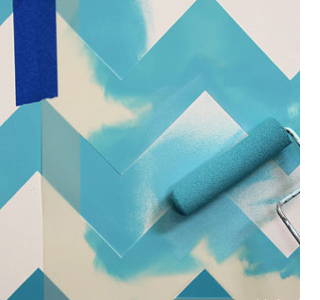
6. Repeat pattern
If you are using a bought stencil it should have built in registration that allows you to move across the wall. For a made stencil, line the stencil up with the previous painted finish so that it matches.
7. Shading
Start with the colour used to end the previous pattern and apply a gently fading layer before applying the next lighter shade - blending the two colours together while wet. Repeat this along the width and height of the wall.
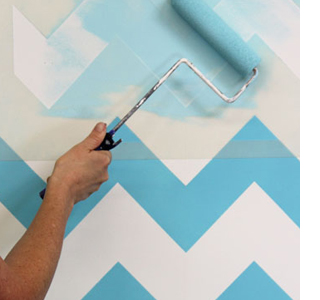
7. Finishing up
The top of the wall should end in the lightest colour paint, as well as the light or right side.
Now step back and admire your work !