
Make a Metallic Silver Designer Mirror... On the Cheap!
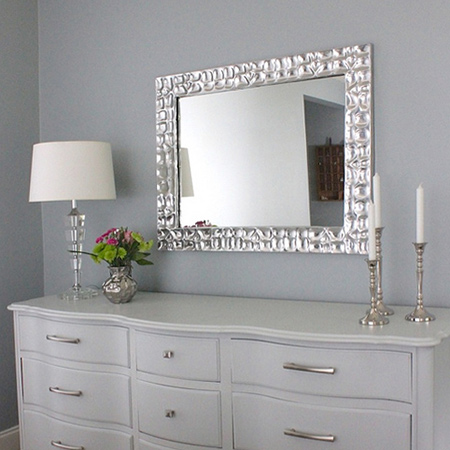
Have been wanting to make a dramatic mirror frame for quite a while and after seeing this shimmering silver metallic frame I decided this was the one I wanted to make.
28/11/2023
thehomesihavemade.com
This mirror was the inspiration for my project and was featured by Megan at 'the homes I have made'. She transformed her bedroom with painted furniture and new accessories and it looked stunning. What I found most striking in this room setting is the above metallic silver mirror. Knowing it wouldn't be something that could be bought locally I took the DIY route to make it.
Bought for over R1000, you can easily make this beautiful mirror at a fraction of the cost with a few materials and supplies that can be found at your local Builders.
I looked at the finished mirror to determine what local materials I could use for this project and ended up with affordable 12mm PAR pine. I opted for this material because it is so cheap, it is lightweight and you won't see it because it will be covered up. The remainder of the materials can be purchased at any Builders store around the country.

YOU WILL NEED:
2 of 2400mm lengths of 10 x 94mm PAR pine*
Exterior wood glue
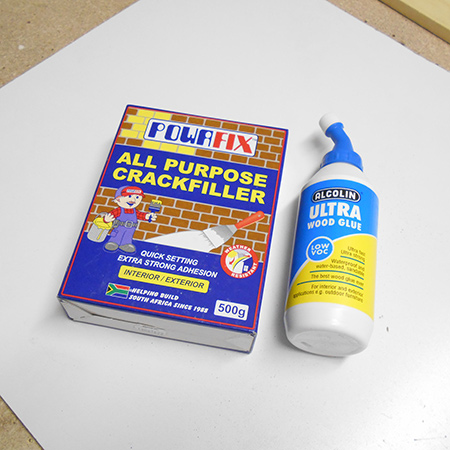
Exterior crack filler
Rust-Oleum Metallic Silver
2 eye hooks and picture frame hanging wire
Mirror - cut to size once frame is complete
10 glass clips and 10mm screws
Paint scraper
Wooden spoon
Container of water
Buy everything you need for this project at your local Builders Warehouse.
GOOD TO KNOW
The materials used for the mirror frame were a bit of a hit-and-miss situation. I have previously mixed crack filler and glue together but wasn't sure if it would work for this project - but it did. Now, 10 years on, I still have this mirror hanging in my home and it still looks stunning.
HERE'S HOW:
1. Making the frame for the mirror is the first step and there are all different methods for making a picture or mirror frame. You will find plenty of ideas in our Decor - Art & Framing section. For this project, I am making a very simple frame using 12mm thick PAR pine, but feel free to make a frame of your choice.
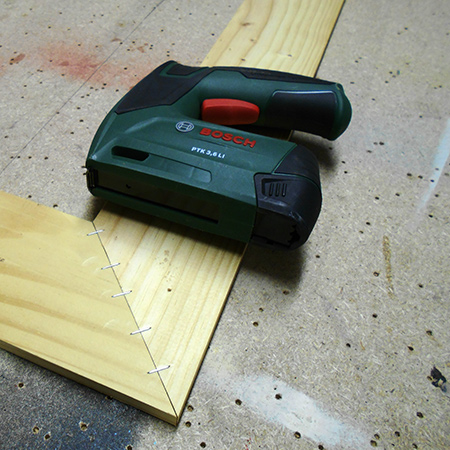
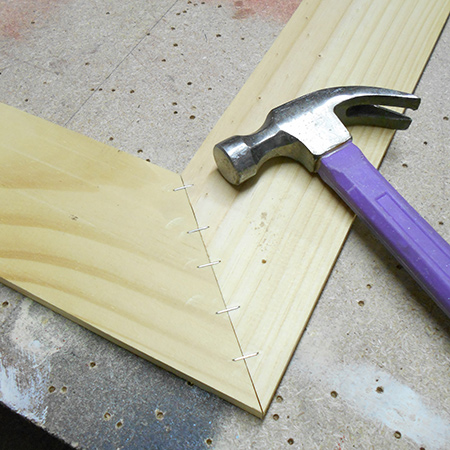
There are plenty of methods for making a frame but none easier than using my Bosch Tacker and staples to staple at the front and back along each join. Once the finish is applied to the frame front the corners will be covered you won't see any staples.
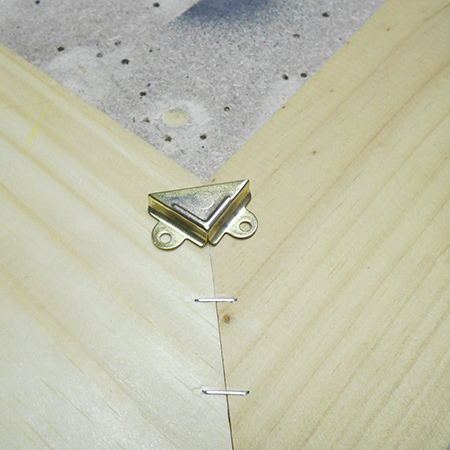
2. All through this project, I have tried to make this mirror frame for as little cost as possible and with minimal effort. Rather than going to the trouble of using a router to cut a rebate at the back, I used mirror (corner) brackets. Note that if you are using thin material such as this 12mm pine it is not thick enough to cut out a rebate and you will need to mount the mirror differently.
GOOD TO KNOW
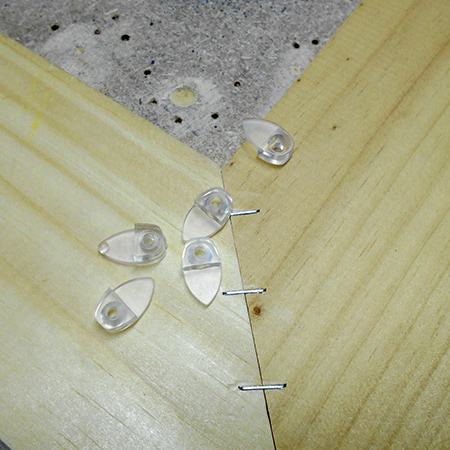
You can use brass or steel corner brackets to secure the mirror onto the back of the mirror frame or add some glass pins around the mirror. Both methods work well and will hold the mirror securely in position.
3. You will need a large container for this step. Pour the crack filler into the container and add water, mixing until it is a thick paste of a thick cream consistency. Pour the wood glue into the paste and use a paddle or wooden spoon to mix it all together. I would suggest a box of 500ml crack filler to a small bottle of Ponal wood glue to give you the correct consistency. The idea for this is to make a paste that will set hard but still have some flexibility to avoid it from cracking later on.
GOOD TO KNOW
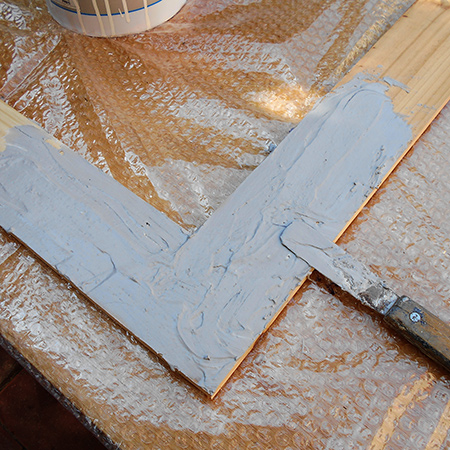
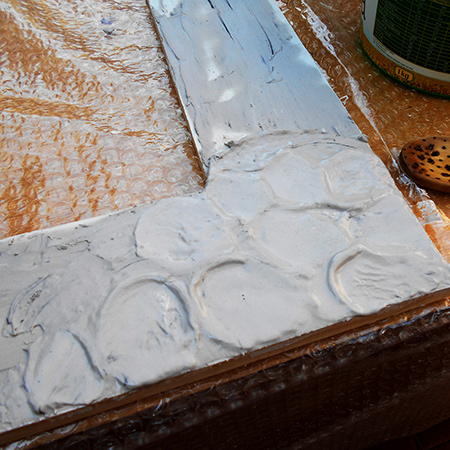
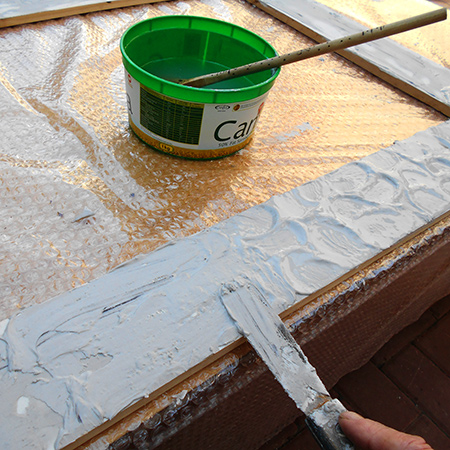
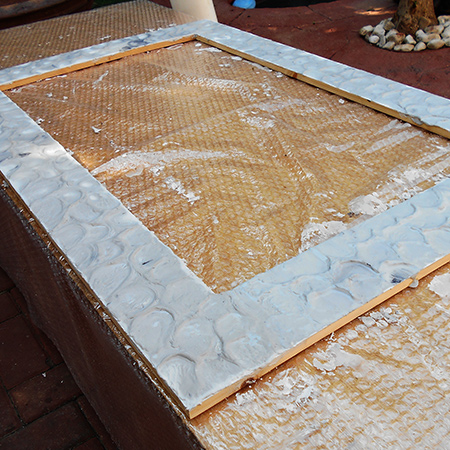
4. Use a palette knife to spread a thin layer of paste over the entire front of the frame and let this dry. Once this is dry, you can apply the second, thicker layer. This is the layer that you will work with as far as the finished design is concerned.
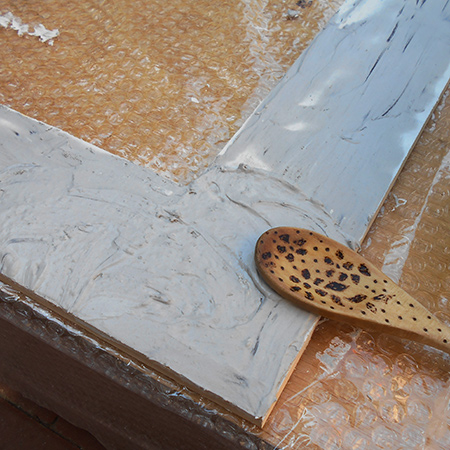
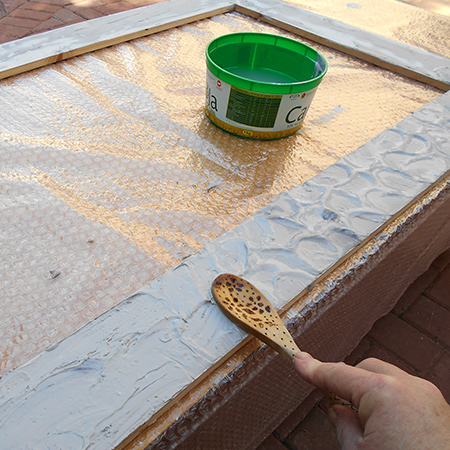
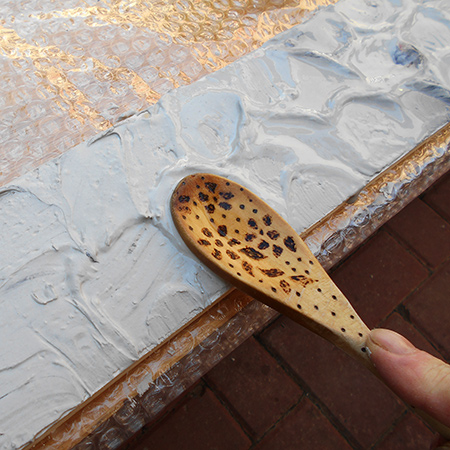
5. Working in small sections at a time and applying a thicker layer of paint, dip a wooden spoon in water and then use this to press and smooth to create ripples in the paste. You don't have to stick with this design if you want to do something different. I have seen frames where they have used a notched trowel to create 'groovy' patterns for the mirror surround.
6. Continue working around the frame and only adding paste to a small section before creating ripples with the spoon. Use the palette knife to ensure that the paste goes right to the edge of the frame.
GOOD TO KNOW:
It's important that the spoon always be wet
to prevent the paste from sticking to the spoon
and also to have a nice smooth depression.
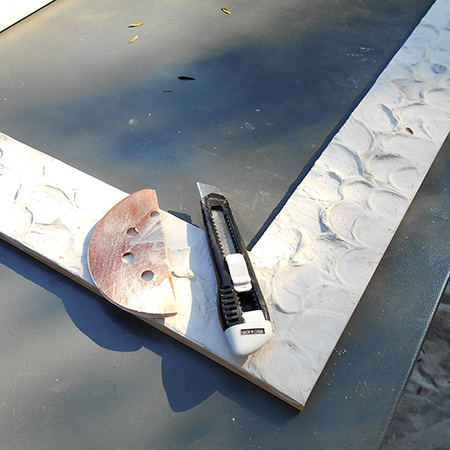
7. Let the paste dry for a couple of hours but before it sets too hard, use a sharp craft knife to cut away any mess on the inside and outside edges. Once the paste is completely dry you can sand this smooth with 120-grit sandpaper.
GOOD TO KNOW:
After finishing the entire
frame, let this dry overnight. It isn't
recommended that you do this on a hot day - you
don't want the plaster to dry too fast and crack.
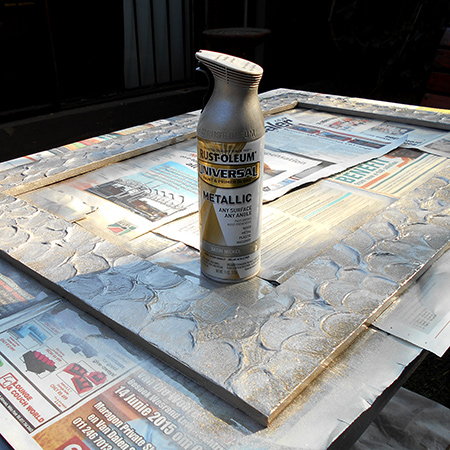
8. My local Builders didn't have the Rust-Oleum Metallic spray in stock, so I had to use Rust-Oleum Universal Satin Nickel. It didn't come out as shiny as the original, but I will re-spray once stock arrives and add the new pic to this page. Although to be honest, it does look stunning in real life - the photo doesn't do justice to the finished frame!
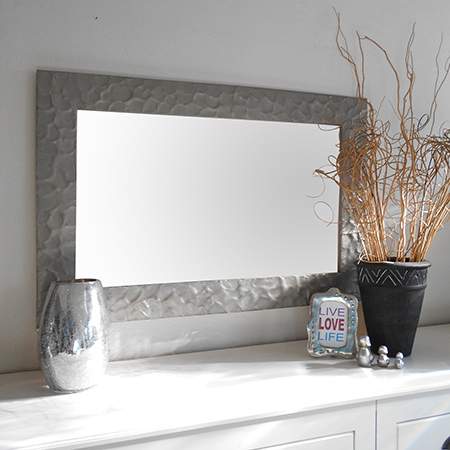
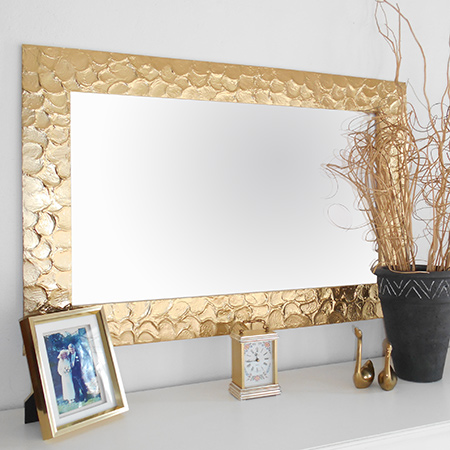
Below is the mirror after applying two coats of Rust-Oleum Specialty Metallic gold - much better and definitely a far shinier effect.
To finish off secure your mirror to the back of the frame. Screw in a couple of eye hooks and add the wire to hang onto the wall.