
DIY Picture Frame Ideas you can Make
With everything going up in price there couldn't be a better time to take out your tools to make your own home decor and we have a selection of DIY picture frames that you can make.
20/08/2022
kregtool.com
Finding custom picture frames is impossible and the only way to overcome this is to make your own. We have an easy tutorial for making frames at the bottom of this page, after we offer you a few examples of other types of picture frames you can make at home.
Skip to the bottom of this page for instructions for making the above wood picture frames
Note: For all the DIY picture frames shown on this page, copy and paste the link underneath each image to visit the website for a tutorial and step-by-step instructions.
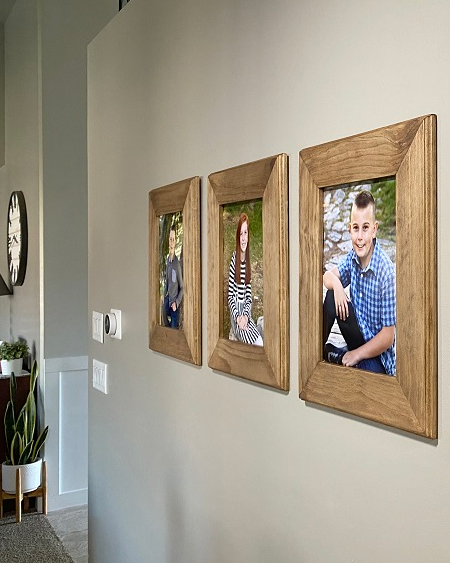
1. Perspex/Duracryl Picture Frame
anikasdiylife.com/make-simple-photo-frame/
One of the easiest ways to make your own picture frames is by using plywood, pallet wood, pine, or even SupaWood (MDF) to make picture frames. They can be left raw, stained and varnish or painted if you are using SupaWood (MDF). The Duracryl panel on the front of the frame is available at larger Builders stores and comes in assorted sizes but cutting this with a jigsaw or mitre saw is easily done. Wood screws hold everything together.
There are many variations of this type of picture frame, and you can make it rustic or elegant to suit your home decor.
jennakateathome.com/diy-rustic-faux-pallet-picture-frame/
Being able to make picture frames is a great beginner project. You will gain confidence in using various tools and be able to make custom picture frames for your home.
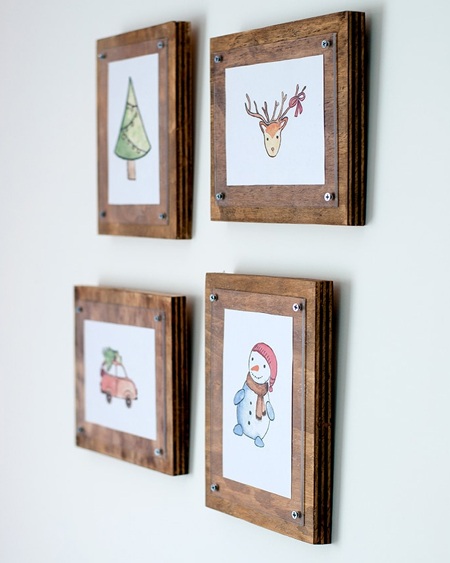
2. Box Frames
sawsonskates.com/how-to-make-a-no-miter-cut-picture-frame-free-plans/
This method is another easy picture frame idea that you do not need any specialist tools for and if you measure everything correctly, you can have everything cut to size at your nearest Builders store. Builders also cut glass to any size but remember to do this once the frame is made so you have accurate measurements. DO make the glass 2 to 3mm smaller than the actual size to allow for differences OR use clear Duracryl instead of glass - less likely to break.
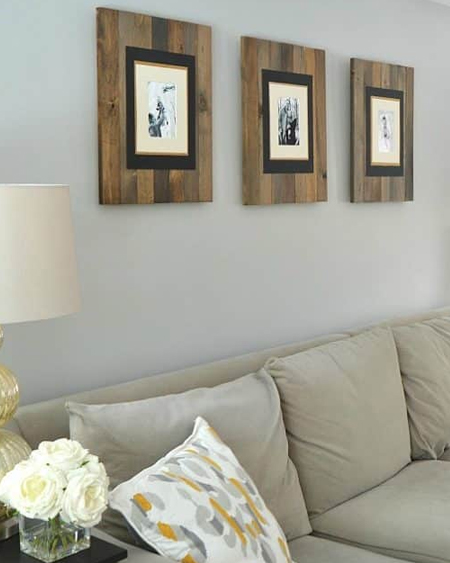
3. Geometric Wood Picture Frames
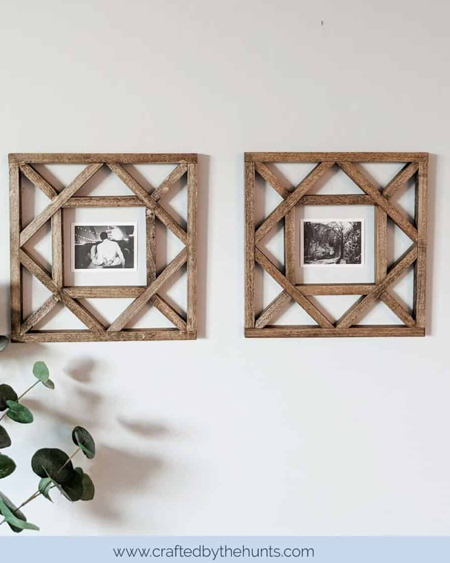
craftedbythehunts.com/diy-wood-wall-decor/
Here is a great way to make use of any scrap wood you have lying around, or pop into your local Builders store for 22 x 22mm or 32 x 32mm pine to make these geometric frames. You don't need fancy tools to make these frames and can cut all the pieces using a mitre box and backsaw. A bit more effort but it still gets the job done!
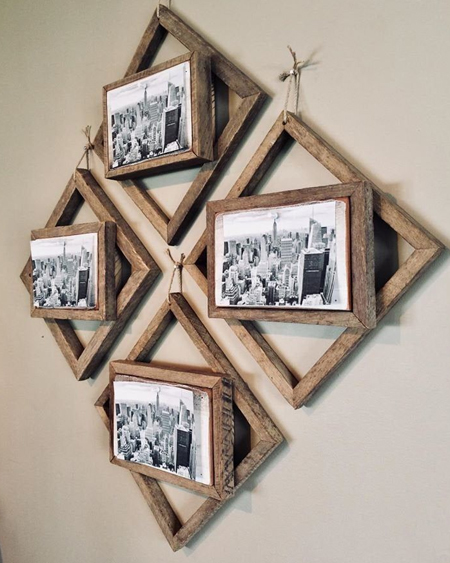
pinterest.com/pin/400046379410369054/
Advanced DIYers can make a variety of picture frames for the home - or for selling. Discover how you can add more detail with a router or trim and moulding.
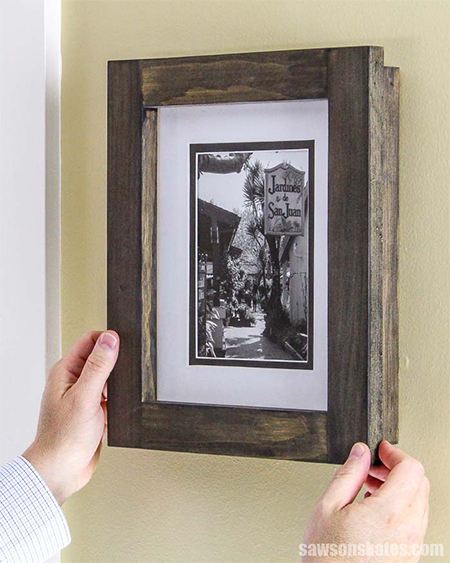
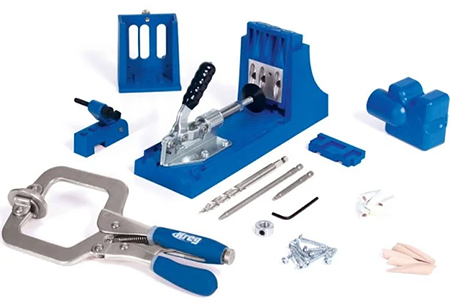
4. Simple Wood Picture Frames
kregtool.com
A Kreg Pocket Hole Jig is a great addition to your tool collection if you enjoy doing all types of woodwork. There are several different models priced according to what you can afford, and they all make DIY easier. Making picture frames with a Kreg pocket hole jig is faster than other methods, it gives you a professional finish and provides strong joints. Try this DIY picture frame for yourself and then make for friends as well.
Buy the Kreg K4 Master System Pocket Hole Jig at R3 250 at Builders or shop online for the new Kreg 520 and 720 Systems.
Step 1
Determine the size you need for your picture frames. It is the inside measurement where the lip will be routed that is the most important size to note, as this will be measured by whatever you want to frame. Cut 4 pieces - 2 sides, top and bottom. If you want a square, all 4 pieces will be the same size. If you want a rectangular frame, the sides or top/bottom will be longer depending on whether you want to frame portrait or landscape.
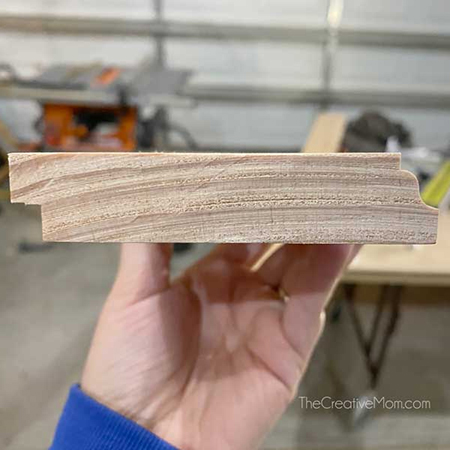
Using a router lets you add detail to the edge of the frame. If you don't have a router, you can substitute by adding moulding or trim along this edge. Additionally, while the inside edge is routed with a lip to support the glass and picture, you can also use moulding or trim added onto the frame to do this.
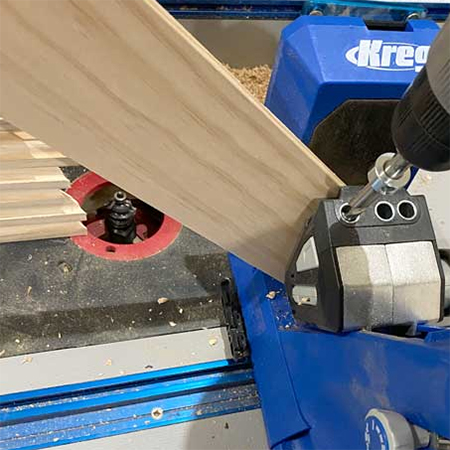
Step 2
Drill pocket holes at the end of each alternative piece, see bottom image for details. This is where a Kreg pocket hole jig comes in very handy, and Kreg pocket hole screws hold the pieces securely together but DO use wood glue as well.
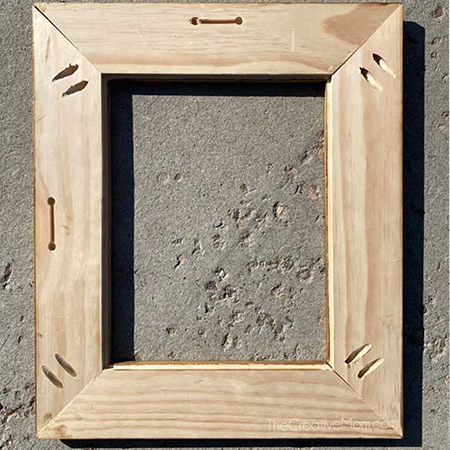
Step 3
You can see below how the frame is joined together using pocket hole screws. You can also see the lip inside the frame that holds the glass and medium in position. Once mounted, you can add cardboard or hardboard/masonite to close off the back.
Make this simple picture frame and then add embellishments for more detail. Builders stock a wide variety of moulding and trim and PU cornice that can be adding to build-up detail, and you can try out different paint techniques.